Signs of Spring

2013 tulipsI have been anxiously awaiting the arrival of spring here in Colorado… Our last few weeks have been filled with snow, and these late snows have killed many of my early blooming flowers. I only had one group of tulips bloom this year (there were only 3 flowers!) and a snow last week hurt those. :(  My flowering trees are finally starting to bloom, but the snow last week hurt many of those flowers too. And the birds are 2013 snowy birdsconfused. During a snowstorm a few weeks 2013 snow flowers 2ago there were a lot of birds sitting in my tree talking to each other loudly – it sounded like they were complaining about the weather…

So, I’ve been waiting to see when spring will finally arrive, and in the meantime, I decided to make a spring sign, and maybe that will remind the weather that it is supposed to be springtime! I’d like some sunshine, rain, and warmer temperatures, please! My flowers want to grow and bloom!

Spring sign - 7

Spring sign - beforeSpring Sign

  • I started with a large thin piece of wood, wooden alphabet letters, and a small wooden bird house from Joann Fabrics.
  • Matt kindly cut the large wood piece to size for me. :) Then I sanded all the wood pieces.
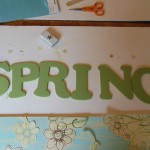
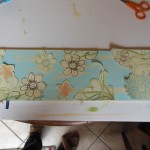
  • I found some scrapbook paper that I wanted to use on the sign. My paper wasn’t wide enough to cover the whole piece of Spring sign - 4 - painted letterswood, so I decided to cut out the flowers from the paper to put on my sign.
  • Then I painted the large wood piece (blue with a little ivory smeared on it!) and the letters (green). I also painted the bird house (green and ivory). It took a few coats to cover everything well.
  • I used scrapbook adhesive and Elmer’s glue to stick the cut out paper onto the painted wood.
  • Spring sign - 3 - with paperThen I used some hot glue (until I ran out) and Elmer’s glue to stick the letters onto the sign!
  • I also used a small flower paper punch to make a few flowers to put on the letters and the bird house!
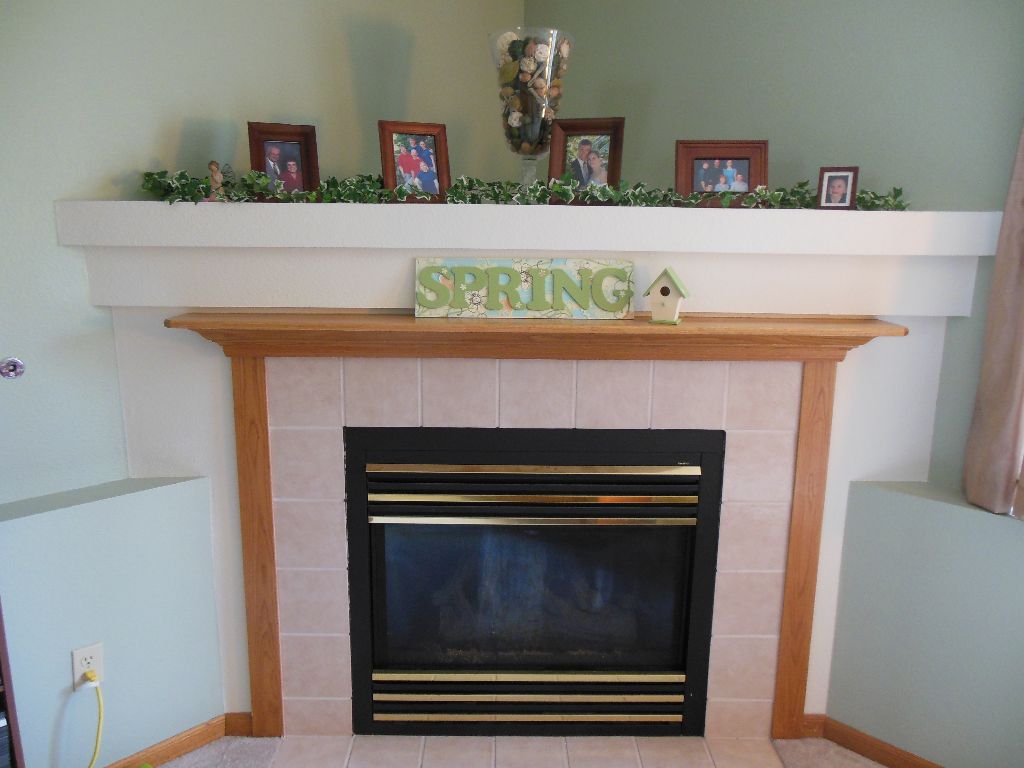
  • I put books on top of the sign for about half an hour while the glue set. Then it was finished and ready to sit on my mantel!


Spring sign - 6 - on mantel

Bird Napkin Rings

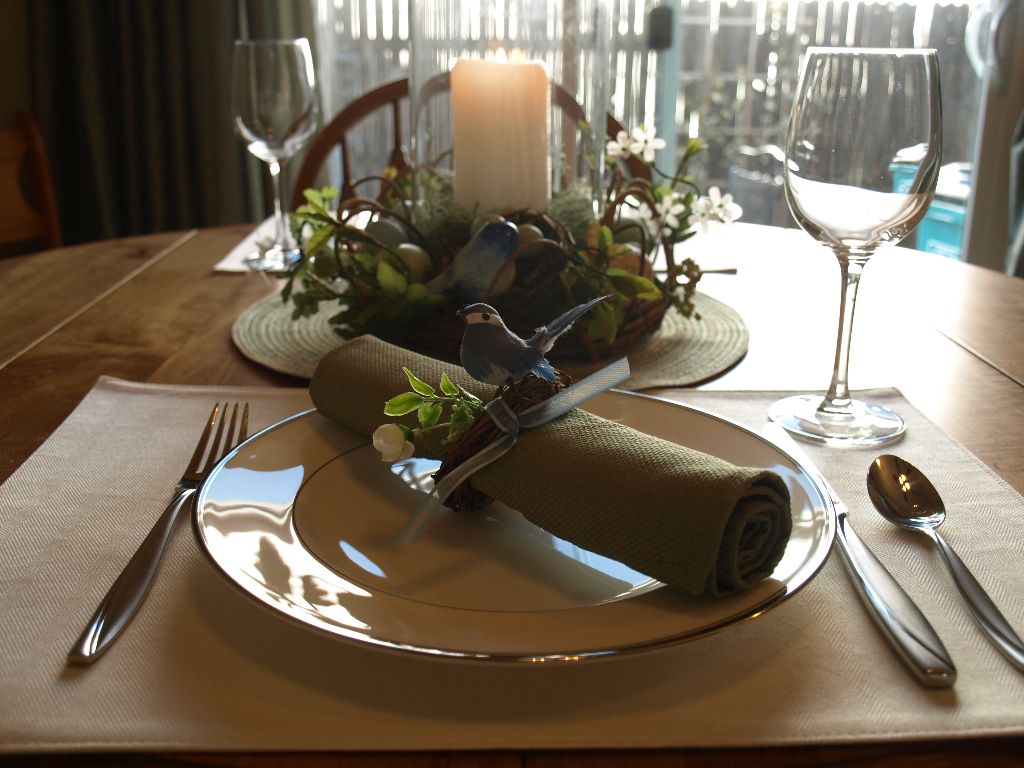
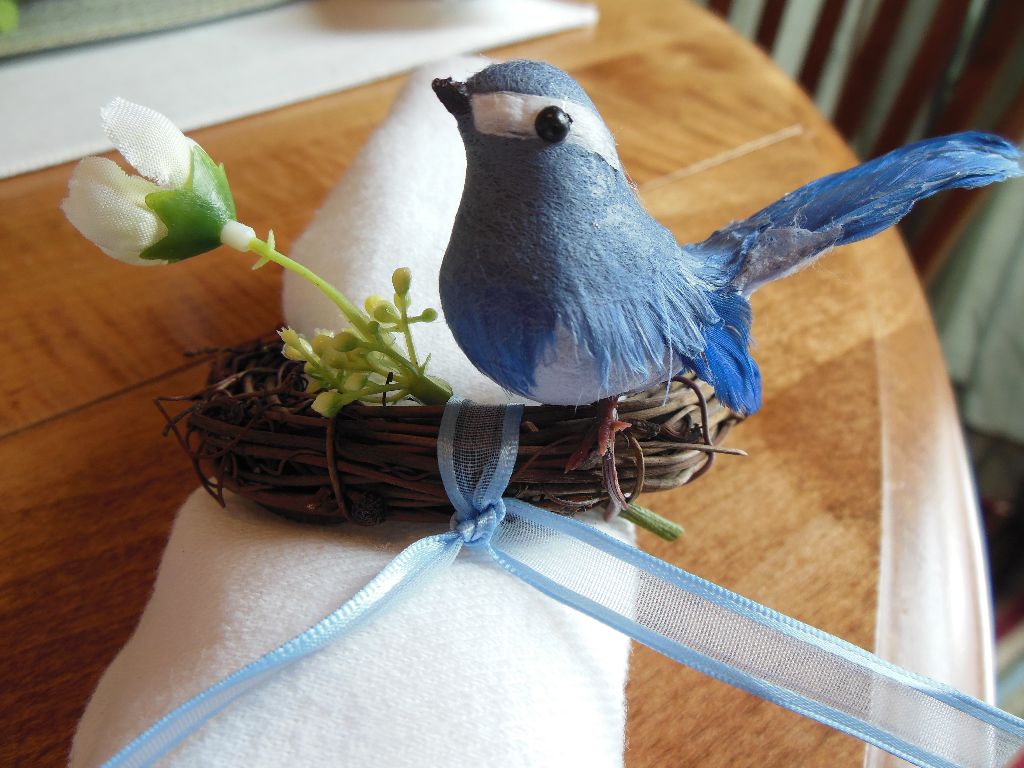
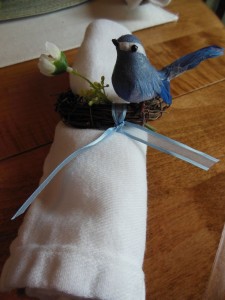
Bird napkin ring - close upThanks to Better Homes and Gardens & Pinterest, I found this adorable idea for spring napkin rings! So off I went to the craft store to get my supplies. Once I got going, they were finished in no time. The napkin rings were really easy and quick to put together!

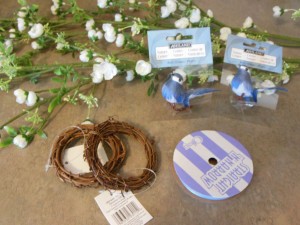
Bird napkin rings - materialsMaterials:

  • Small twig wreaths
  • Ribbon
  • Fake birds
  • Silk flowers (BHG said fresh flowers, but I used fake ones)
  • Wire cutters

Bird napkin ringAssembly:

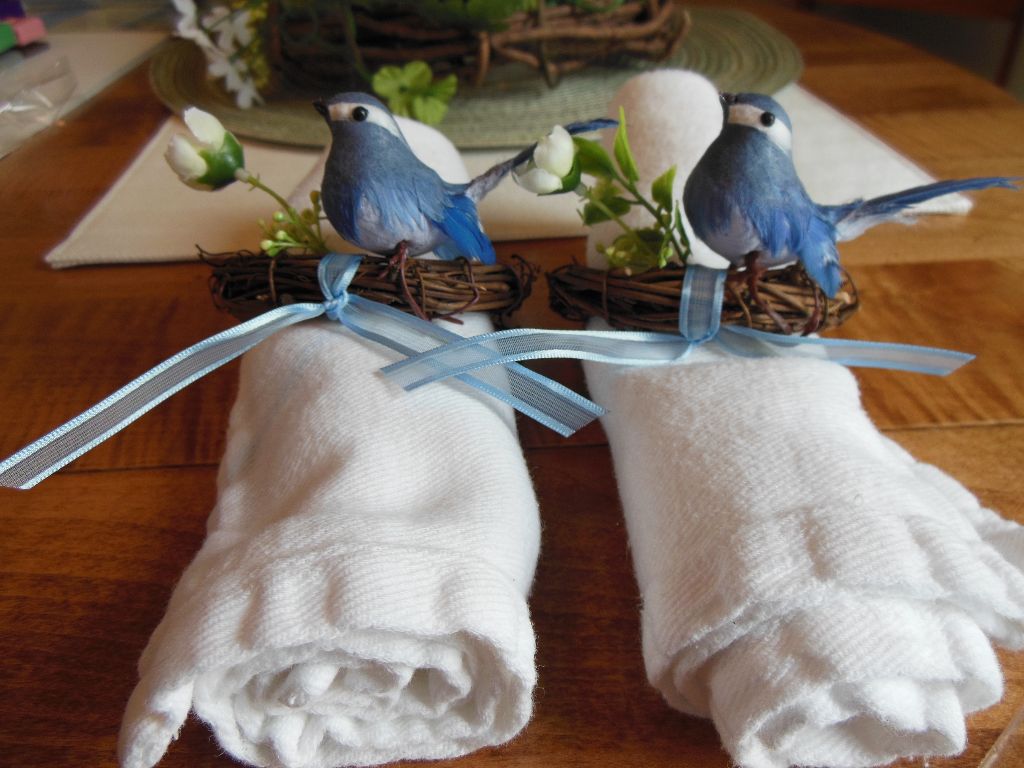
  • I attached the birds first. They had little wires extending past their feet, so I just wrapped those around the wreath a few times.
  • Then I cut some little flower pieces off of my silk flowers and tied the flowers onto the wreaths using the ribbon. I thought about using hot glue to make the flowers more secure, but the ribbon seemed to work just fine!

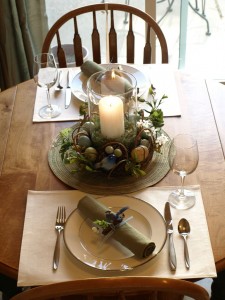
And that’s it! It took just a few minutes to put them together, and now my table has cute little spring birds!

Bird napkin rings - side by side


Bunny Plaque

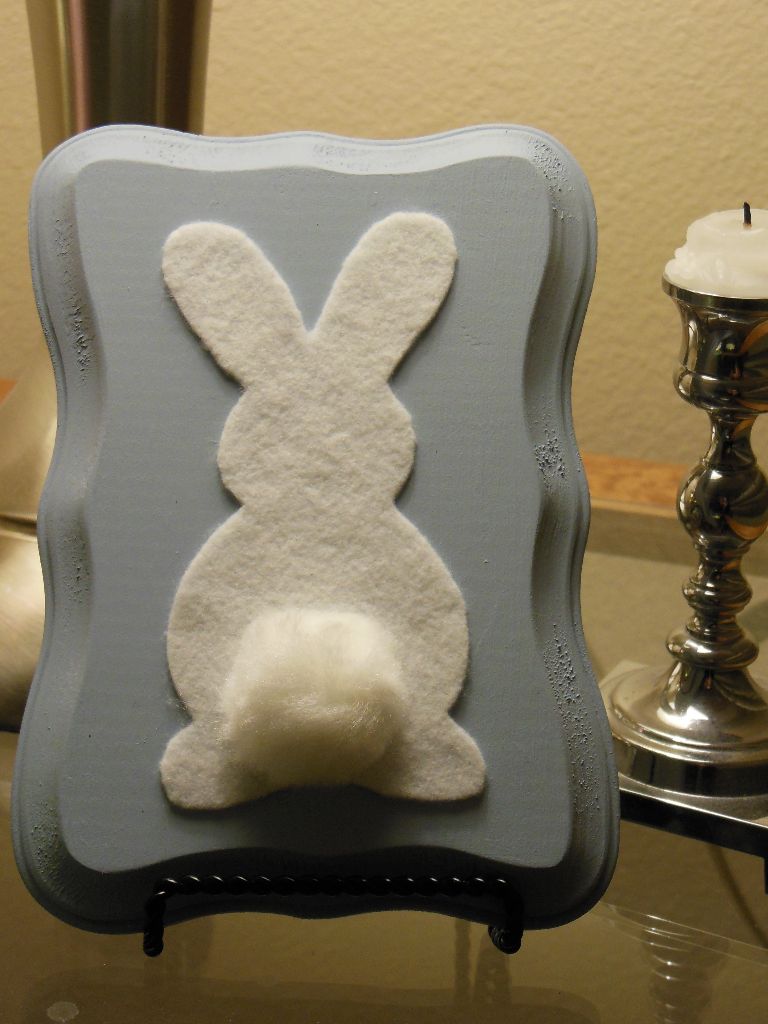
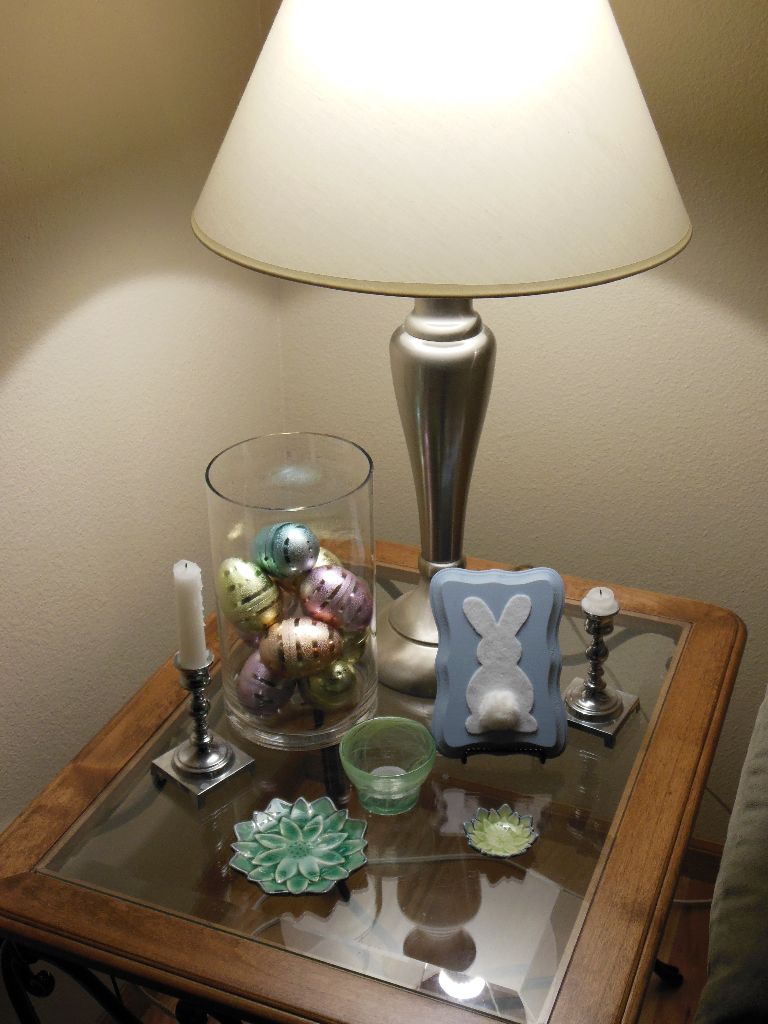
BunnyI was inspired last weekend to make this little bunny plaque for my living room! I just felt like my Easter décor needed a little something more, and a bunny with a puffy tail is what I came up with!  It was really easy to make, and is super cute.

Bunny - materialsMaterials:

  • Wooden plaque (I got mine at Michael’s)
  • Sand paper (if the wood is a little rough)
  • Craft paint and paint brush
  • White felt
  • White pom-pom puff
  • Scissors
  • Bunny - painted plaqueAdhesive of some sort (I used double sided tape and hot glue)

Instructions:

  1. If needed, sand your wood piece a little to smooth it out. Mine maybe could have used a little more sanding, but I think it’s ok…
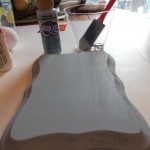
  2. Paint the wood! I think I gave it about 3 coats.
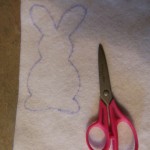
  3. Bunny - traced on feltCut out your bunny! I am not good at drawing, so I found a little bunny image online that I printed out and traced onto my felt.
  4. Attach the bunny to the wood! I have had bad experiences with Elmer’s glue and felt, so I decided to use double sided scrapbook adhesive. It worked really well.
  5. Attach the puff to the bunny! I used hot glue to do this.
  6. Place your finished bunny plaque somewhere in your house and admire its cuteness! I used a little wire easel to hold it up.

Bunny - out on display


Glitter Easter Eggs

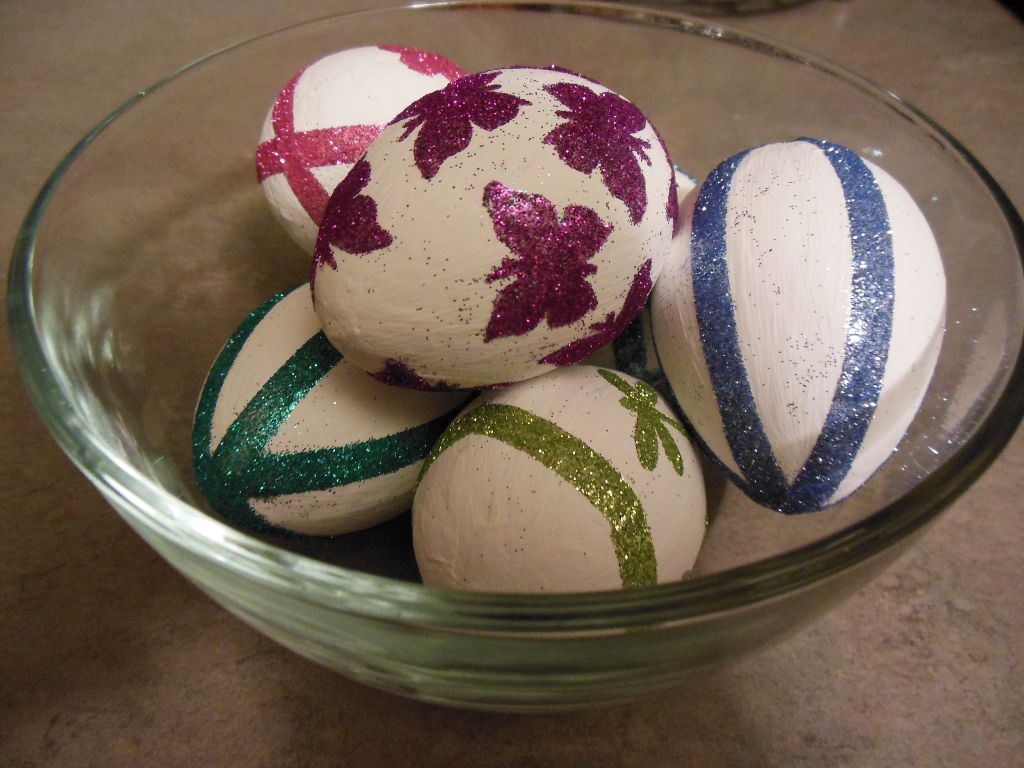
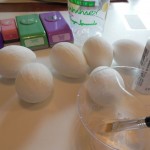
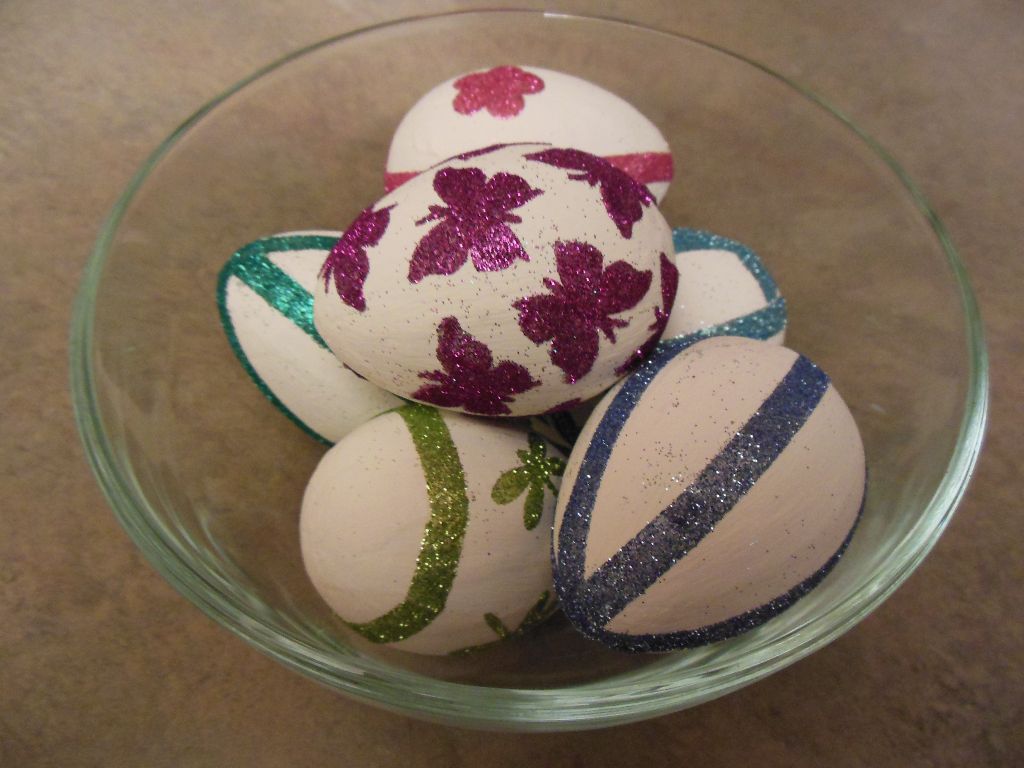
Glitter eggs - finished 2Glitter eggs - suppliesI decided to decorate eggs this year! I don’t usually, since it’s just the two of us, and neither of us are huge fans of eating boiled eggs… but this year I found some inspiration from Better Homes and Gardens! I found these adorable eggs  decorated with glitter and these instructions,  and I just had to try it myself!

Since I was going to all the work of decorating with glitter, I decided to decorate fake eggs, so that I could keep them around!  I Glitter eggs - paintedwas thinking wooden ones, but I found some paper mache eggs at Michael’s and went with them.  Before I could begin decorating my eggs, I had to paint them white.

After they were painted, I used my paper punches to punch some shapes out of the double sided adhesive sheets. I found that my paper punches did not like the adhesive sheets. They were too thick. I managed to punch a bunch of butterflies, but only managed 2 flowers Glitter eggs - with adhesive onand a few dragonflies. I didn’t want to hurt my punches!  BHG must have stronger punches or something… For the rest, I used some double sided scrapbook adhesive (“photo tape” from Creative Memories) to make the lines on the eggs. I could have cut shapes out from the adhesive sheets with scissors, but I was too lazy… Once I had my adhesive on the egg, I removed the second backing piece and then glittered the egg!

In the end, I think they turned out really cute!!

Glitter eggs - finished


Cinnamon Swirl Bread

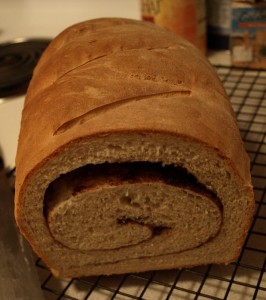
Cinnamon Swirl BreadI love cinnamon swirl bread. YUM. And I love to buy Pepperidge Farm’s cinnamon swirl bread at the grocery store — it’s so good. But once in a while, we like to make cinnamon swirl bread at home! We use this fantastic recipe from about.com. The bread always turns out well, and it has really good instructions. Since breads can be easily ruined, (or at least they can be at my house!) I appreciate good, solid instructions.

We really enjoy this bread toasted or french toasted. Yummy! It’s a bit more work than buying a loaf at the store, but so very delicious!


Valentine’s Day 2013

Matt and I decided to stay in for Valentine’s Day this year! We wanted to have a quiet night at home to make dinner together, exchange a few gifts, hang out, and eat some yummy dessert!

Valentine Dinner 2013Our Dinner Menu

  • Skillet Lasagna: We decided to try a new recipe for dinner, a skillet lasagna that I found on pinterest! It was pretty easy to make and absolutely delicious. We LOVED it. We will be making it again soon, I’m sure!
  • Salad with pecans and craisins: This is a salad we make once in a while and really enjoy. We like to make it with romaine lettuce, craisins, toasted or candied pecans (also good with hazelnuts), and poppyseed or strawberry balsamic dressing. Simple, but delicious!
  • Jello parfaits: I found a pin of this jello parfait recipe on pinterest, and I just had to try it. It was so pretty! Mine didn’t turn out as “clean” looking as the ones in the recipe, but they were still quite pretty and very delicious!
  • Wine! I enjoyed some sauvignon blanc, and Matt enjoyed some chianti.

My Nerdy Valentine

Basket of BoxersAfter dinner, we exchanged our gifts. We don’t always exchange gifts on Valentine’s Day, but Matt had been working on a surprise for me since Christmas, so I had to do something for him too! I decided to give him some fun love themed boxers, so I went shopping… one turned out to have Hershey kisses on it, and another Snoopy from Peanuts, so I decided to throw some candy in there too to go along with the boxers. Matt and his dragonAnd who doesn’t need a dragon holding a heart?? So, I collected my goodies and put together a cute basket for Matt.

Jenna and the puzzle boxMeanwhile, back at his desk and garage work table, Matt had been working madly on my surprise gift – he designed an electronic puzzle box for me! Once you turn it on and select the difficulty level, you have to move the box in the correct sequence of rotations in order for it to open up. Depending on the level of difficulty you select, the box gives you different types of feedback and assistance. Inside the box he’d hidden a candle, some candies, and some coupons for things like a massage, making me dinner, etc. (These were also quite funny, since he put fine text on all of them with the requirements and limits of each coupon!) Anyway, for him the real fun was watching me figure out the puzzle! He’s blogged all about how he made it… but for those of us who are less technical and don’t understand anything he blogs about, here’s a quick video he made about how it works:

Dessert! Valentine dessert 2013

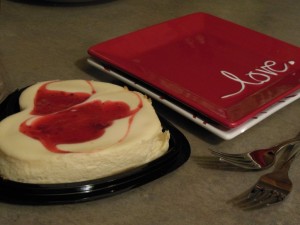
For dessert later in the evening, we enjoyed a heart shaped strawberry cheesecake that we picked up at our grocery store. Super easy, cute, and delicious! And I served our slices on my pretty Valentine’s Day plates!


Crocheted Hanging Hand Towels

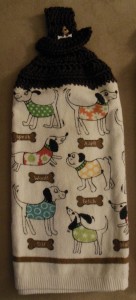
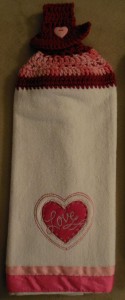
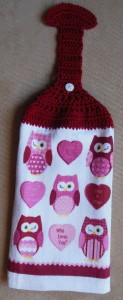
One of my most requested crocheting projects is the hanging hand towel. They are cute and handy… They are also pretty easy to make, and are great gifts! Below are instructions on how to make these great hanging towels.  Here are a few of the towels I have made recently:
Crochet towels - redCrochet towel - dogsCrochet towel - Heartcrochet hanging towel - complete

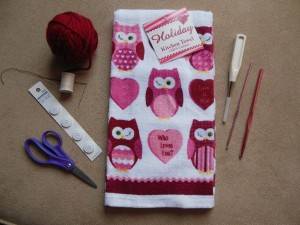
crochet hanging towel - materialsMaterials:

  • Towel
  • Yarn to match your towel
  • crochet hooks (I used two sizes: E and H)
  • awl (a spike thing to punch holes in the towel)
  • 2 buttons
  • scissors
  • needle and thread

Instructions:

Begin by folding your towel in half!

First Row:
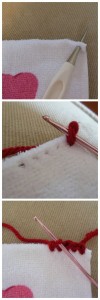
FirstRowUse the awl to punch holes through the towel, all the way across, and then single crochet in each hole.

As I said, you’ll want holes all the way across the towel, but I prefer to punch a few holes and crochet in those holes, then punch a few more and so on… I think it’s just a little easier than punching all the holes and then crocheting all at once – otherwise I feel like some of my holes get “lost”.

I prefer to use a smaller crochet hook, for example, size E, for this very first row. The smaller hooks are much easier to get through the holes in the towel. After the first row, I switch to a larger hook for the rest.

Second row:

FirstFewRows

At the end of the first row, turn, and chain 3. Then double crochet in each stitch all the way across the row.

At the beginning of all following rows, turn and chain 3.

For the next few rows:

Now you can sort of play around — sometimes I do another whole row of double crochet in every stitch on the 3rd row, and sometimes I begin the decrease.  It doesn’t matter which one you do, it just looks a little different.

On this towel, for the third row I did a double crochet in each stitch all the way across.

For the decreases, I do a double crochet in every other stitch across the row. I usually “reinforce” the edges by not skipping at either end, and instead having 2 or 3 double crochets in a row. This is just a personal preference. You can skip all the way across if you want to!

Sometimes on the row after skipping stitches the first time, I do a double crochet in each stitch. On this towel, that would be row 4. Sometimes I feel like doing this and sometimes I don’t. It’s all about how quickly you want the towel brought in, how much crocheting you want to do, and how much crocheting you want to have on the towel. The more rows you have, the farther down the towel will hang.

Usually I decrease each row (by doing a double crochet in every other stitch) until I am left in the center with around 7 stitches (sometimes more, sometimes less – just whatever I feel like is right). This, for me, is not an exact science in any way.
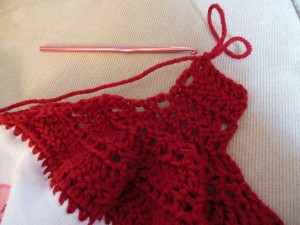
crochet hanging towel - neckFor the neck

For the neck of the hanging towel, I do a double crochet in each stitch in the row, and usually make about 10 rows. It’s all about how long you want the neck to be — How far down do you want the towel to hang? How long does the neck need to be to wrap around whatever the towel will hang from? I just find that 10 rows works for me!
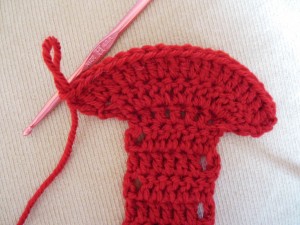
crochet hanging towel - flared end

For the flared end

To finish the hanging towel, I like to make a little flared edge. To do this, start a new row, and do two double crochets in each stitch across the row. Then begin the last row, and do two double crochets in the first stitch, one double crochet in the second stitch, and repeat that pattern across the row. Then you’re finished crocheting! Tie it off!
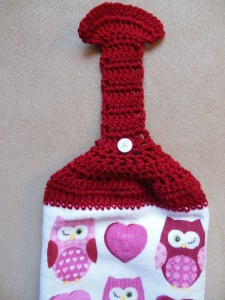
crochet hanging towel - with buttonAdding the buttons

I use buttons that are small enough to fit between two double crochets, but large enough that they need a bit of work to get through. You want it to be secure – but not too hard to button!

I put buttons on both sides of my towels. Most towels I use for this crocheting project don’t have a front or back once they are folded, so I put buttons on both sides so that the towel can be hung either way.

I sew the buttons on with a needle and thread. I usually place the buttons in the center of the very first row of the neck (for me, my first row of seven stitches). I like to place the buttons at the top or bottom of the stitch, for a little extra reinforcement.


Once the buttons are sewed on, the hanging towel is complete!
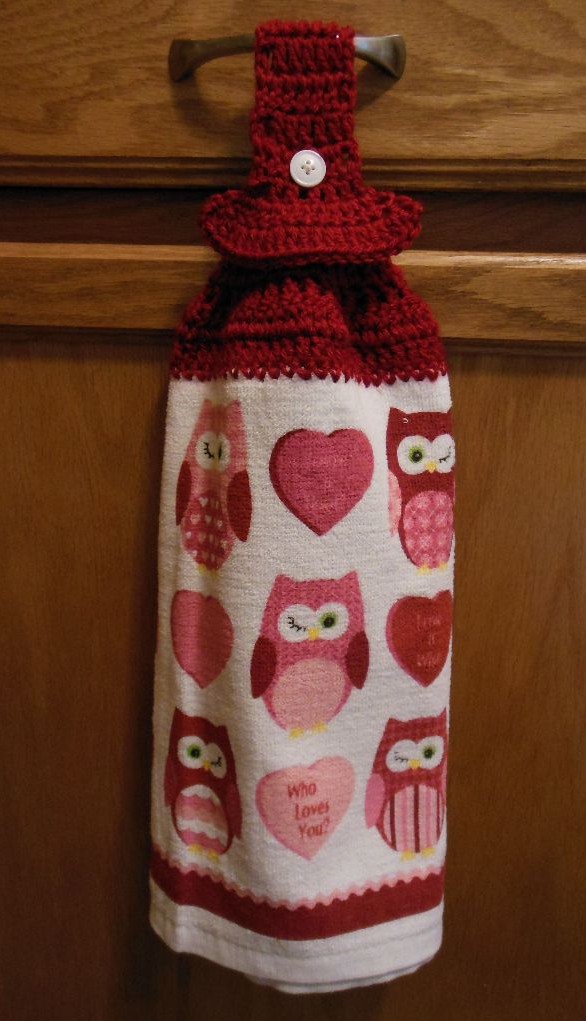
crochet hanging towel

Heart Garland

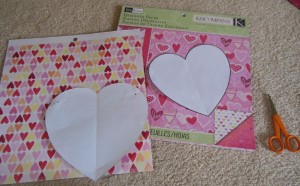
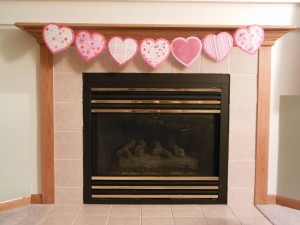
Heart garland on mantel - bannerI found a pin of some heart garland on pinterest from Better Homes and Gardens and I just fell in love with it. It is so cute! However, I don’t sew – so I decided to make mine out of paper! I was making some handmade Valentine’s Day cards already, so I picked up a cute pack of Valentine’s Day paper and used it for both projects.
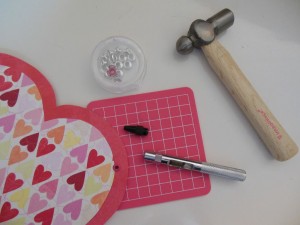
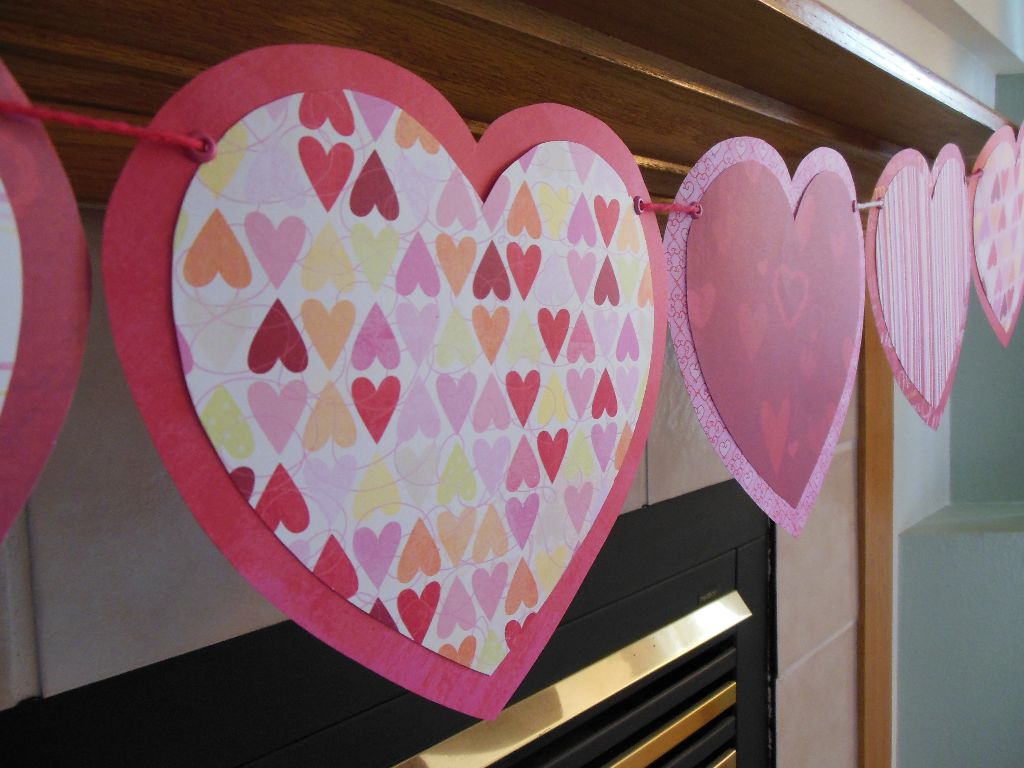
Heart garland - tracing patterns & paperThis garland was really easy to make! I cut out two hearts for patterns, and then stencilled the hearts onto my papers, and cut out a bunch of hearts.  Then I used double sided adhesive to stick the little hearts to the big hearts. Next I set two eyelets into the hearts – one on each side, and then strung them all together with the yarn left over from my crocheted Valentine projects!

Heart garland - setting the eyelet
Heart garland on mantel

And now I have cute hearts strung across my mantel!

Heart garland

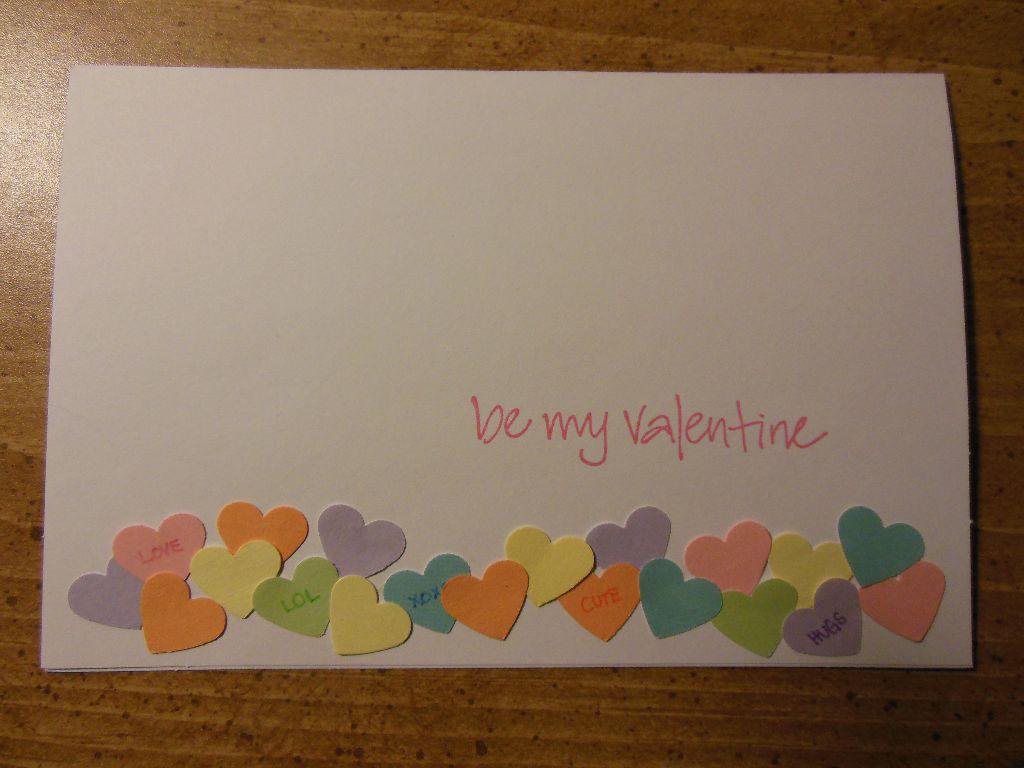
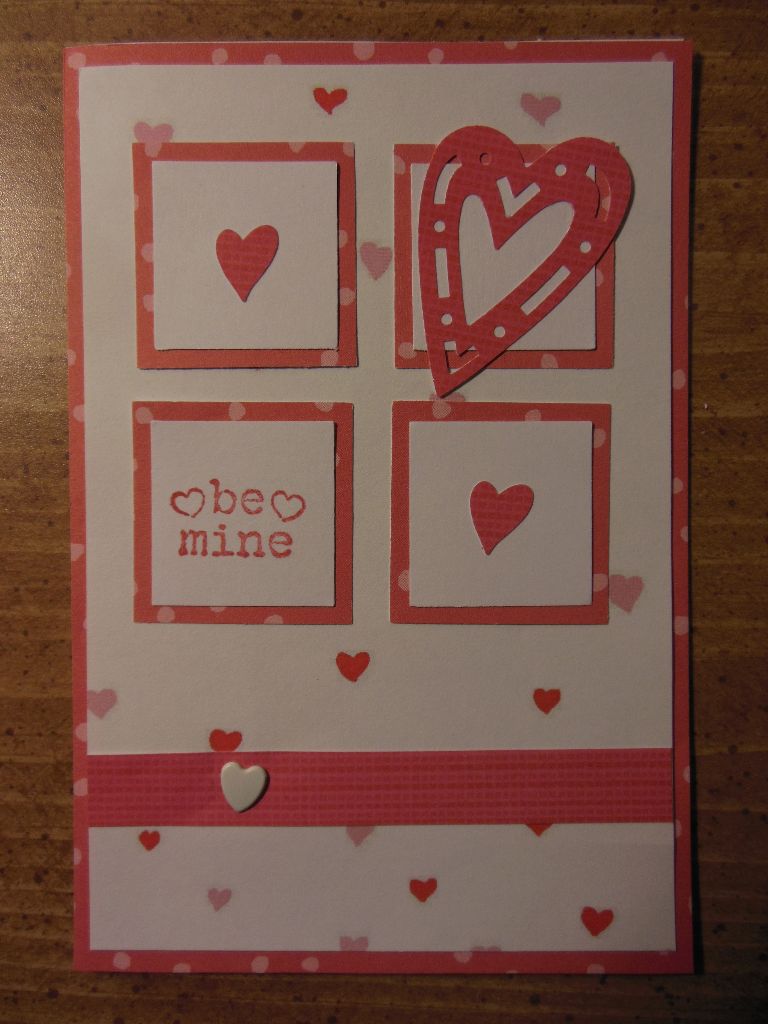
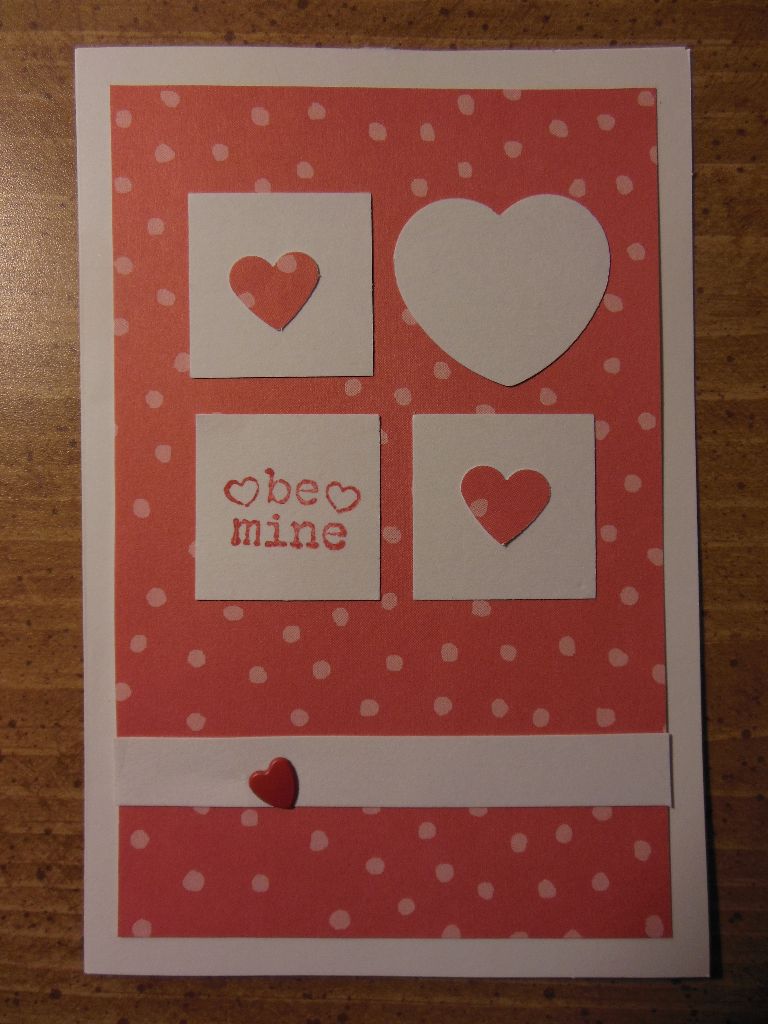
2013 Valentines

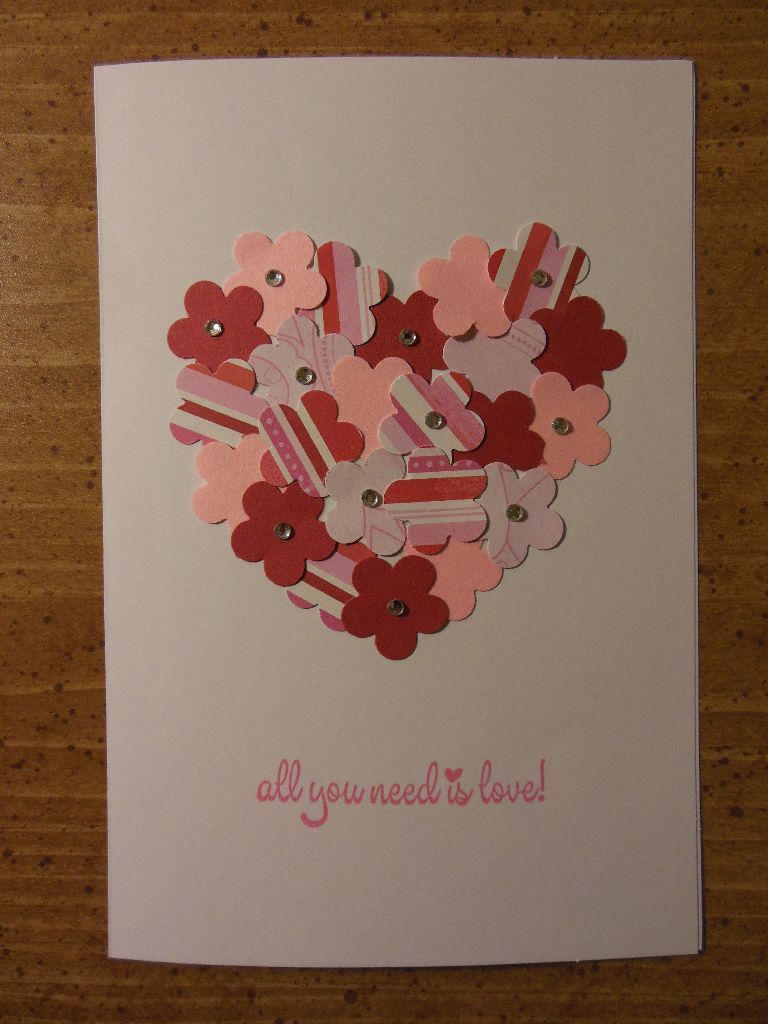
Valentine’s day is approaching! And I just love Valentine’s Day! Because what’s better than sending notes to friends and family reminding them of your love and how special they are to you? Again, thanks to pinterest, I had some good ideas for my cards! Thanks to the bloggers at stampinwithniki.blogspot.comsplitcoaststampers.com, and iminhaven.blogspot.com.au for sharing their great ideas!

Here are the beautiful cards I made this year and sent out to my special friends and family!

Valentine 4 2013

Valentine 3 2013

 Valentine 2 2013

Valentine 1 2013

Happy Valentine’s Day, everyone!