Outdoor Living ~ Part 2

2015_Backyard

We have been very busy this summer improving our living spaces outside our home. Outdoor Living ~ Part 1 was about our front yard and front porch, and as promised, here is Part 2 ~ all about our back yard improvements!

Trees

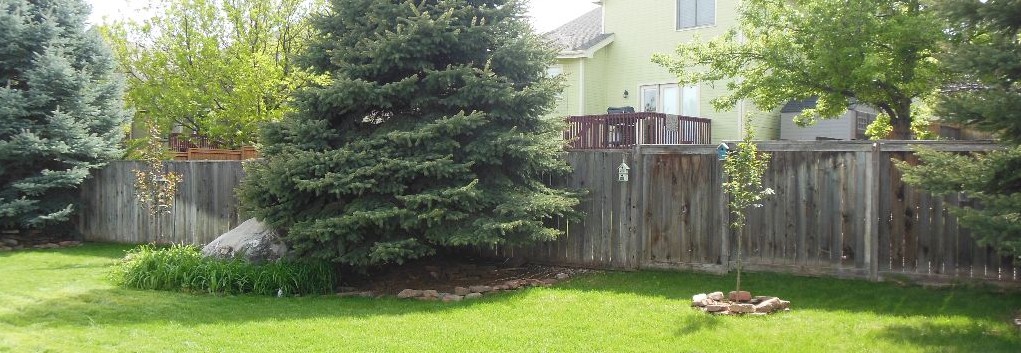
The first change we made was planting two new trees. We had some great big pine trees already, but I wanted some pretty flowering trees too, and more privacy, so we planted two crab-apple trees that will flower in the spring. One will have white flowers and the other will have pink flowers! I can’t wait to see their pretty flowers next year.

2015_backyard_trees

Decorations

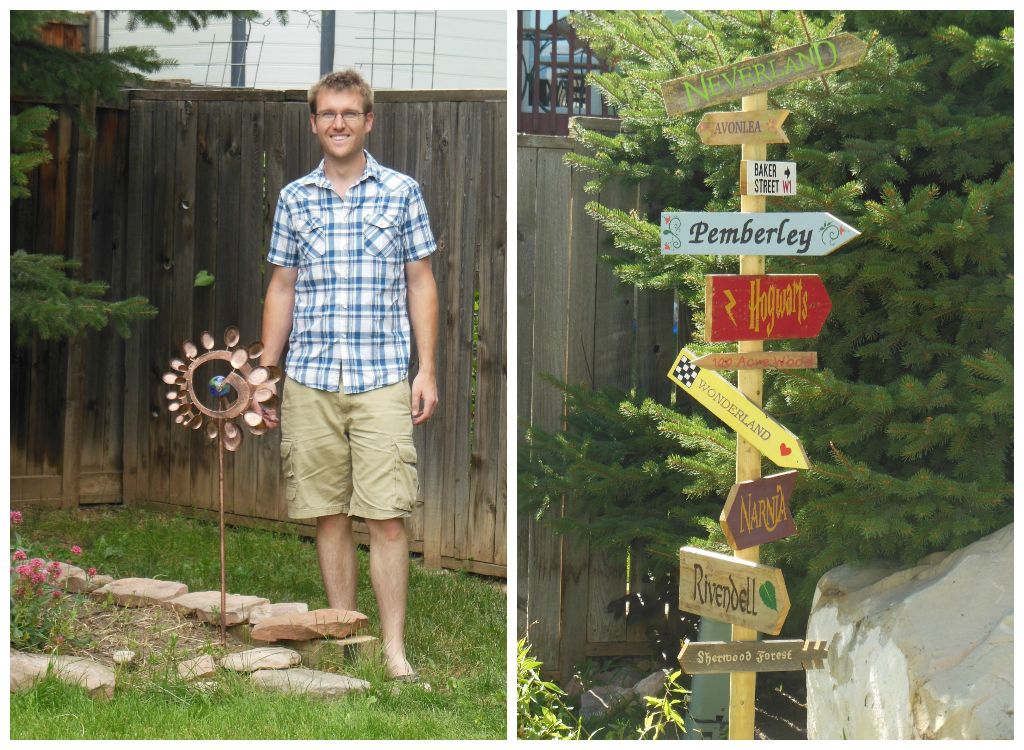
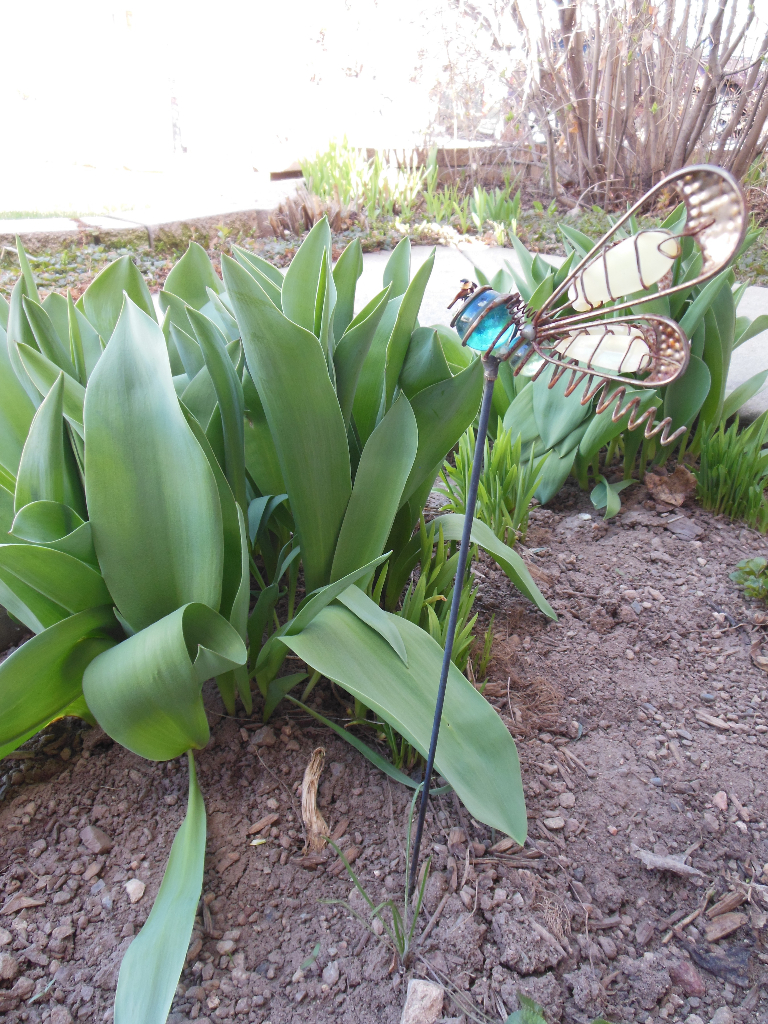
Some small, but cute additions to our back yard this year are a garden spinner and a literary sign post. I gave Matt the spinner for his birthday — it’s fun to watch! And we made the literary sign post. So cute!

Spinner&SignCollage

Deck & Pergola

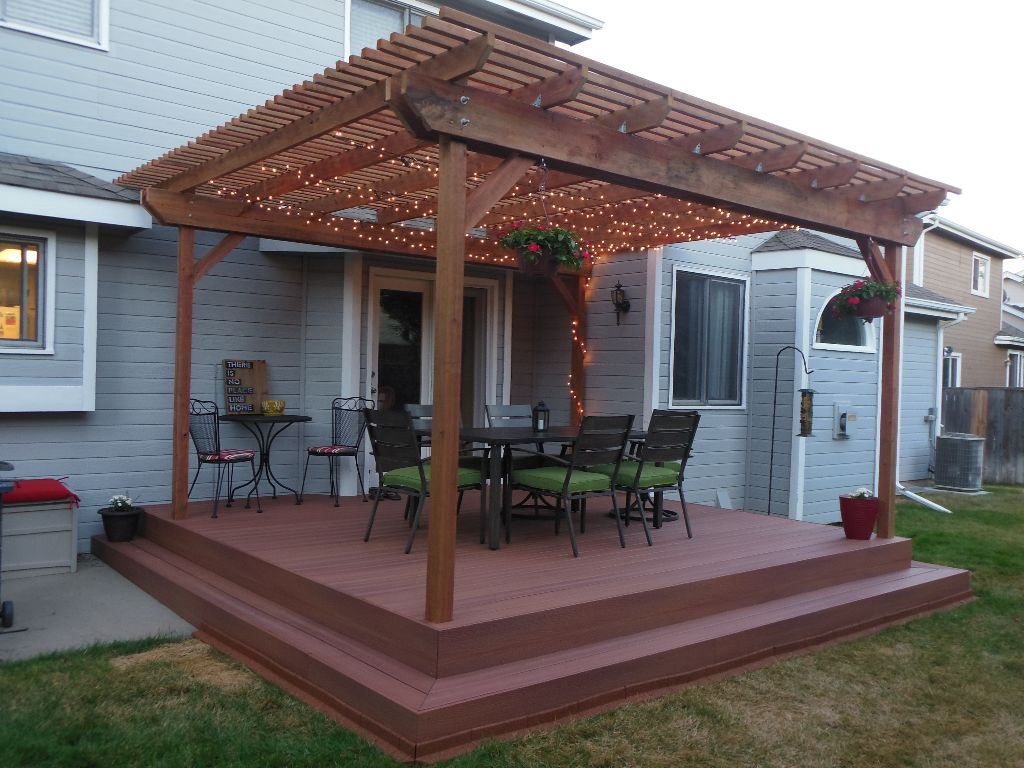
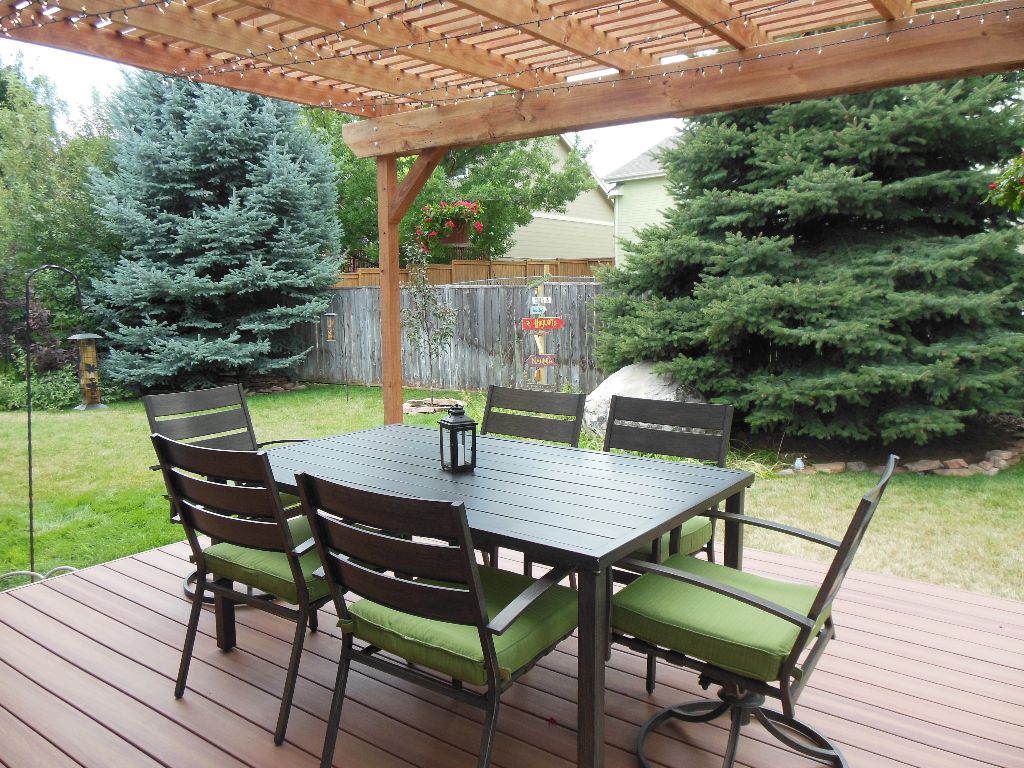
DeckProgressCollageThe biggest update in our back yard is our deck & pergola! When we bought the house, it had a tiny concrete patio. It was hardly large enough for our tiny bistro table and chairs and grill. Pathetic. So we talked with my dad and planned a deck and pergola! I collected some ideas on pinterest and showed all of my dreamy spaces to Matt and Dad. There were two I especially loved: this one has a great deck, pergola & fun lighting, and this one has a pergola with a separate fire area. (This year we did the deck & pergola. Another year we’ll do something about the fire area!)

Once we had our plans and our building permit, my dad and my brother Kristofer planned a trip out here to help Matt build the deck & pergola. They were hard, hard workers and nearly finished it in only 4 days of work! My guys are awesome!

A few notes on our deck & pergola construction:

  • We used composite decking and tried to closely match it to the red-tinted treated lumber that we used for the pergola. I think we did a pretty good job!
  • We used hidden fasteners with the composite decking, and it looks amazing! There are no exposed nails or screws, so we can happily walk around out there barefoot or in socks and not catch on anything! The thing we didn’t know about the hidden fasteners was that they are tedious to use… it took the guys longer to put down the decking than they were used to with regular wood.

After the pergola was built, we arranged the furniture, Matt hung up our fairy lights and Kristofer hung up a couple of hanging flower pots too! Those final touches really make the space. It is so cute!

I love that our deck has plenty of room for lots of seating! I searched and searched for the perfect furniture too — our dining set is from Ace Hardware. The bistro set is from American Furniture Warehouse and we’ve had it since we bought our first house.

Deck&Pergola

The finished product is so beautiful and even better than I’d imagined. I just love it.

Sometime in the future we’ll work on a walking path, a fire pit, planting more flowers and maybe even a vegetable garden… but for now, we’ll sit back on our new deck and enjoy the shade. :-)

Thank you, thank you, thank you to Dad, Kristofer, and Matt for working so hard to build such a wonderful outdoor space for us to enjoy.
Literary Sign Post

LiterarySignPost

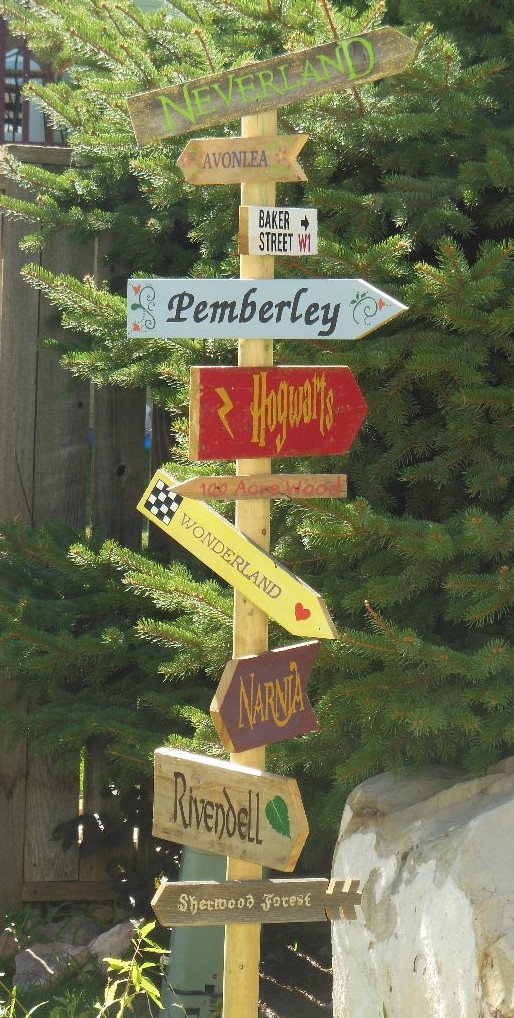
I love reading. I also love my little slice of paradise (a.k.a. my yard & garden). So when my mom found this literary sign post on pinterest, I just knew I had to have one of my own to bring some of my literary worlds into my garden!

I ran the idea past Matt and he really liked it too. He’s not always on board with helping with my crafts, but he was excited about this one and even helped me pick out some of the locations to put on the signs! ;-)

The Wood

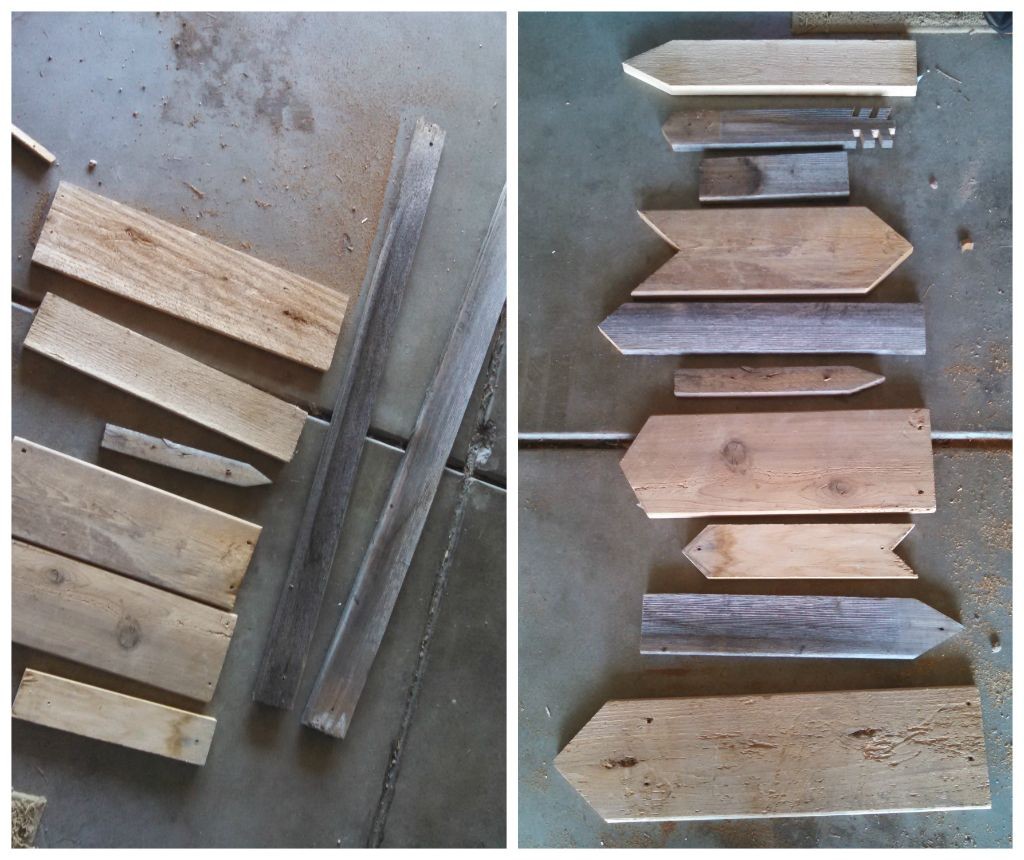
First we got the signs ready to paint. Earlier this summer Matt tore down the old dog run in our backyard from the previous owners, so we had a pile of aged wood and he also had some scraps in the garage. I picked out a few pieces and had him cut them down into points. He also had fun ideas to give some tails and to make one look like an arrow!

SignCollageBefore

Carbon PaperLettering & Painting

The problem was how to get the lettering on the signs. Stencils? Freehand? I wanted to use a variety of fonts and sizes and I was stumped on how to do it and be time-effective. Mom came up with the brilliant idea of printing the letters out from the computer and then using carbon paper to trace and transfer the outline of the letters! I found carbon paper at Office Max for about $7 for a pack of 12 sheets. Score.

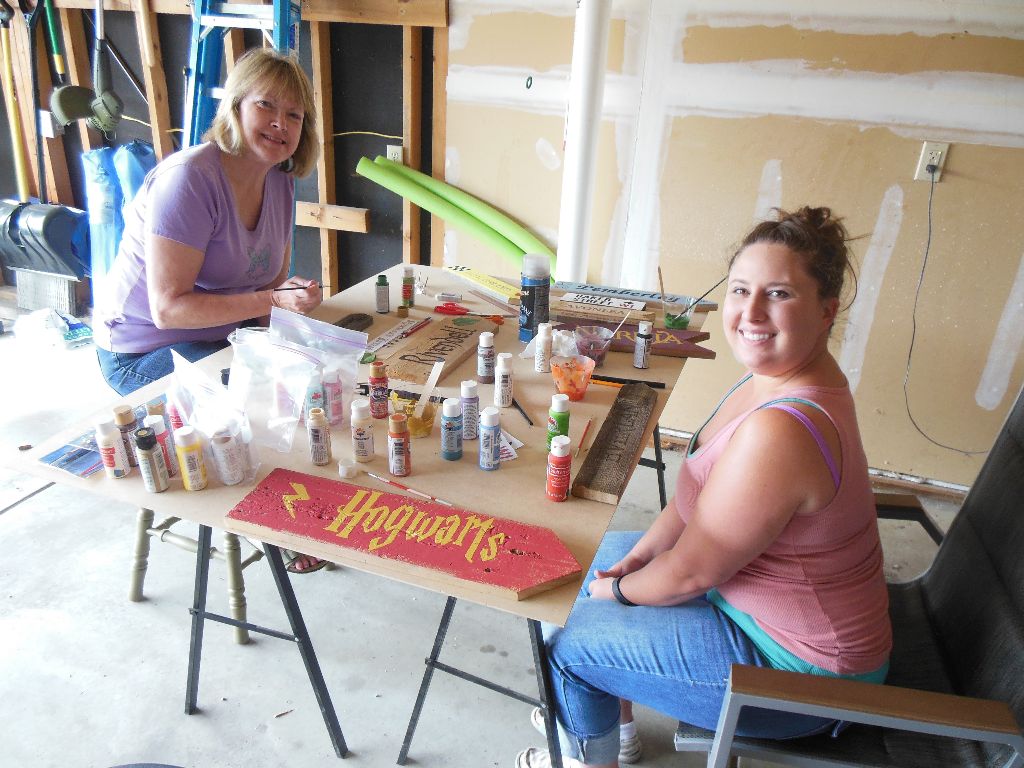
Next, we painted! While the guys were working on my amazing deck and pergola, my mom, my sister-in-law Jillyn, and I worked on my literary signs! Mom handled the lettering and carbon paper and Jillyn and I did most of the painting.  Here are my helpers! Thanks, ladies! :-)

Sign post - in progress

The carbon paper worked perfectly on all but 2 of the signs — they were too dark and rough to handle the carbon transfer. On those two, Mom did cut out the letters and then use the paper as a stencil, but on all the others, the carbon paper worked like a charm. I had never crafted with carbon paper before, but I think I will probably find uses for it in the future now that I know how awesome it is.

SignPost&MattFinal Touches

Once all the signs were painted, Matt sprayed them all with a few coats of polyurethane from Home Depot to keep them protected in our harsh Colorado sun and weather! Then we put the post up in the garden and screwed on the signs.

I LOVE it! It’s just the cutest thing in my backyard!

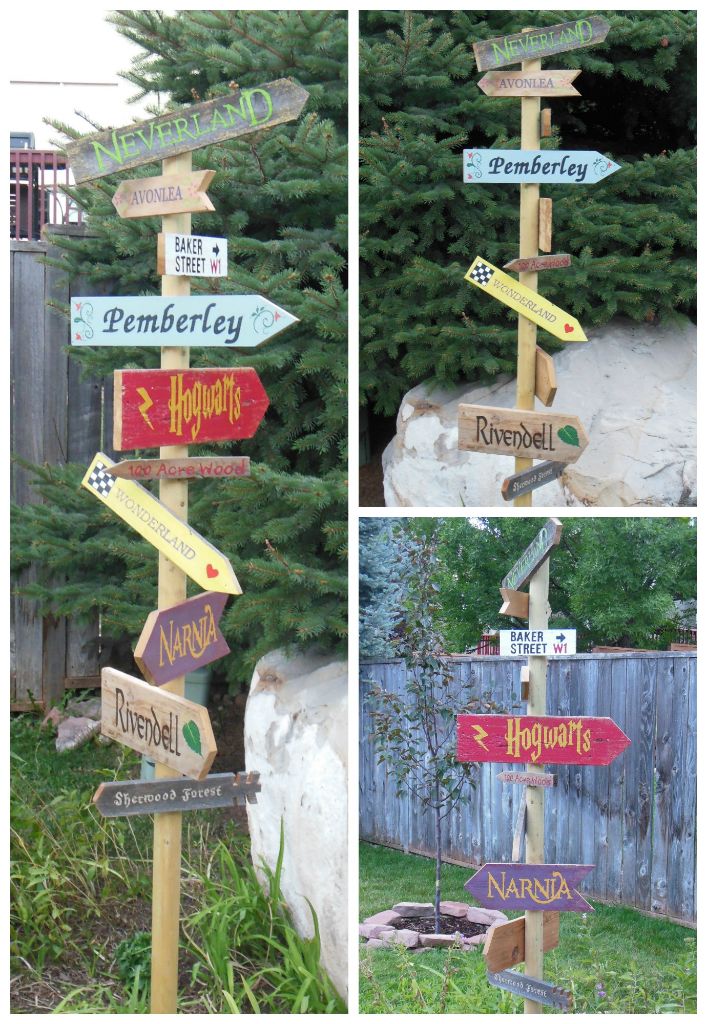
LiterarySignPostDo you recognize all of the locations?!

Anniversary Card Book

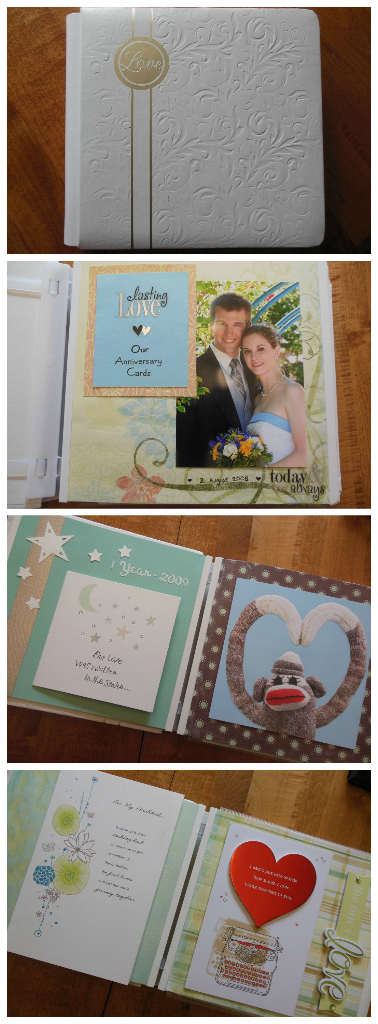
Our (7th!) wedding anniversary is quickly approaching, so I thought I’d share a recent project I did with our anniversary cards. I collected the anniversary cards we’ve given each other since we got married and put them into a small scrapbook! I like the idea of using old cards to continue enjoying them (did you see my post on ways to use Christmas cards?), so I love what I’ve done with our anniversary cards. Now our cards of love and appreciation to each other are in one pretty place where we can enjoy them at any time!

Anniversary Card Book - mjblythe.com

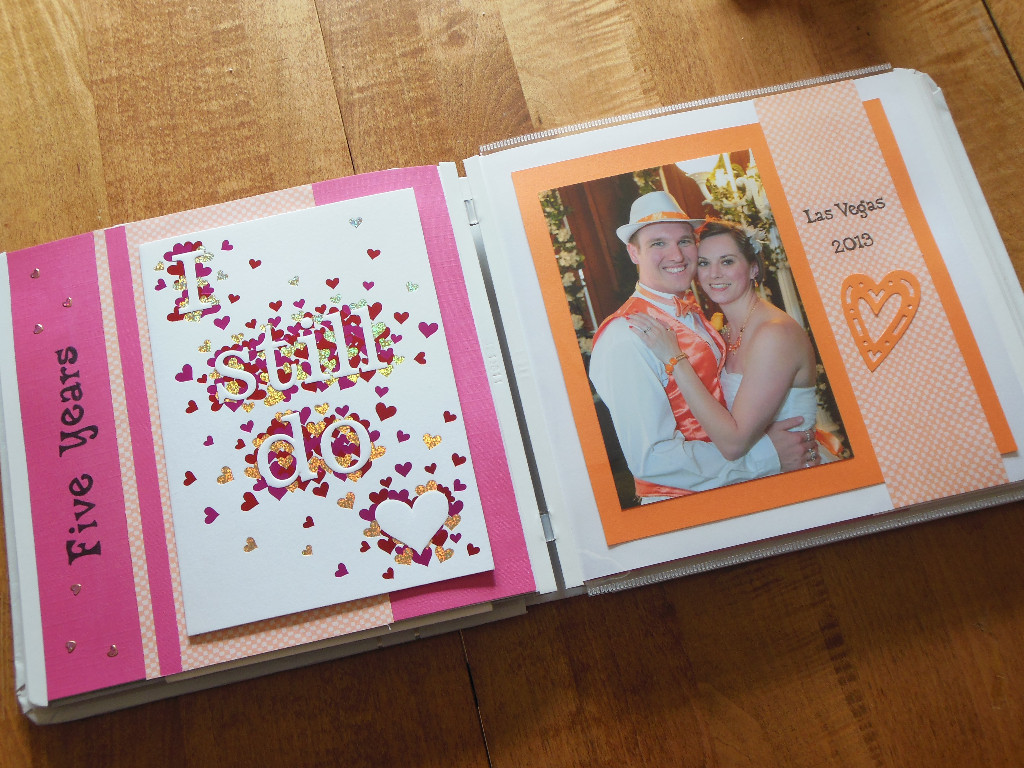
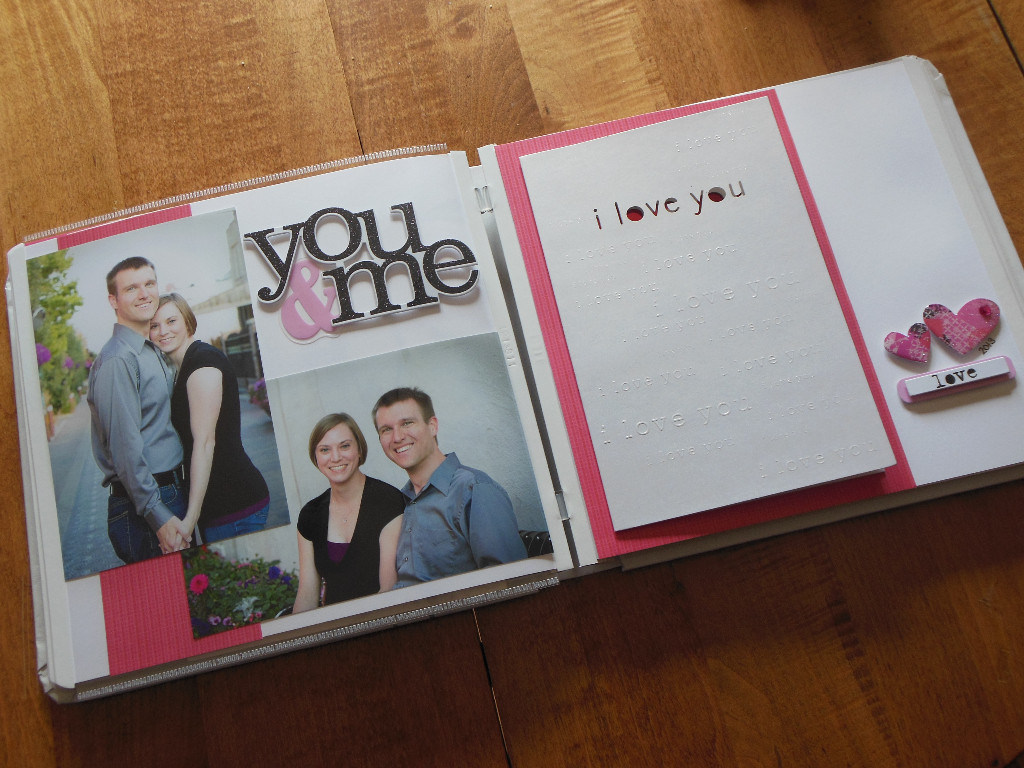
I have only included a few pictures: a wedding picture on the title page, and pictures at our 5 year anniversary. That year we had professional photos taken of the two of us, so I put 2 of those in there, and we “got married” again in Vegas, so I put one of those photos in too! All the other years so far only have the cards.
anniversary card book - vegas - mjblythe.com

anniversary card book - 5 years - mjblythe.com

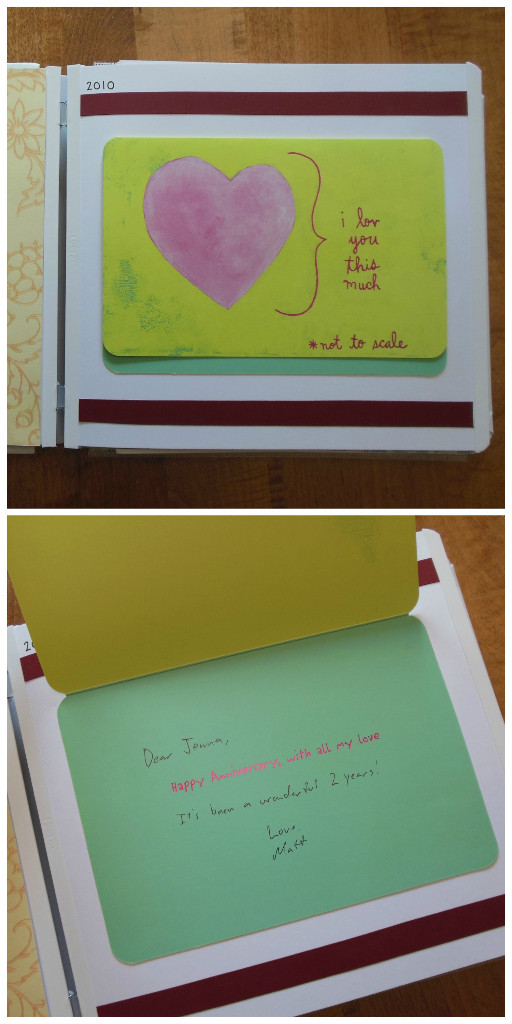
The album I used is a strap hinge style album from Creative Memories. These scrapbooks have slide-on page protectors. In this album, I have only used the page protectors on 1 page so far (the 5 year anniversary pictures page). On all of the other pages, I wanted to be able to open the cards, so I have not used page protectors.

anniversary card book - open card - mjblythe.com

I had a lovely time sorting through our cards and putting this together. It was a quick project and it was fun to see the cards and notes we’ve exchanged over the years!

Outdoor Living ~ Part 1

2015 Front Yard - mjblythe.com

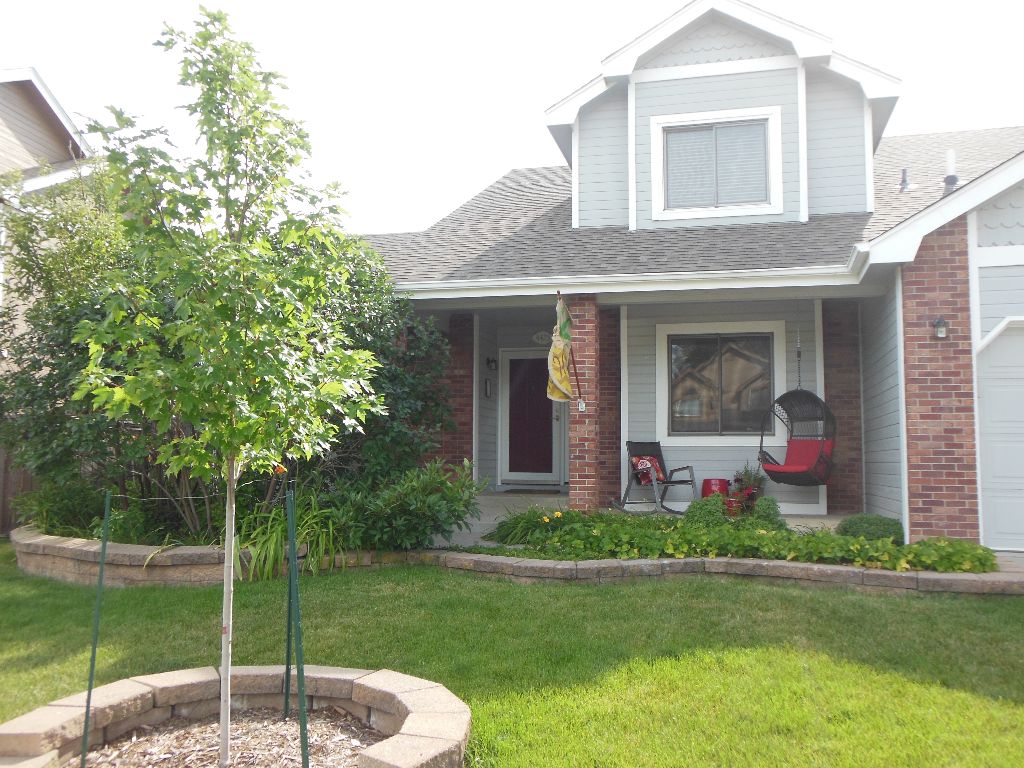
I am sure it will come as a shock to no one that I have grand plans for our yard. But since we cannot possibly do all of my projects at once (I have projects in mind for inside the house too, of course!), we have to pick and choose what to work on. This spring and summer we are focusing on our outdoor living spaces! First space completed: the front of our house!  Our front yard, porch and door have all received a few updates this spring and summer! :-)

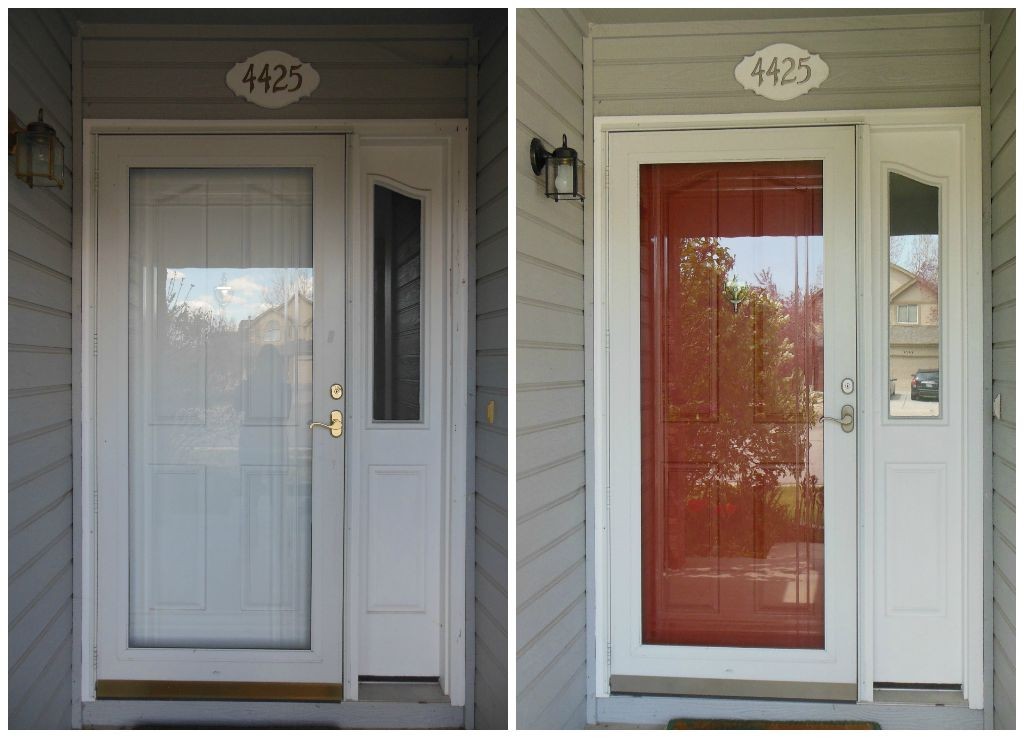
First, we painted our front door — inside and out! It used to be white and boring and now it is red on the outside and green on the inside, and I love it. According to a little book I have, Fortune-Telling Book of Colors (Chronicle Books LLC, 2014), a red front door means, “Your home is filled with love, and you welcome visitors with open arms. A red door is also believed to draw prosperity into a house.” That all sounds good to me! But they forgot to mention that it’s adorable too.

2015 Front Door - mjblythe.com

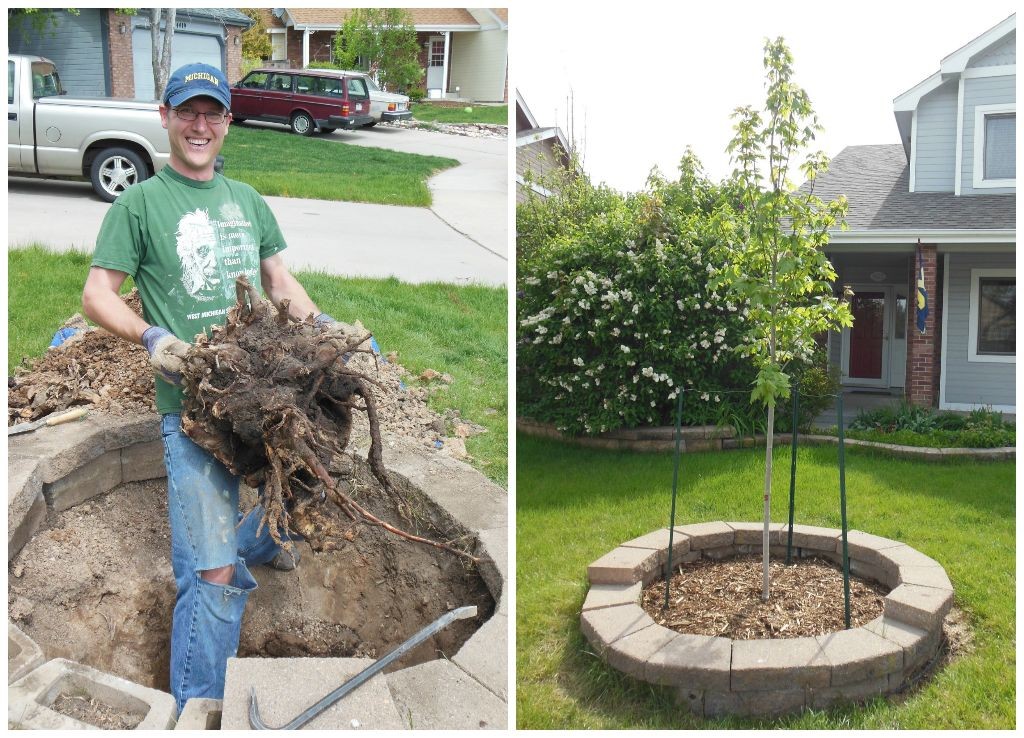
Next, we planted a new tree in the lonely circle in the middle of the front yard. Turns out the previous owners left an old stump there and just planted grass over it… so first Matt had to dig out the stump. This was a lot of work, but he finally beat the stump and on the fourth of July we cooked hot dogs and s’mores over it. Take that, stump! And our new tree is so nice and has already grown a lot.

2015 Front yard tree - mjblythe.com

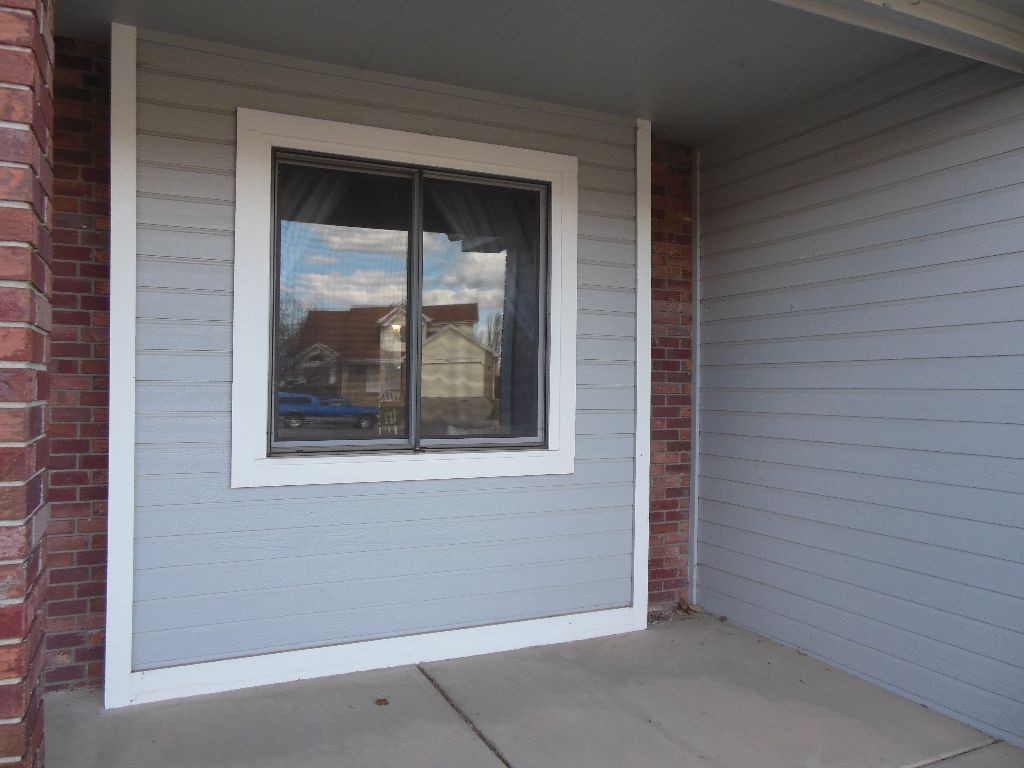
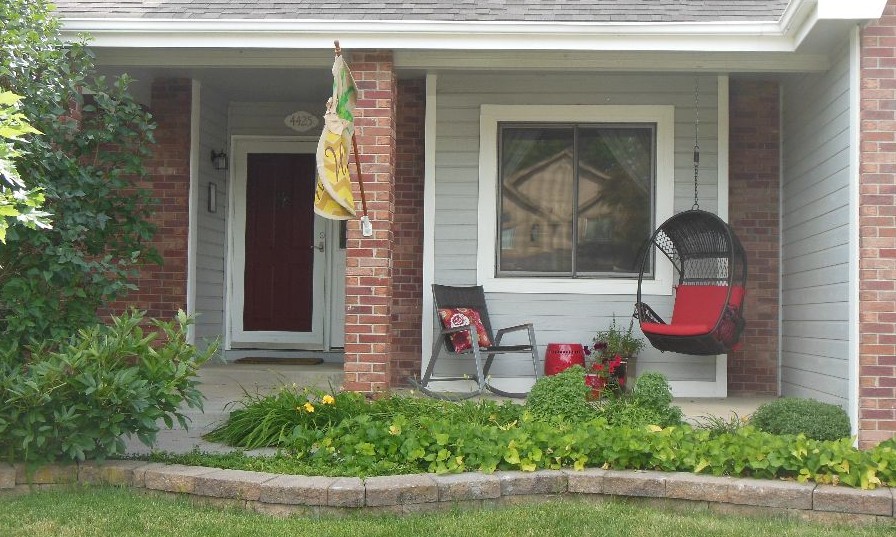
And last, but not least, our front porch is (finally) decorated! Last year it sat looking sad and lonely, and we never used it.

Lonely front porch

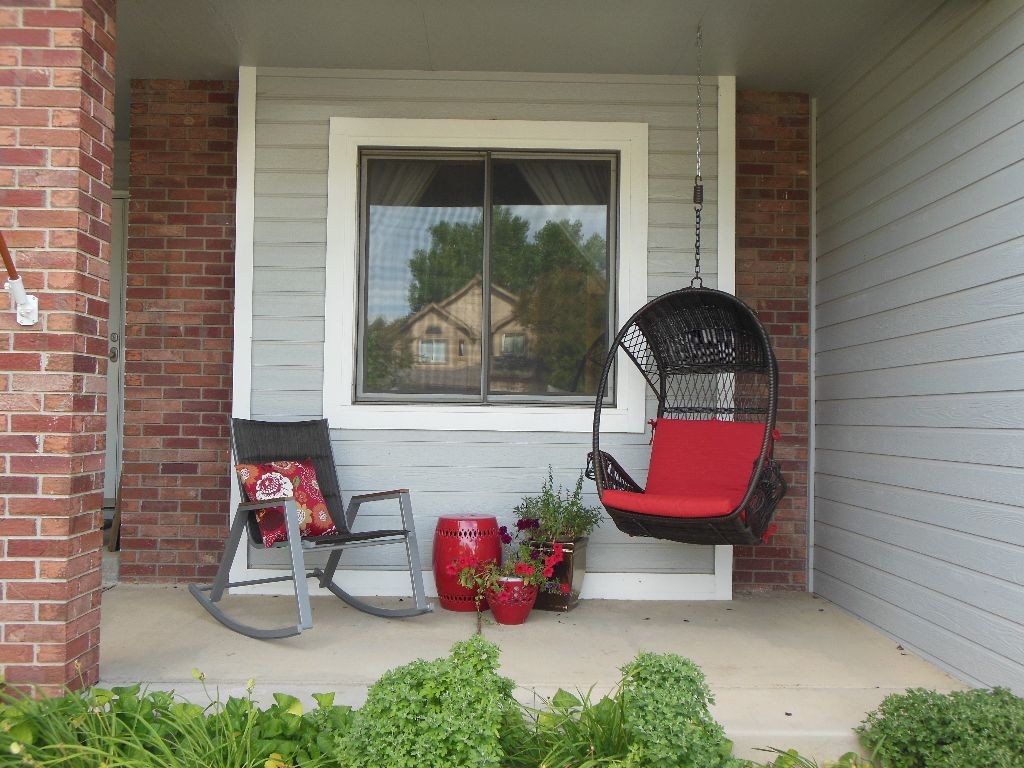
This summer I gave the porch some love! Now it’s so cute and we have been using it a lot. We like to sit out on the porch and have a drink or eat dessert, relax and talk, wave to and chat with the neighbors, and I’ve even watched a few rain storms from there too! It’s covered and mostly protected from the elements, so it’s perfect for storm watching.

Front Porch 2015 - mjblythe.com

Ingredients:

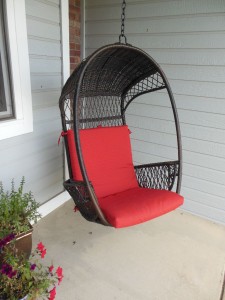
  • Swingasan chair from Pier 1 (I call it the “basket swing”) with a red cushion from Target. This chair is apparently an object of envy — I’ve had at least 4 neighbors comment on it!
    swingasan - mjblythe.com
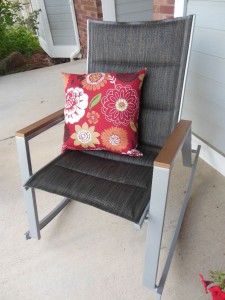
  • Rocking chair from Target with a floral pillow from Lowe’s
    Front porch rocking chair - mjblythe.com
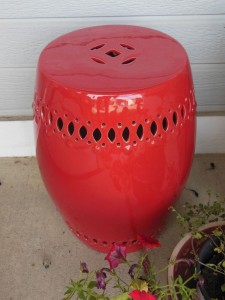
  • Red garden stool from Home Goods (Seriously, those things are SO expensive. If you want one, check your local Home Goods or a similar store. The prices there are much better!)
    DSCN7360
  • Flower pots and flowers (we have problems remembering to water them though..!)

2015 Front Porch 2 - mjblythe.com

So that’s the front of our house this year! I’m very pleased with the changes. Thanks to my wonderful and (mostly) patient husband for all his hard work!

Update: Check out my post Outdoor Living ~ Part 2 too — we made some changes in our back yard as well!


Spring Tour 2015

Happy spring, my friends!

Spring is always a fun time to pull out some decor that has been hiding all winter and freshen things up a bit. Here are a few pictures of spring and Easter at my house this year!

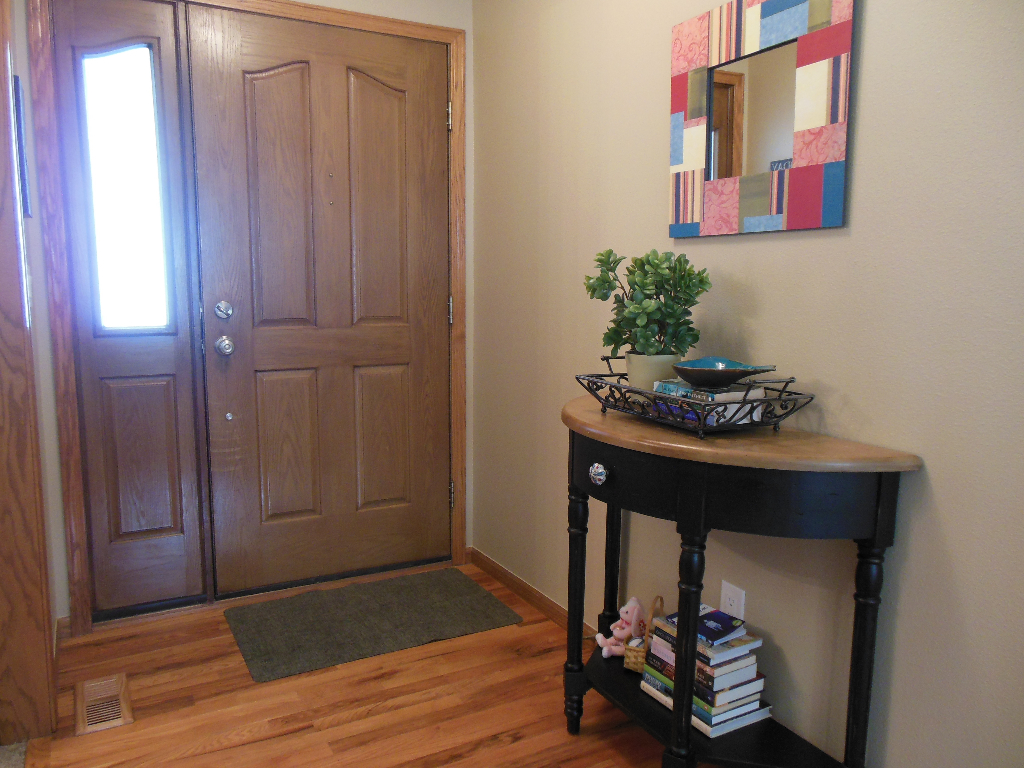
Here’s the entry. It’s complete with a little Easter bunny and a basket of glitter eggs! Also, we’re getting ready to paint our front door, inside and out. This will hopefully be looking different by tomorrow!

Spring entry 2015Easter Bunny & Books spring 2015

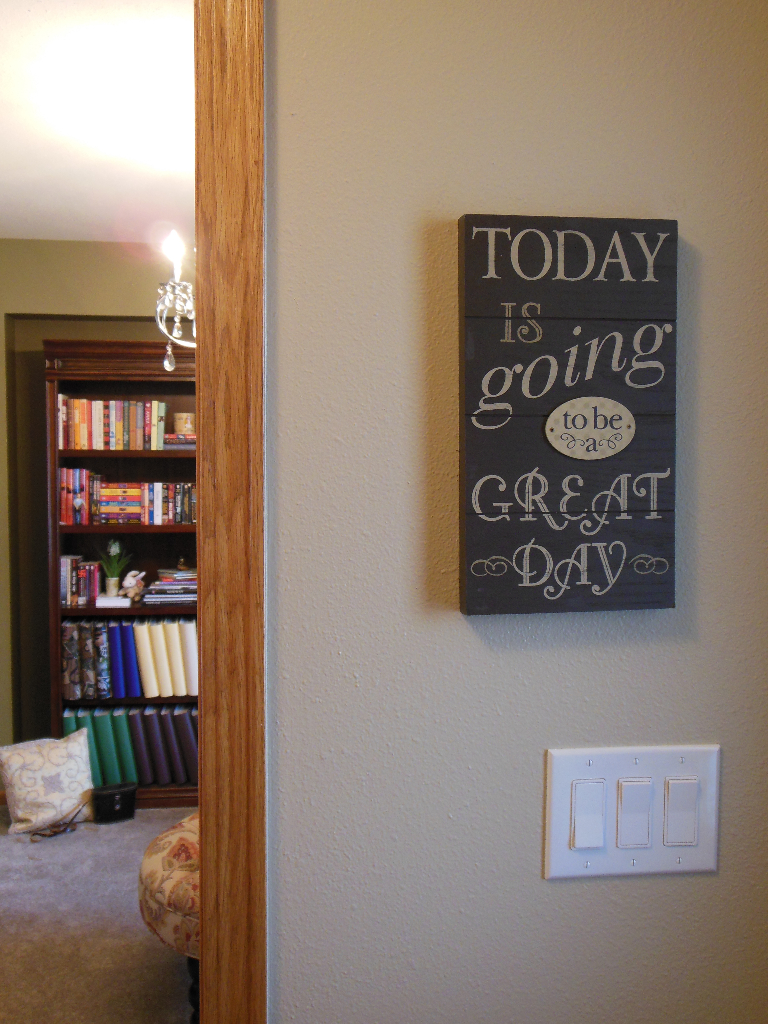
This cute little sign hangs by my front door, on the way into my Jane Austen Room. It makes me smile.

Today is going to be a great day

In the Jane Austen room I placed a few little bunnies! This one is a stuffed animal from my childhood. She’s such a cute little thing.

Bunny on piano spring 2015

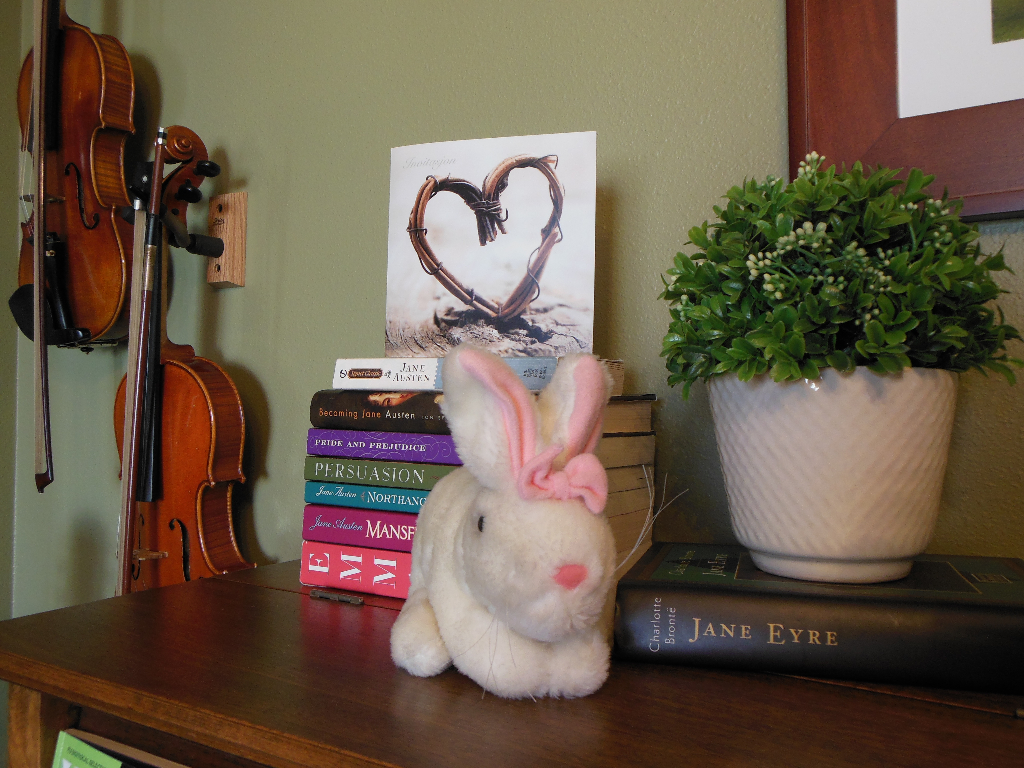
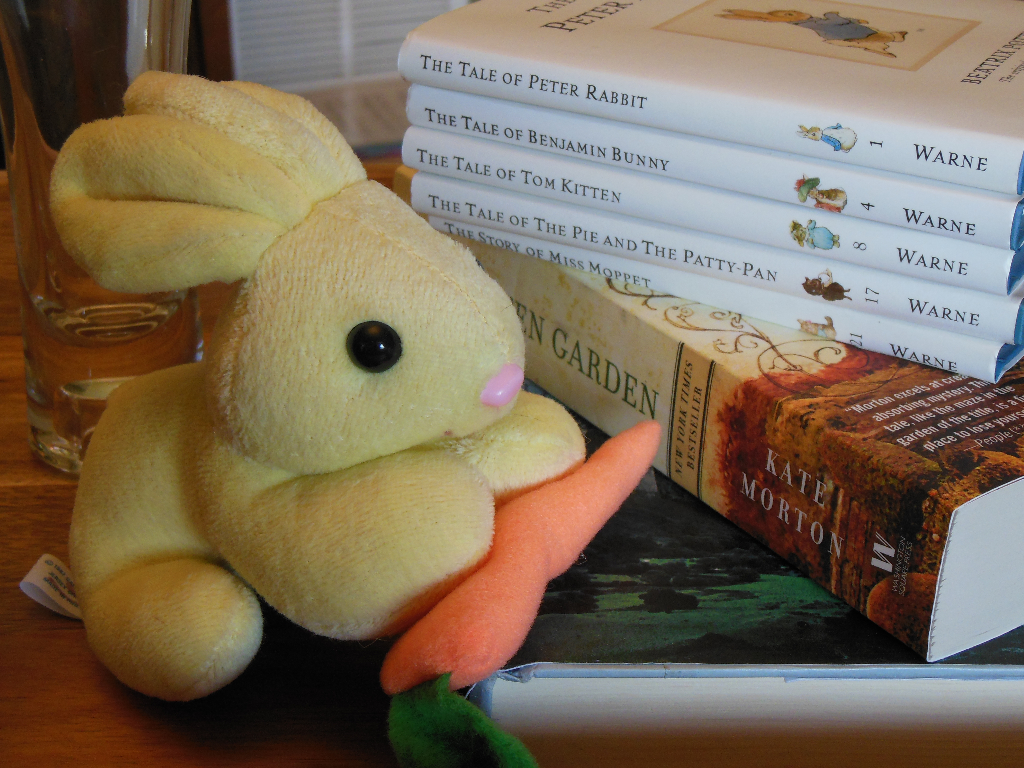
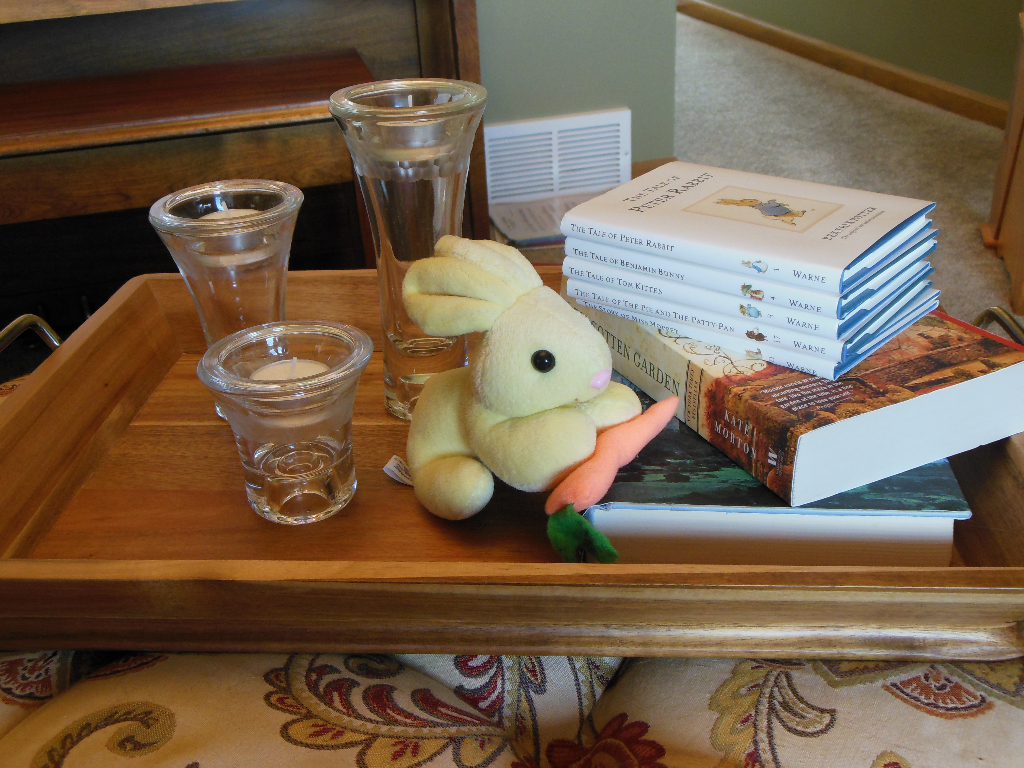
This one is also a stuffed animal from my childhood. It’s so cute with my Beatrix Potter books!

Bunny & books spring 2015Spring tray 2015

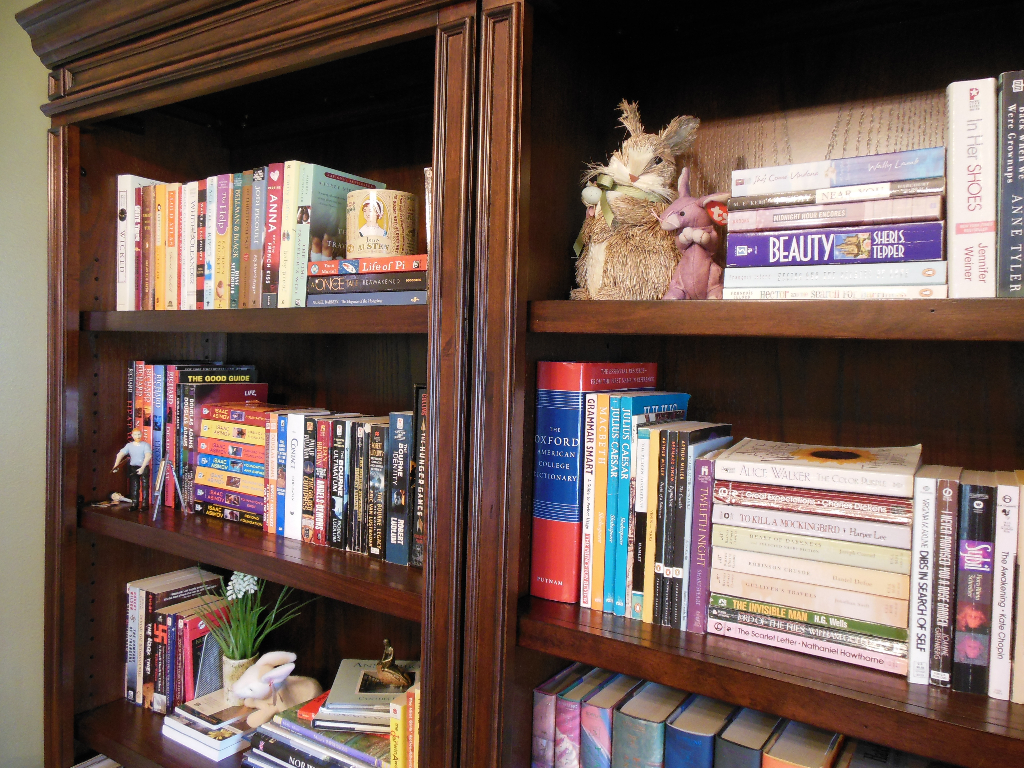
I also put a few little bunnies in my book cases. Can you spot them? :)

Bookshelves spring 2015

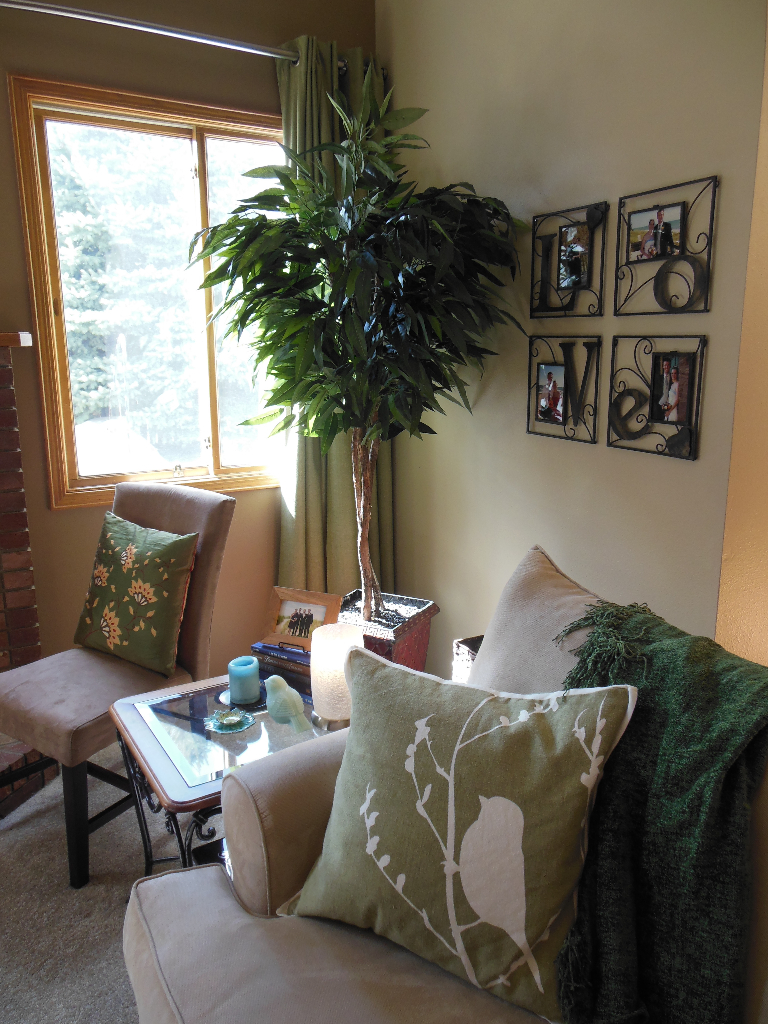
In the living room I have lots of fun little spring things.

Spring living room corner 2015

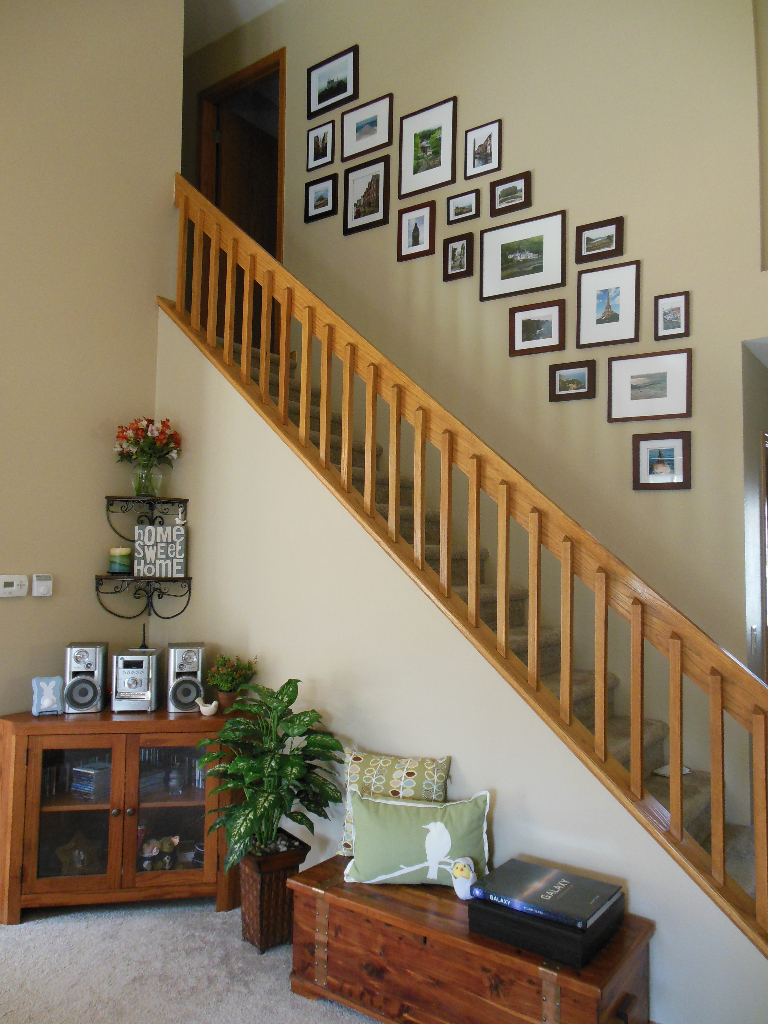
Stairs Spring 2015

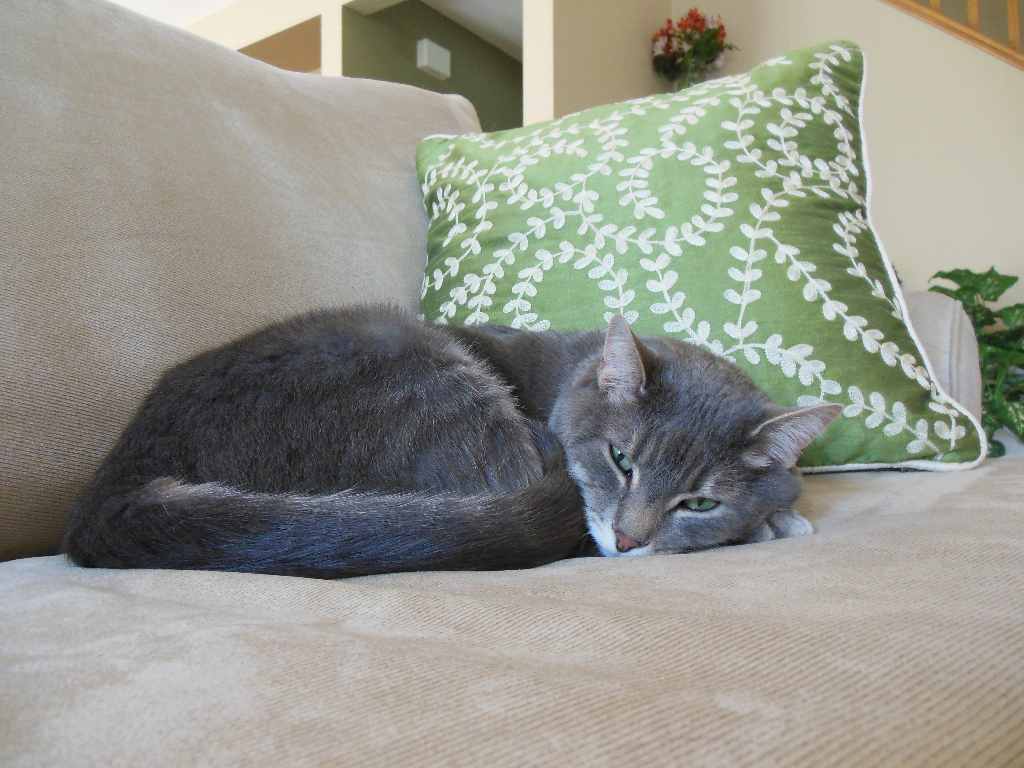
I also have sleepy kitties in the living room.

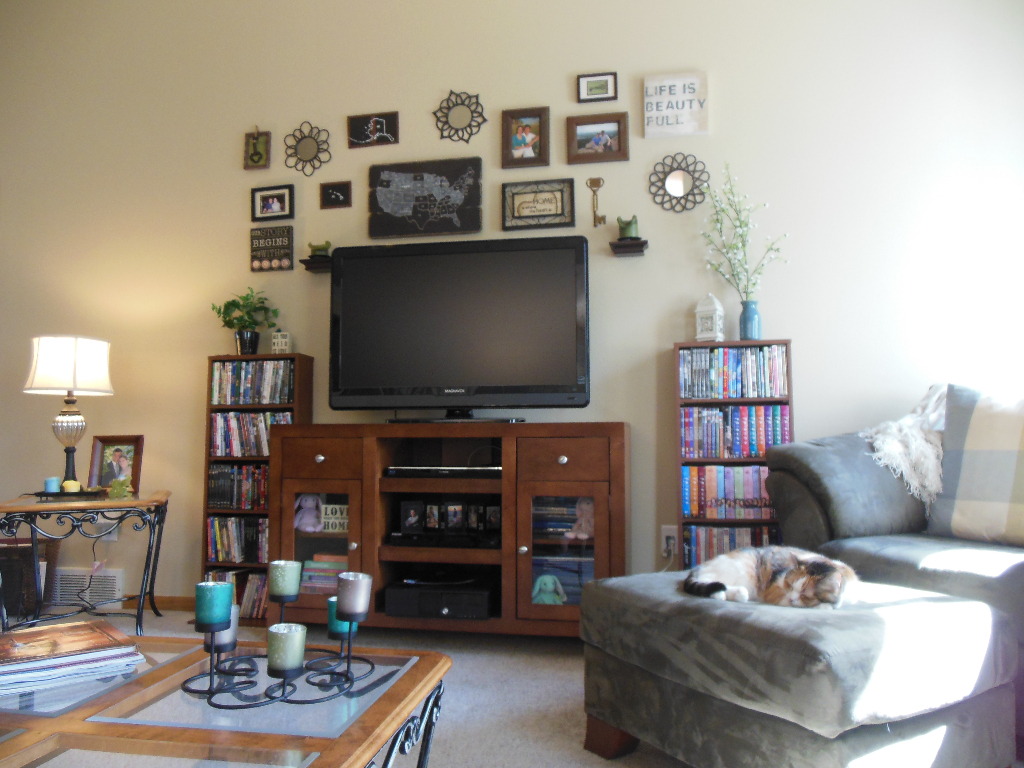
Living Room Spring 2015

Theo spring 2015

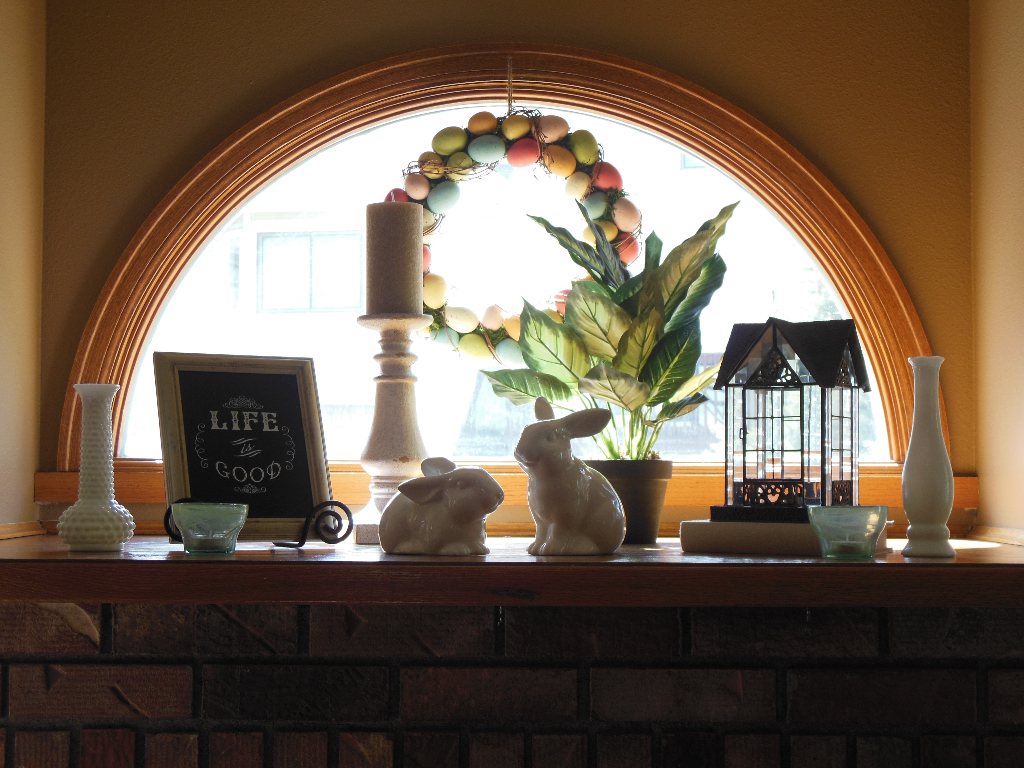
I made an arrangement on the mantel with ceramic bunnies and an Easter egg wreath.

Easter Mantel 2015

Here’s one more picture of the living room:

Living Room (2) Spring 2015One of these days we’ll get a new chair to live by the lonely side table..!

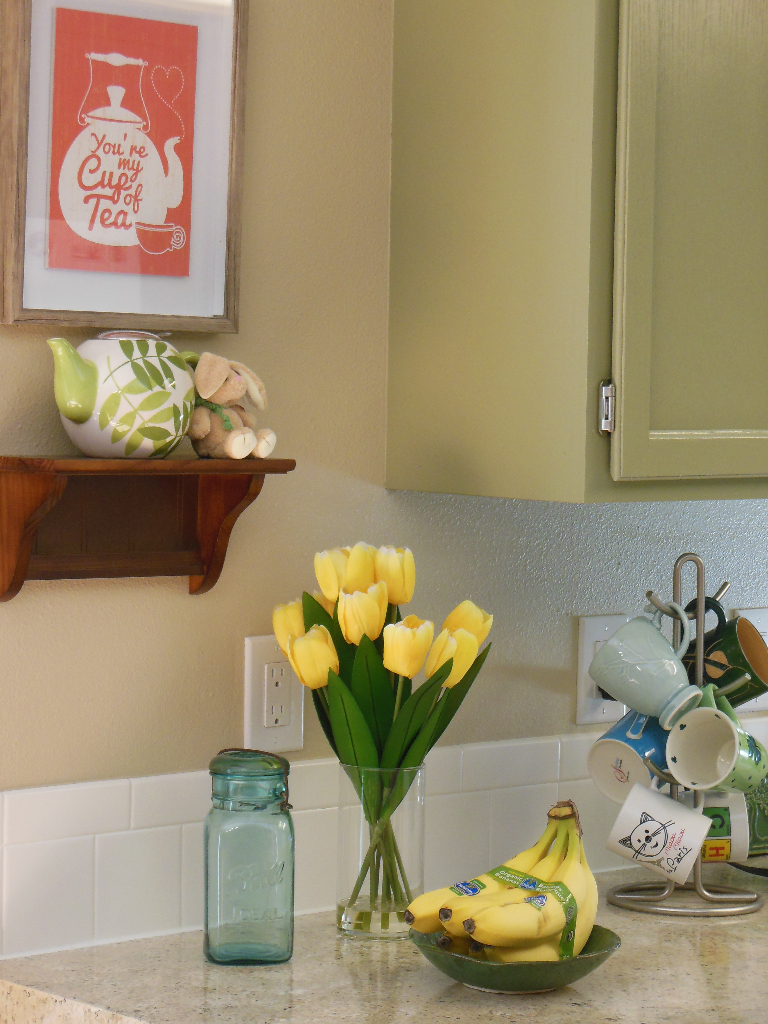
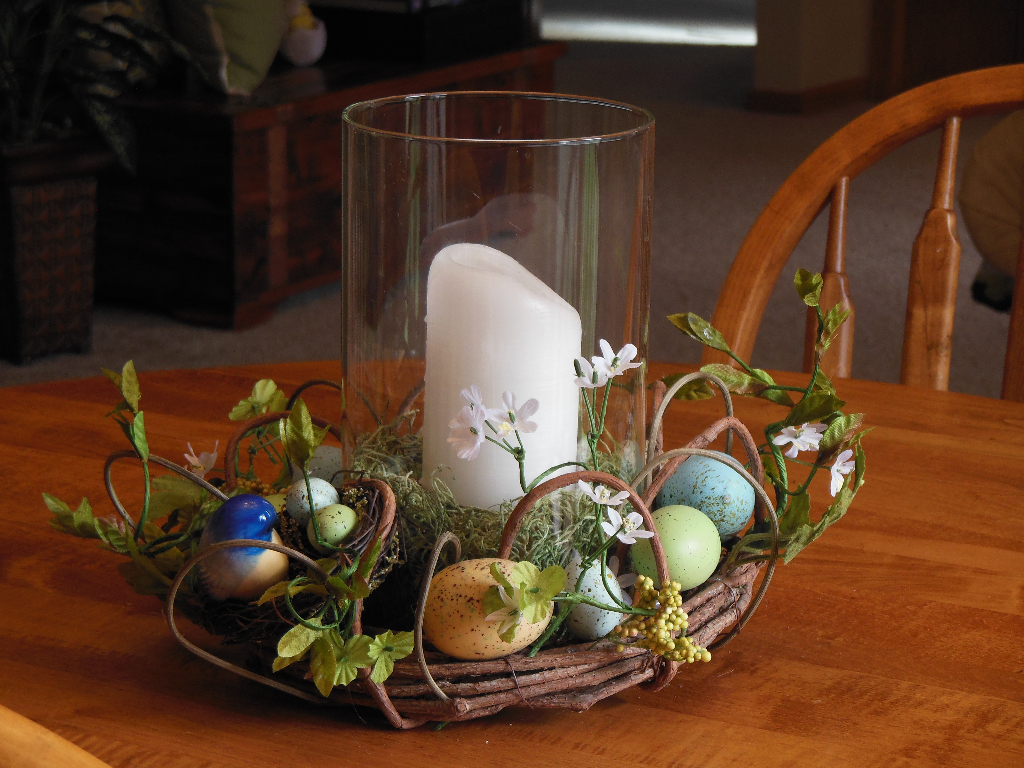
In the kitchen I have a pretty center piece on the table, a couple cheerful items on the counter top, and a little tiny bunny by my tea pot!

Spring Centerpiece

Kitchen corner spring 2015

Even things outside are starting to look like spring!

Spring 2015

What kind of spring cheer is at your house?

Laundry Room

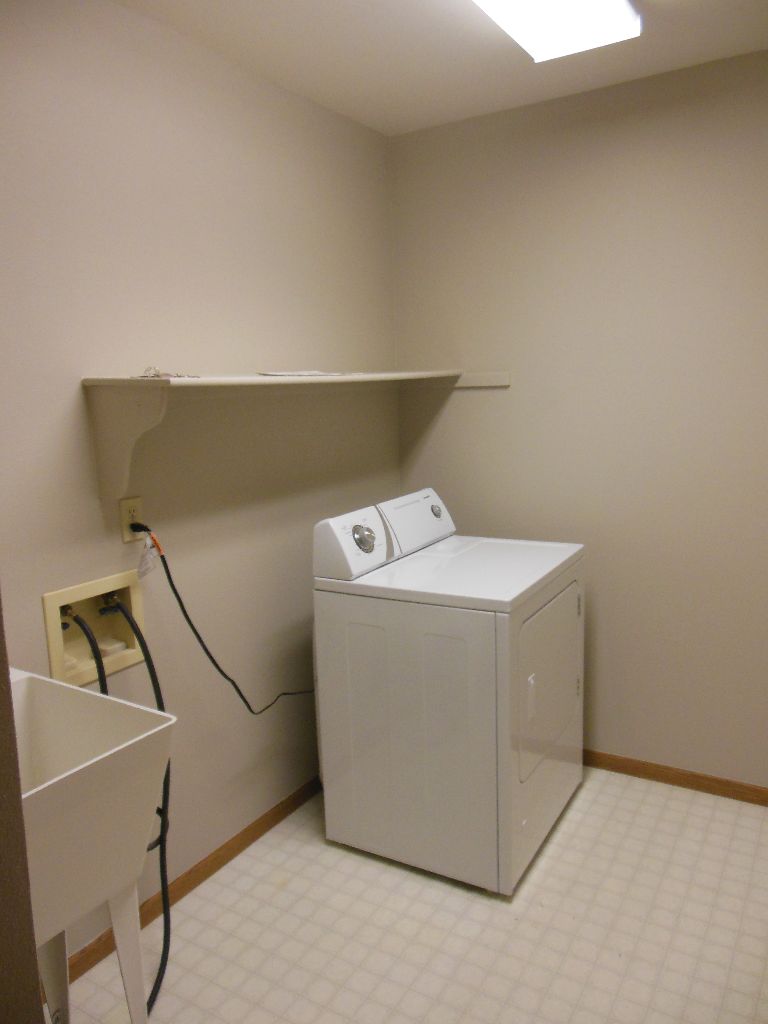
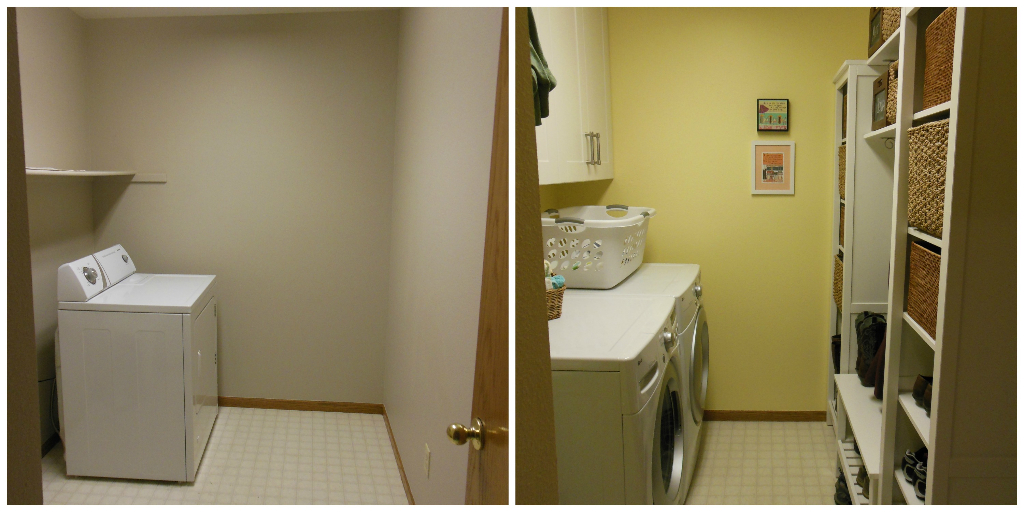
It has been a work in progress for a while… but my laundry room is finally finished receiving its makeover! (Until we tile the floor..?!) When we bought the house in March 2014, this room only had a sink, a shelf, and a dryer. That’s not even close to enough storage. Updating this room was one of my TOP priorities. It was the first room we painted, and one of the first to receive attention from my handy father too. Dad helped us install a mud room wall, a new vanity and sink, and cabinets over the washer and dryer. It’s a completely different space from a year ago!

Before: Laundry - Before

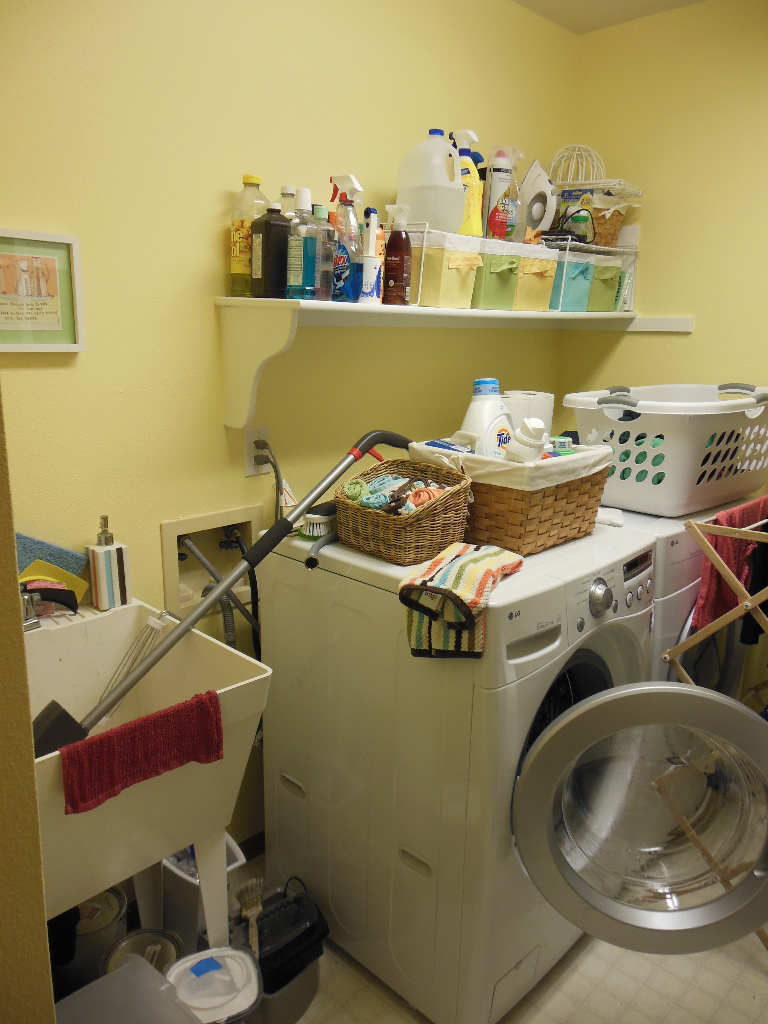
After we moved in, to no one’s surprise, this room needed serious help. It was an absolute mess and it drove me nuts. The picture is embarrassing.

Laundry Room - help!

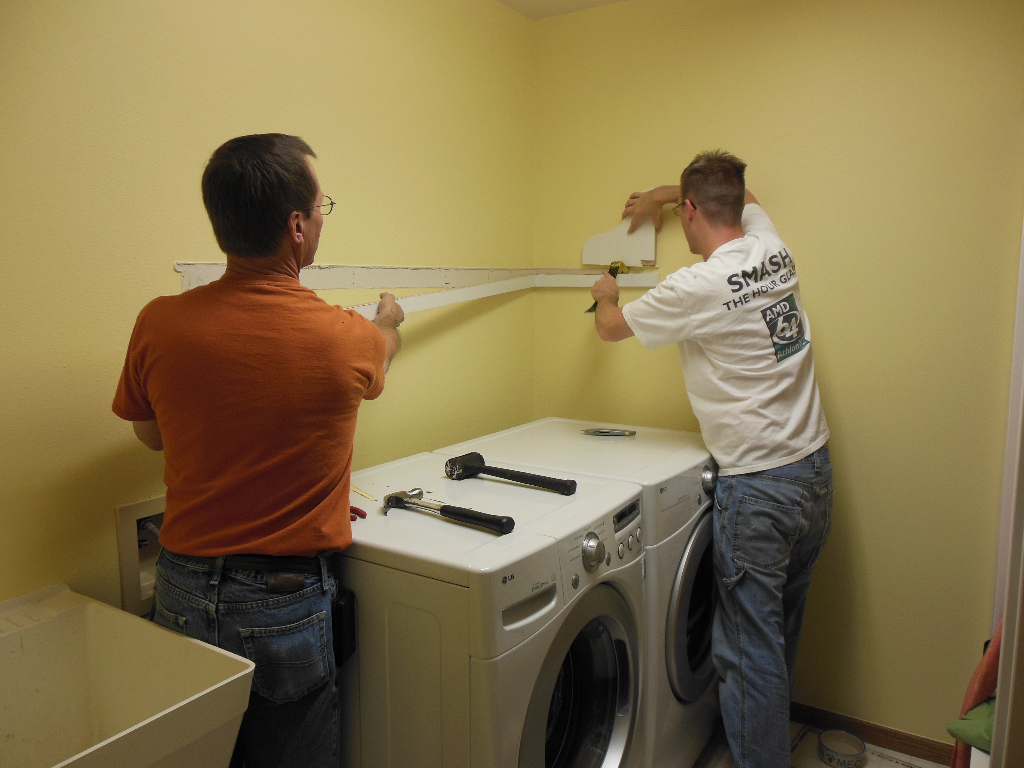
Here are my amazing workers (my dad and my husband) getting ready to install the cabinets. Thanks guys!

Laundry Room - in progress

After the updates:

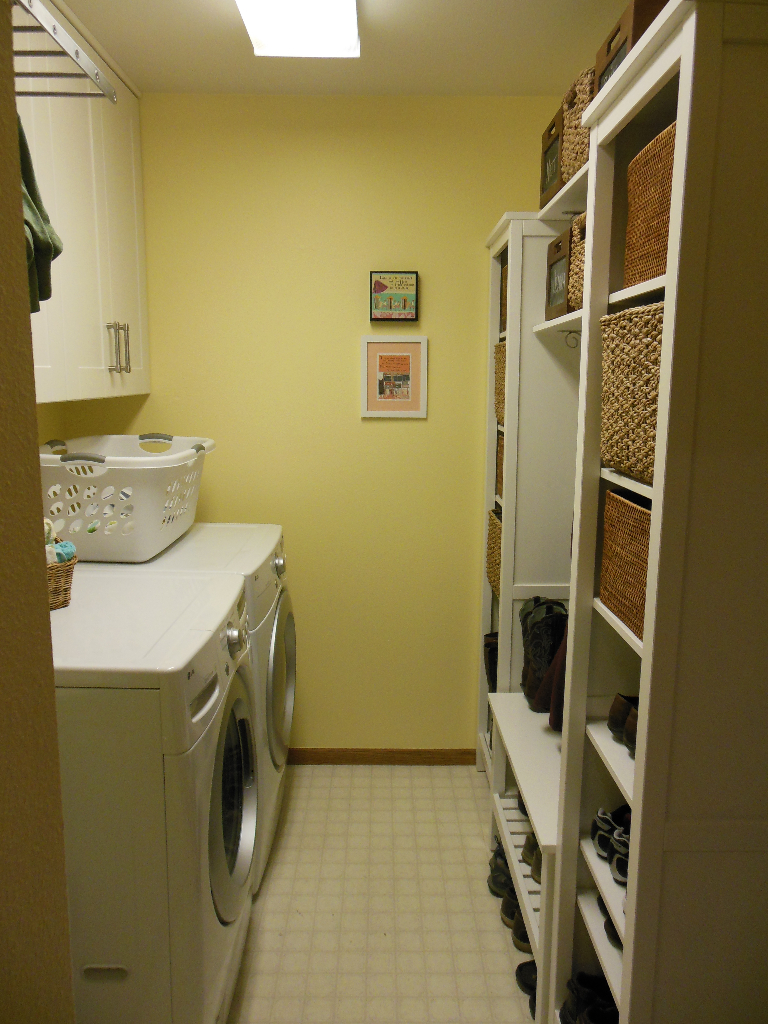
Laundry Room - After

It’s just beautiful!

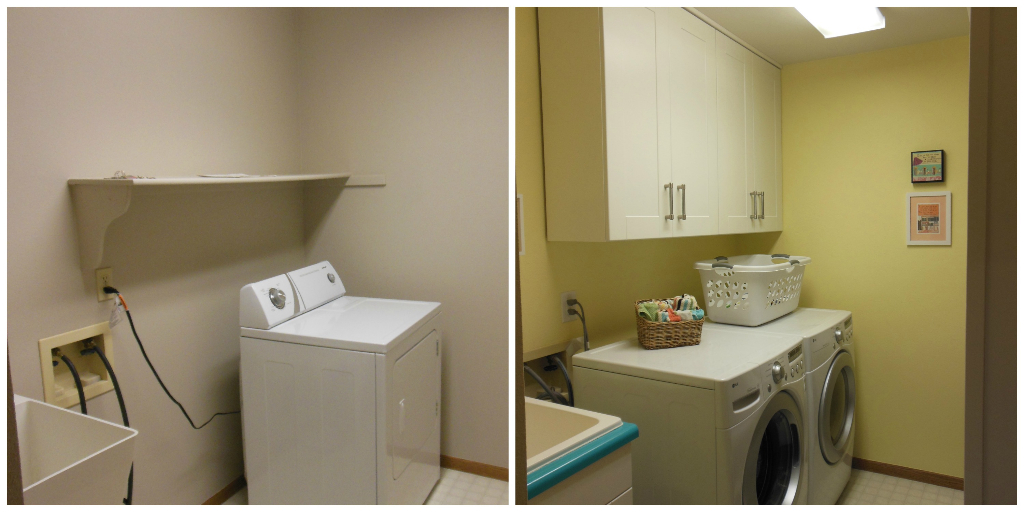
Laundry Room - in progress 2The cabinets over the washer and dryer and the sink base/vanity are from IKEA. We wanted a deep utility sink instead of a kitchen sink though, so we decided to buy the sink somewhere else. The problem with this is that the IKEA pieces are in European sizes, not US sizes… so we had a hard time finding an easy solution for the counter top and sink. We ended up buying a new drop in utility sink and buying a used piece of counter top from our local Habitat Re-Store, cutting it to size and painting it blue. I wanted a wild color there… and I LOVE it!

In the new sink cabinet base we also have a hidden kitty litter box. It’s amazing. Check out my post on that project here!

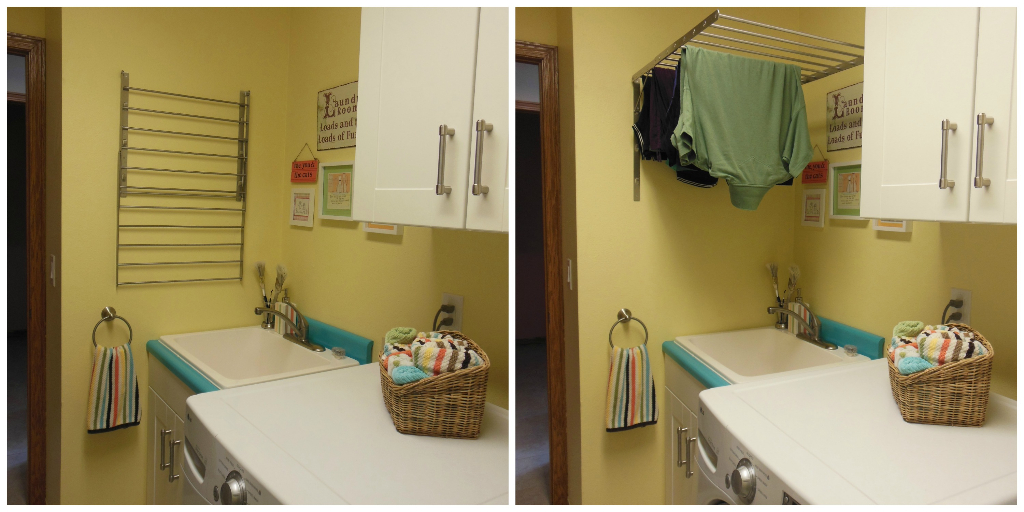
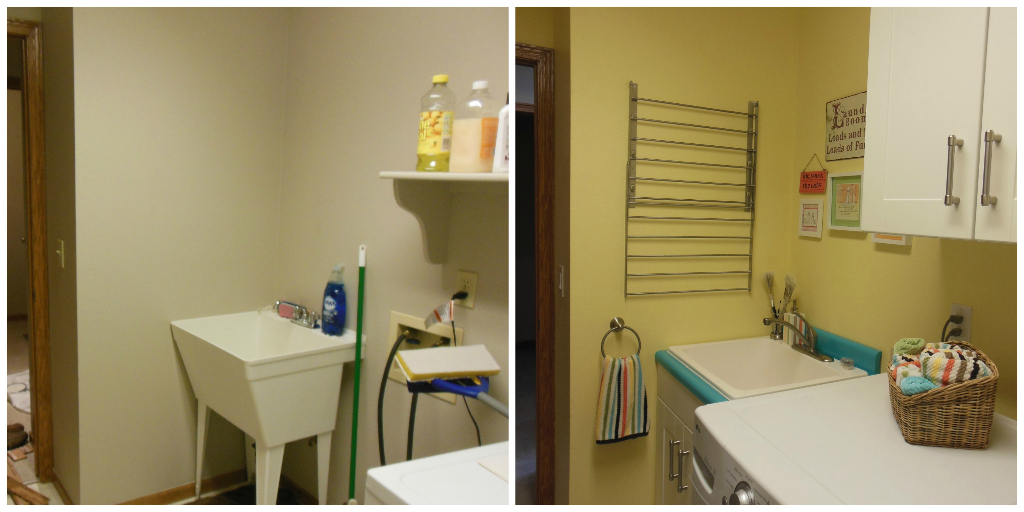
The drying rack is also from IKEA, but Matt modified it. I hang dry a LOT of clothes, and the standard rack off the shelf wasn’t large enough… so we bought two and Matt took them apart and combined them to make one long rack with more rods. It’s perfect and awesome. We were careful to hang it high enough over the sink that we can still easily access the sink while clothes are hanging.

LaundryDryingRack

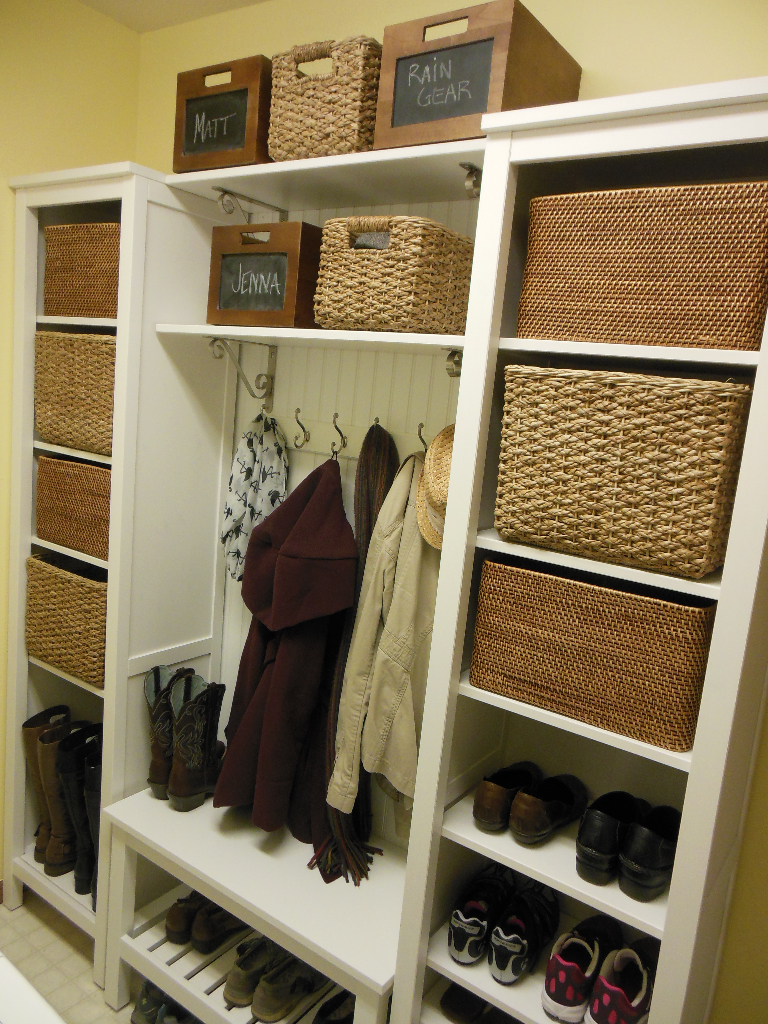
The mud room wall also has pieces from IKEA. They seriously know how to utilize space! Our wall consists of:

  • 2 IKEA “Hemnes” bookcases
  • 2 IKEA shelves
  • 1 IKEA “Hemnes” bench
  • Bead board
  • 1 Hook Rail

The new mud room wall is beyond awesome. I am so pleased with how it turned out! I had searched pinterest for days before deciding what I wanted… and I’m so happy with my solution.

Laundry Room Mud Wall - AfterThe adjustable IKEA shelves allow us to store all kinds of strange sized shoes, from tall boots, to flip flops! I also selected a few different baskets to keep things interesting. The baskets are from Target and Crate & Barrel. Matt really likes the ones with the chalkboard!

In the baskets we are hiding things like:

  • Helmets and cycling accessories
  • Hats and gloves
  • Umbrellas
  • Sunglasses

Here are some fun side-by-side before & after pictures:

LaundryRoom2LaundryRoom1LaundryRoom3

It may have taken a while to get this room put together, but it was worth the wait. It’s just what I wanted! :-)

Pin Me:

LaundryRoomPin


What litter boxes?

One of my dreams come true at our new house is hidden kitty litter boxes! I love my adorable kitties, but no one loves their litter boxes. So a goal in our new house was to hide their boxes somehow to make them not so ugly and annoying for ourselves and guests, but available and convenient for the cats.

Here are my cats:

Kiki

Kiki

Theo

Theo


And here are before pictures of their not-so-adorable litter boxes:


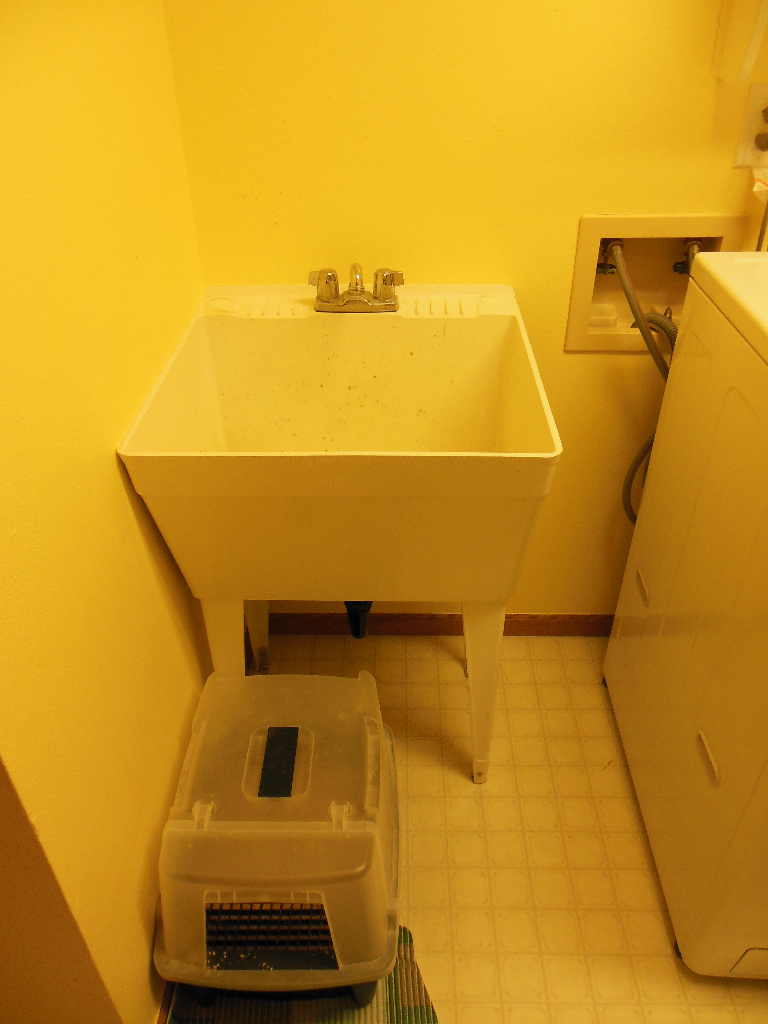
Laundry room. Litter box in front of utility sink = super annoying.

Laundry room. Litter box in front of utility sink = super annoying.


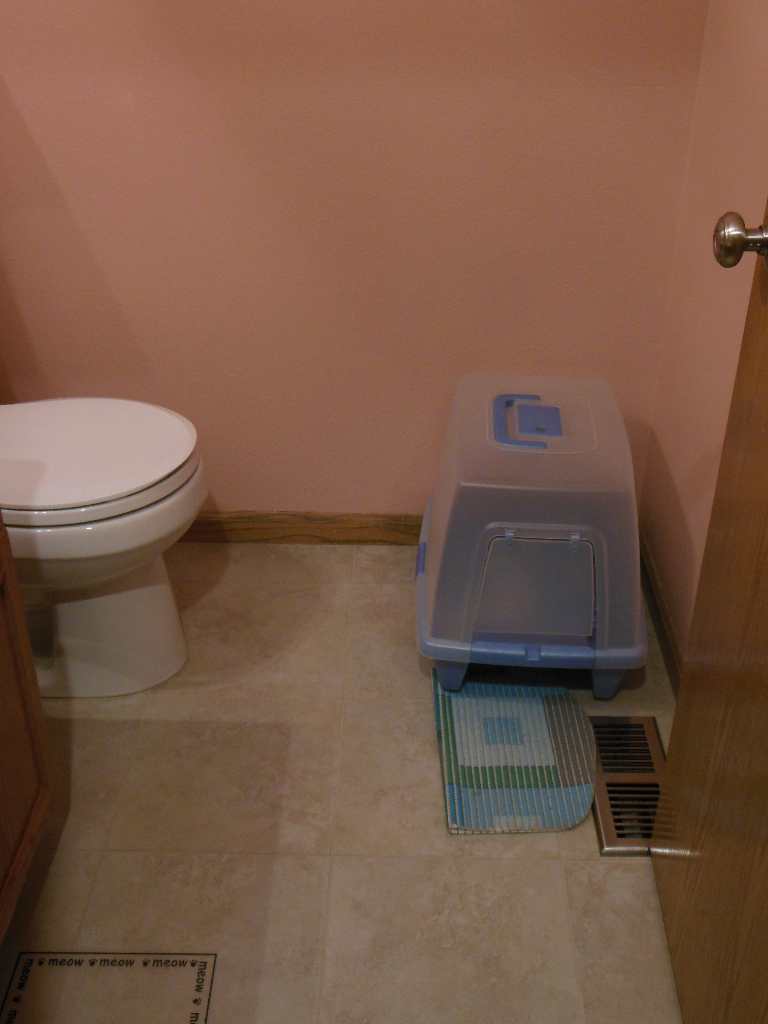
Powder Room -- When the cat box was here in the corner, we kept Theo's food and water by the sink. It was so annoying and ugly.

Powder Room. When the litter box was here in the corner, we kept Theo’s food and water by the sink. It was so annoying and ugly.

I couldn’t wait to get these suckers out of the way and hidden. Although, now that I say that, it seems that I’m all about hiding things at my house..! (Did you see my post, “Hide the TV“?) But I’m not — I don’t hide everything at my house! Seriously though, all of our spaces have things we need for certain functions, but that doesn’t mean we always want to look at them. So I try to make spaces beautiful while accommodating function.

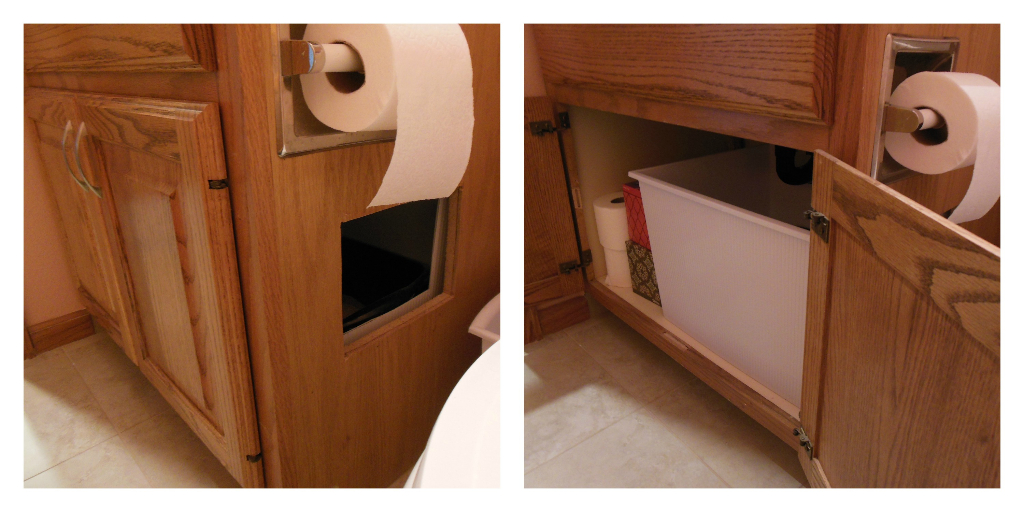
Back to the litter boxes. I looked at some ideas on pinterest for hiding litter boxes and decided that the best way to hide litter boxes in our house was to store the litter boxes inside the vanities in the bathroom and laundry room (each kitty has their own space because of food allergies and medications) and then cut holes through the sides of the vanities to allow the cats to pass through.

Matt was adorable about this, “It will be dark in there. Maybe I should put some small LEDs inside the vanity so that they can see?” He’s so cute. :-) I reminded Matt that they go potty in the dark half the time anyway, and reassured him it would be fine! (And it has been!)

We did this project while my parents were visiting, because my Dad is super awesome and handy! We were also installing a new vanity in the laundry room, as well as new cabinets, and we definitely needed his help. Thanks, Dad!

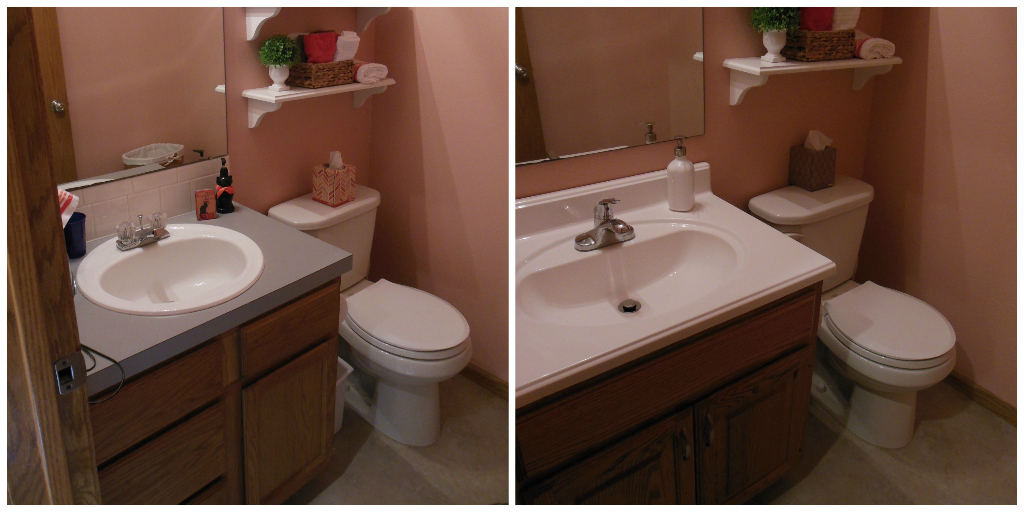
Both of the vanities needed to have double doors to allow the boxes to be moved in and out for placement and cleaning. In the powder room, the vanity that we had consisted of drawers and a single door. This was not going to work. We headed over to the Habitat Re-Store and bought some new vanity doors… then the guys removed the existing drawers & door, cut away the extra pieces framing them, and installed the “new” doors. Perfect! (While they were at it, I also had the guys install a new counter-top and sink! Away with the gray! The new white one looks so nice!)

Powder Room Vanity

In the laundry room, we were installing a brand new vanity, so we just picked one out that had double doors. Easy! :-) (Also, I mentioned that the laundry room received a big update with cabinets at the same time… a post on that project will happen sometime soonish! Stay tuned!)

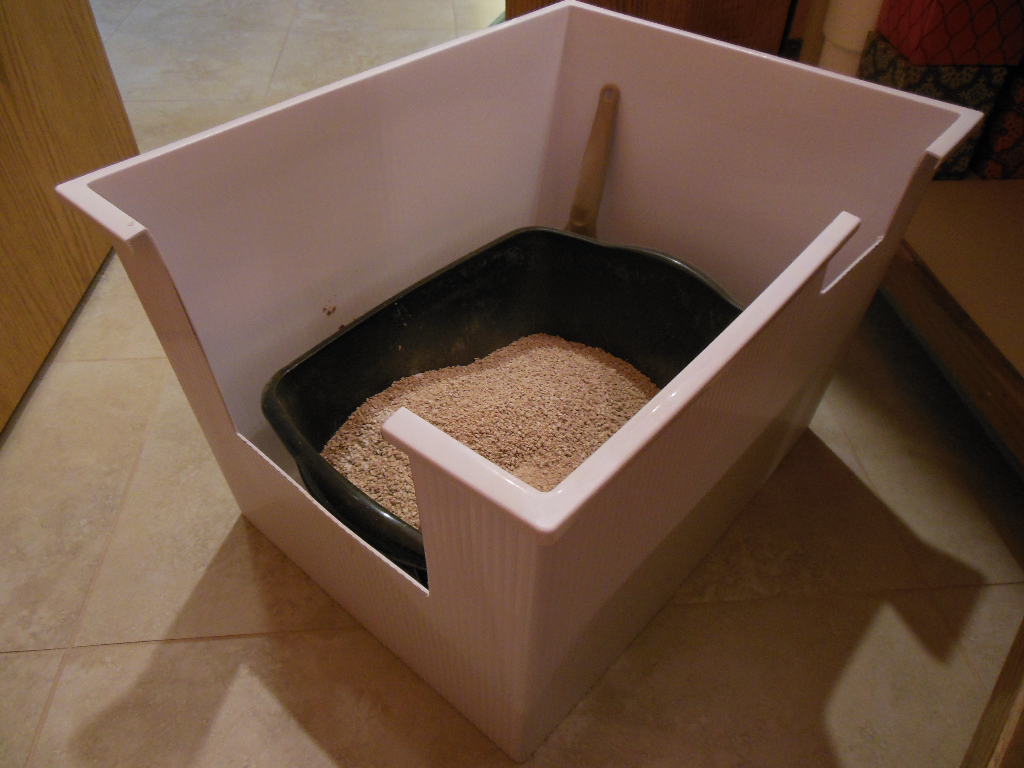
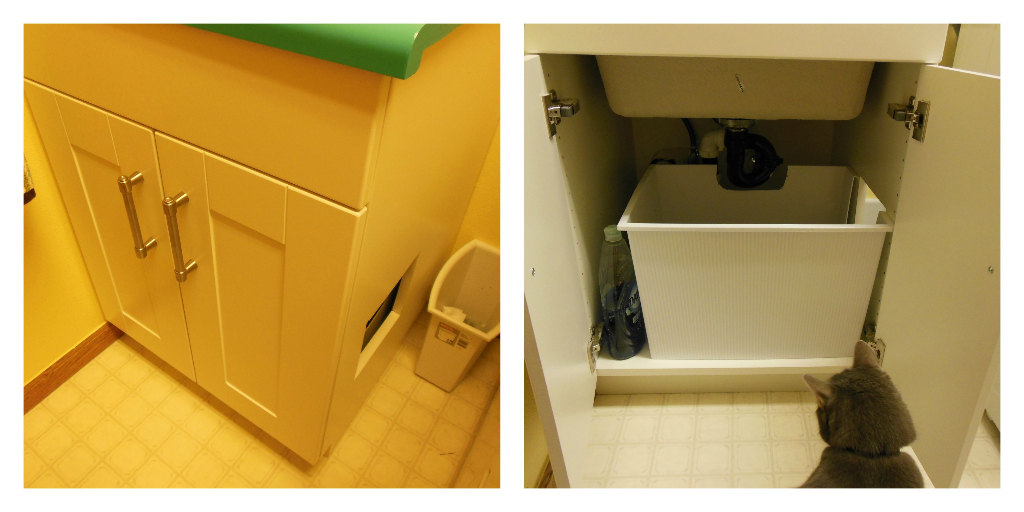
Due to the plumbing, their existing litter boxes wouldn’t fit, so I headed to the store and found some pieces that would work. I ended up with large plastic totes that we cut some pieces out of to accommodate the plumbing, as well as a cut out to line up with the hole in the side of the vanity so the cats can go in and out! Then I put a smaller plastic basin inside each tote that is actually the litter box. The larger tote protects the interior of the vanity from the kitty and box. I can also pull the whole thing out to clean it. Here is one of the totes with the litter box inside it.

new cat box

Finally, the sides of the vanity were cut to match the placement of the totes/boxes inside, and we were finished.  We showed the cats their new bathrooms and we’ve all been living happily ever after! The cats don’t seem to mind going into the vanities and I LOVE not having to look at the litter boxes all of the time! Hurray!

Here are the updated vanities and their litter boxes hiding inside:

Powder Room Vanity 2

Powder Room – Theo’s Room


Laundry Room - Kiki's Room

Laundry Room – Kiki’s Room… but that’s Theo in the picture. He followed me around while I took these pictures!

Christmas Tour 2014

Since it’s our first Christmas season at our new house, I had a lot of work to do in the decorating department this year! I had to find places for all of my items. And I’m loving how things turned out. Here’s a quick little tour!

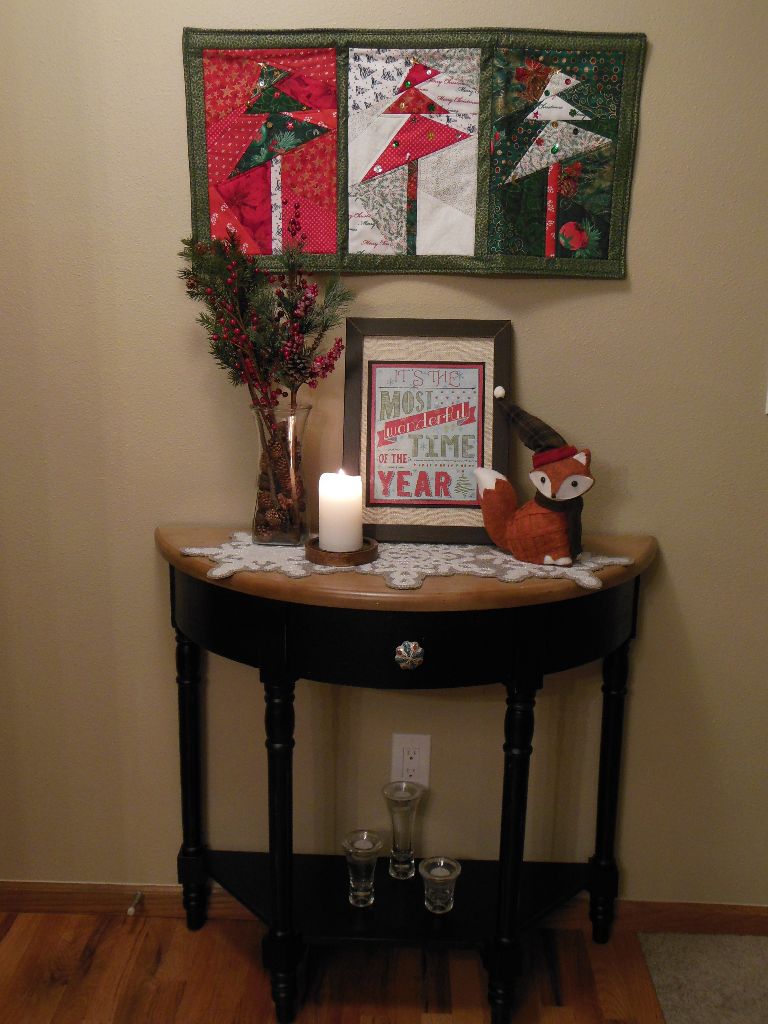
We’ll start in the entryway. I put together this adorable arrangement that makes me smile every time I pass it. :-)

Christmas Entry Way

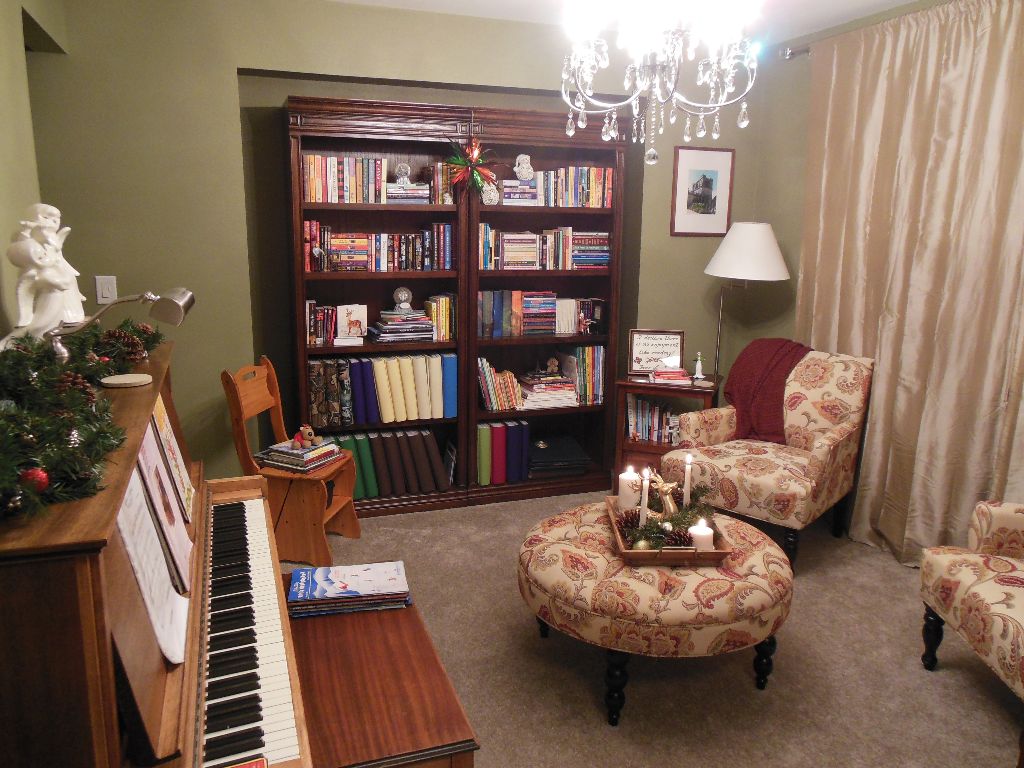
From the front door you can see our Christmas tree! But before we go into the living room, we’ll visit the Jane Austen Room. I love how this room’s Christmas decor came together.

Jane Austen Christmas 2014

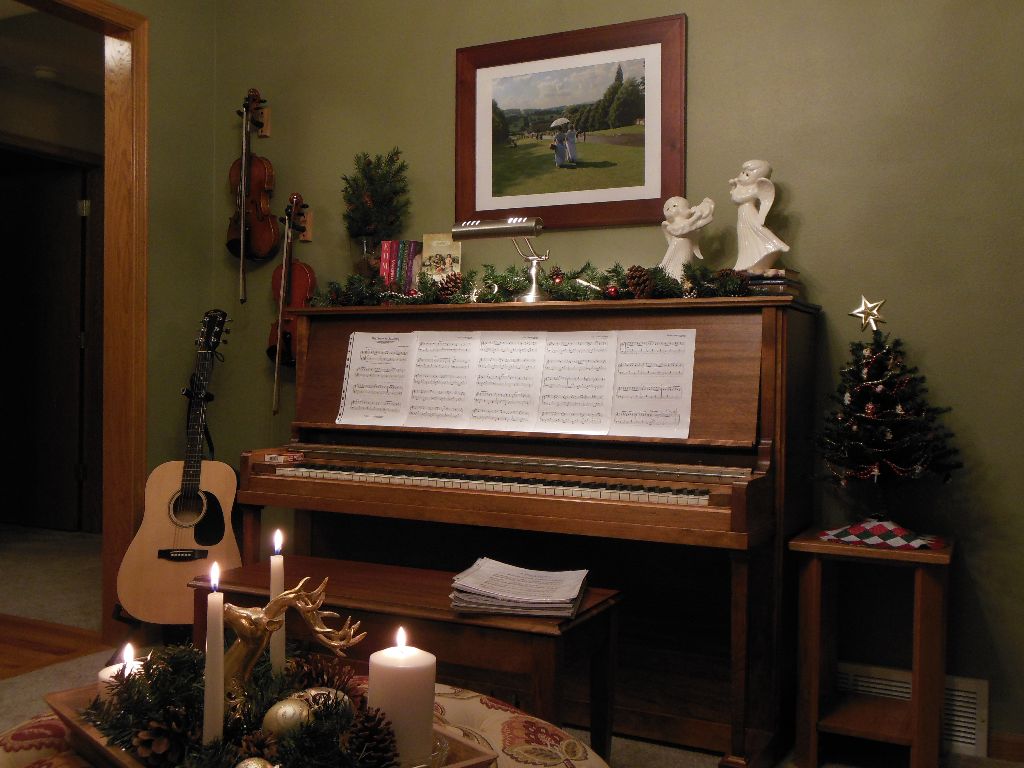
My grandmother made the ceramic angels on the piano.

Christmas Piano 2014

Inspiration for the tray came from The Fancy Shack.

Christmas Tray 2014

Jane Austen Christmas 2014 - tray and chairs

Christmas Bookshelves 2014

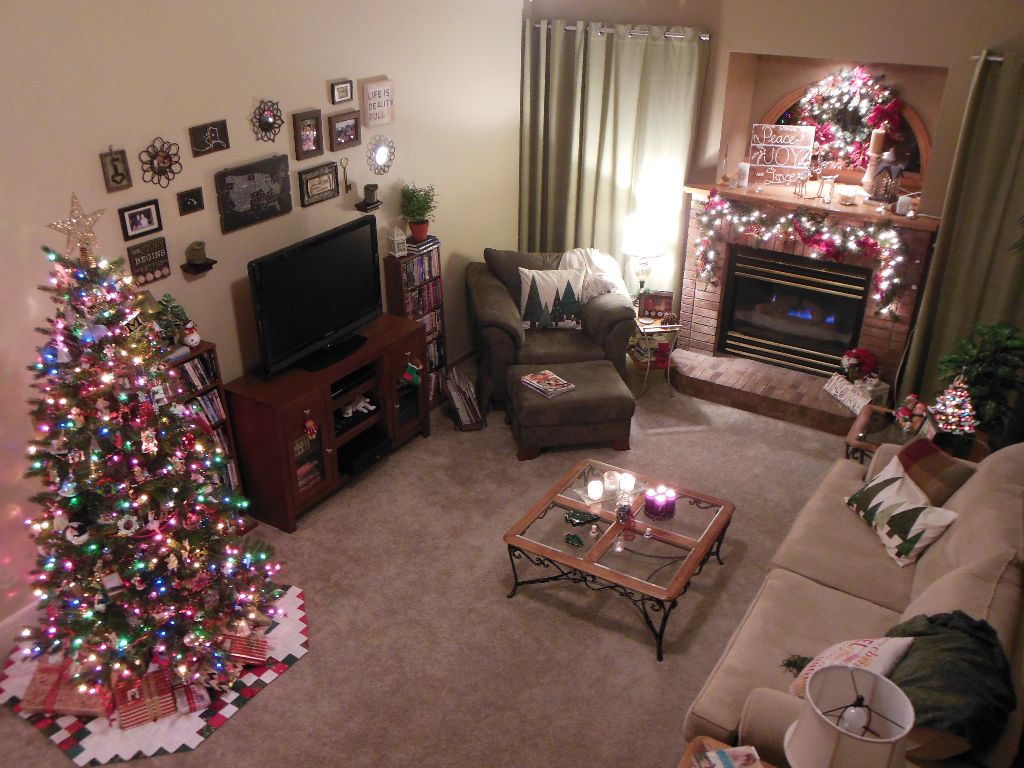
Let’s move on to the living room… It turned out really nicely too! I really wanted a bigger tree this year, but I couldn’t get Matt on board… I’ll try again next year. ;-) This living room definitely wants a taller tree! But even with the small tree, my living room is so pretty!

Christmas Living Room 2014

Christmas Living Room-2 2014

My favorite arrangement this year is above the fireplace. It’s so pretty. I really love the wreath on the window — it’s making me think I should do seasonal wreaths there more often!  Here’s a close up:

Christmas Mantel 2014

The kitties really like it when we have the fire going. Here’s Theo being adorable.

Christmas Theo 2014

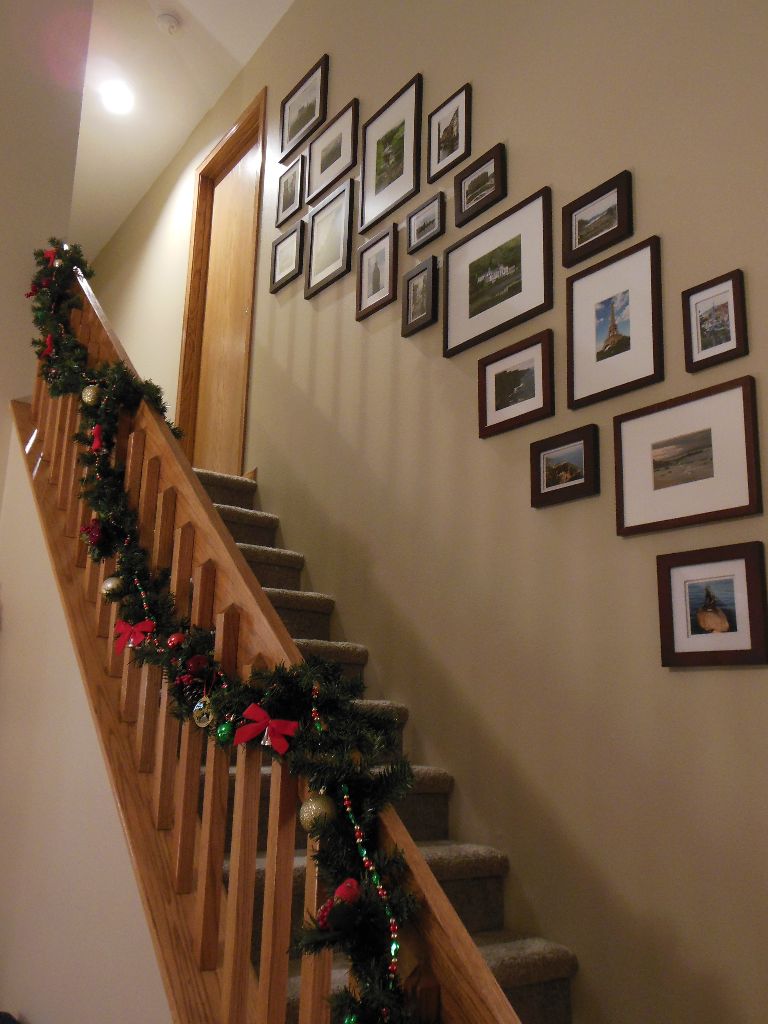
I put some garland on the stairs. I started with really simple (i.e., cheap) garland, added some picks with pine cones and berries, some bells with red bows that used to be my grandmother’s, some beaded garland and some ornaments. Pretty!

Garland on Stairs 2014

And last, but not least, here’s an overview of the living room from the stairs:

Christmas Living Room

I hope you all have a wonderful Christmas!

Cat Friendly Gift Packaging

Christmas Tree KittyChristmas time is a wonderful time of year for my cats. They love the all the fun decorations, the Christmas trees, and the gifts. I also have these little bells hanging from the garland on the stairs that Theo loves to bat at until they ring. Sitting, playing, sleeping, and hiding under the tree is a favorite pastime, but climbing in it or even eating the (artificial!!) tree is even more fun. Last week I cleaned up fake-Christmas-tree cat puke twice.  As far as the gifts go, curling ribbon and bows are apparently extra tasty to my kitties. They’ll do anything to get a taste of curling ribbon. (Which will ultimately end up on my carpet in the form of ribbon puke). My cats aren’t too bright.

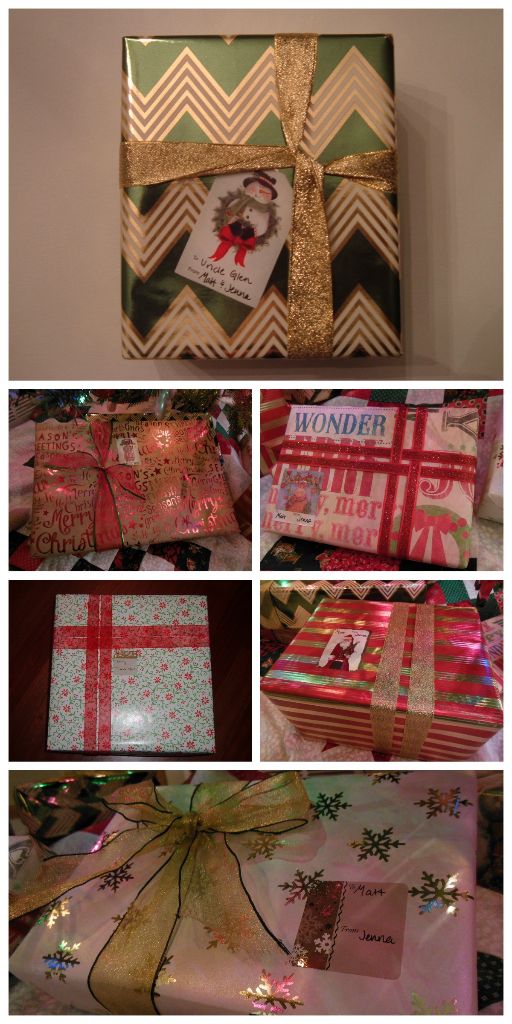
Unfortunately I haven’t figured out the cure for eating trees, but I have figured out how to wrap my gifts in a cat friendly way. I use regular ribbons (think the fabric kind at Joann’s or Michael’s) and tie or tape them in simple ways to prevent them from looking extra tasty! The trick is to not have tiny loose ends. Here are a few pictures of some of my packages this year:

CatFriendlyGifts2And, so far, so good — the kitties haven’t eaten any of the gifts!

Using Christmas Cards

I always receive beautiful cards, pictures, letters and notes from family and friends during the Christmas season. Every year I display them in my kitchen, and then sometime in January they are taken down and put in a box. Every year the box gets more and more full, and the cards are never admired again. This is sad. So I decided to try to use the cards in different ways and get them out of their box! Here’s what I’ve done this year to try to appreciate my cards from the past:

  • Put cards in frames.

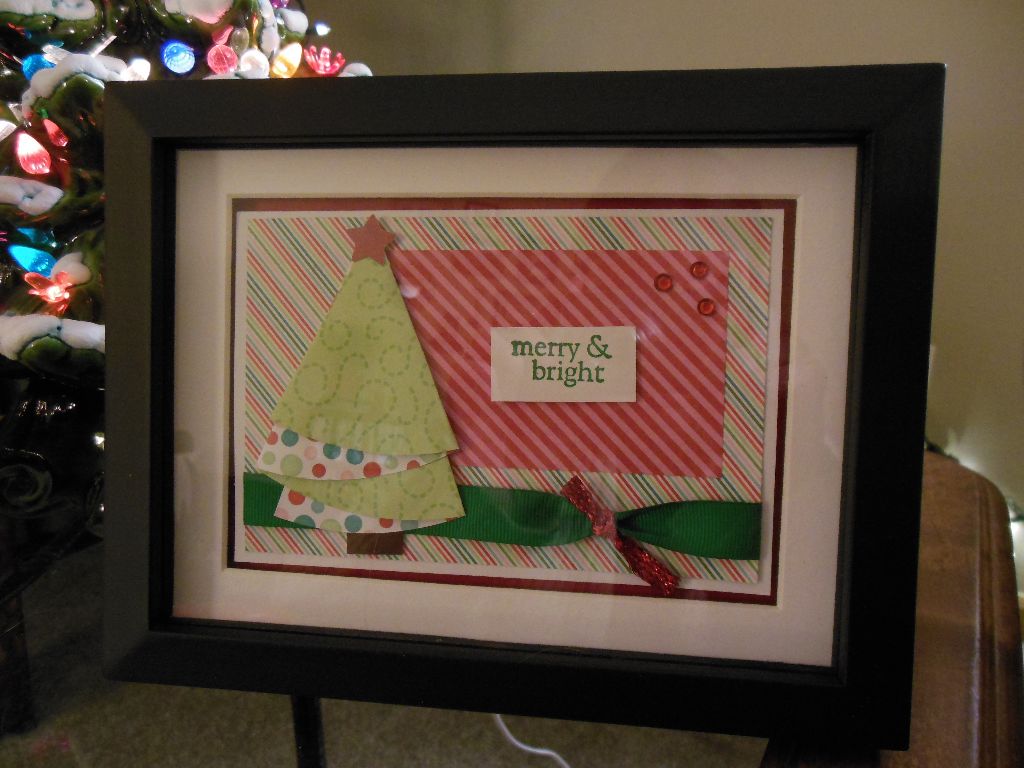
Framed Christmas Card

This is a card I made a few years ago… I loved it so much that I kept one for myself. I wanted to frame it to keep it protected and make sure my silly cats don’t eat the ribbon! I have it displayed on an end table in my living room!

  • Display some cards around the house where the theme matches.

CardCollage

Here are a few cards I’ve received over the years that I decided need to join my regular holiday decor. Why not? They’re pretty and go with my themes, and when I see them out I think of the sender. :)

  • Create Christmas card books.

Christmas Card Books

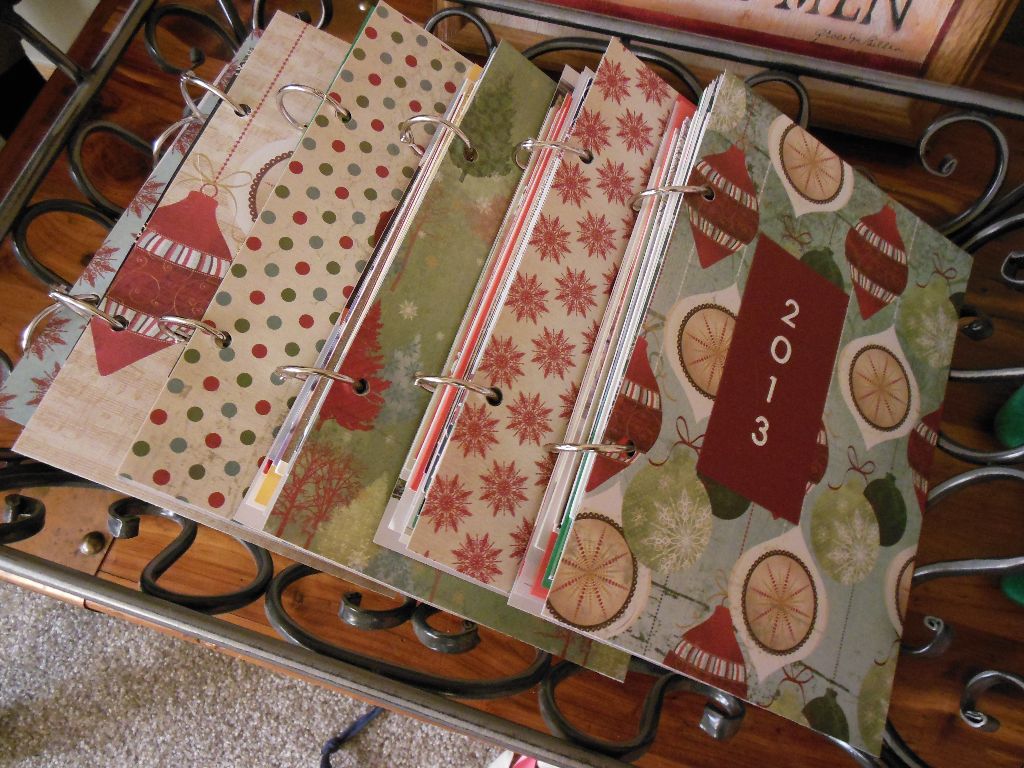
I couldn’t possibly display and/or frame every card, so the others (including letters!) went into my card books. I found this on Pinterest and LOVE how mine turned out. I made my own covers from scrapbook paper. I made one book for each year that we have been married, and each cover is different! It took a few hours to make my books, but it was really fun and pretty easy. All you really need is a 3-hole punch (you’ll only need 2 holes though!), ring clips, and some scrapbook paper and stickers or a pen to write the year. It was really fun to look through old cards, letters, and especially pictures. Our friends’ children have grown so fast! I also included our photo card from each year — why not? We had a few extras around! So now I have a tray of card books and they’re ready to be admired at any time — so much better than sitting in a box. :)

CardBookCollage

Pin Me:

WaysToUseChristmasCards