My Mom’s Christmas Magic

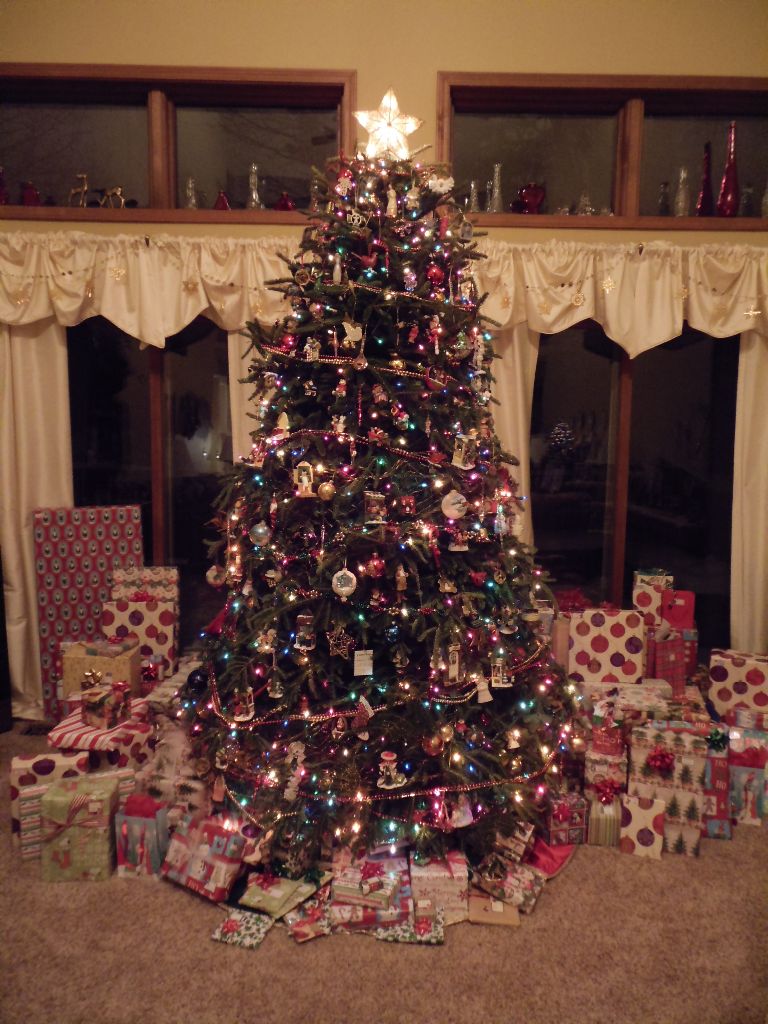
Swanson Christmas TreeChristmas time at my mom and dad’s house is always so magical. My mom decorates everything with such detail! And occasionally the weather cooperates too, and we are treated with a beautiful Christmas inside and outside of the house!
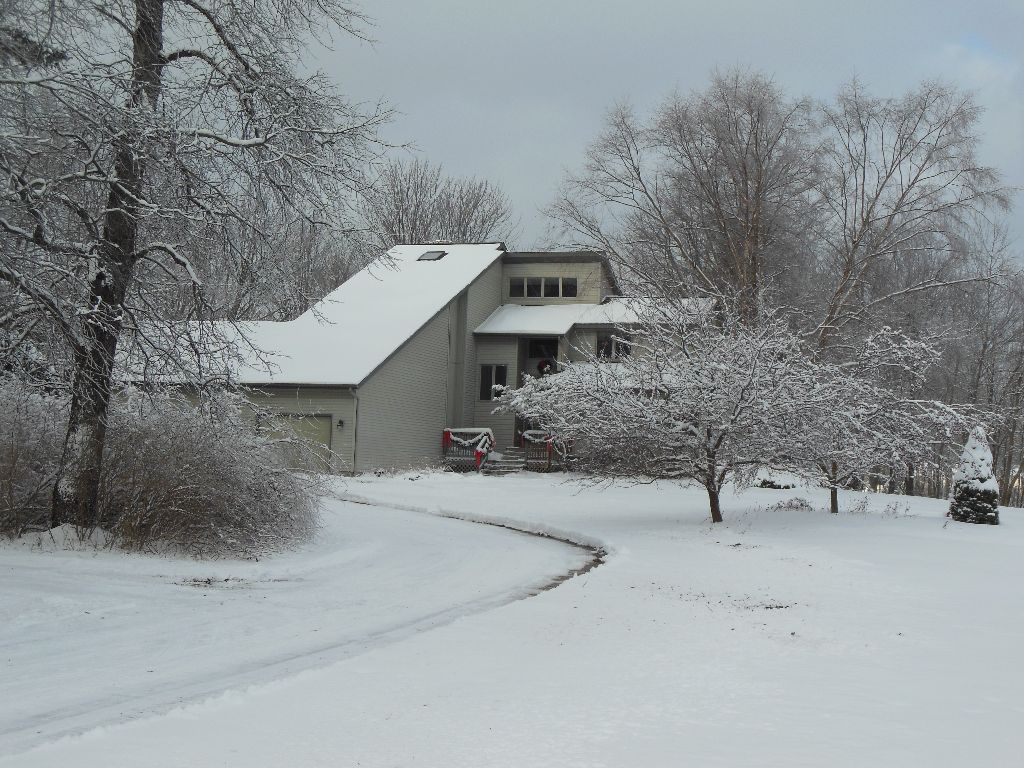
Swanson Snow 2013My mom organizes her decorations by theme and color, and going through her house you move through various scenes of Christmas!
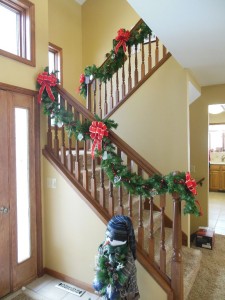
Swanson Christmas GarlandStarting at the front door, you’ll notice the beautiful garland on the stairs!
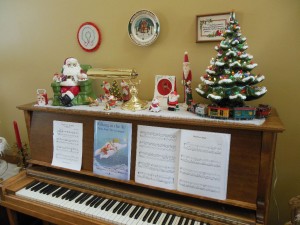
Swanson Christmas Santa PianoYou’ll see Santas on the piano!

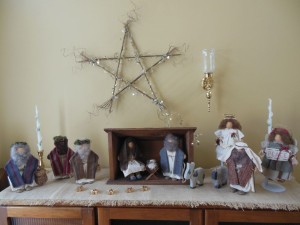
Swanson Christmas NativityThere’s a nativity on the stereo cabinet.
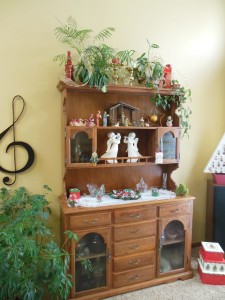
Swanson Chrismas HutchShe even decorates the flowers on her hutch! Here we also see scenes of music, with the treble clef on the wall (it’s always there) and the angels on the hutch!
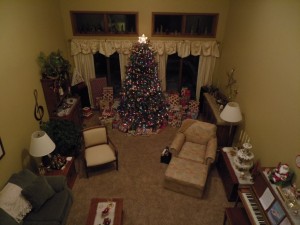
Swanson Christmas Living RoomThe whole room is decorated and magical!

In the kitchen, we find scenes of delicious Christmas treats: there are gingerbread men and a cooking Mr. and Mrs. Claus, pictures of my brothers and I as children making Christmas cookies, and a Christmas tree filled with kitchen themed ornaments and garland!
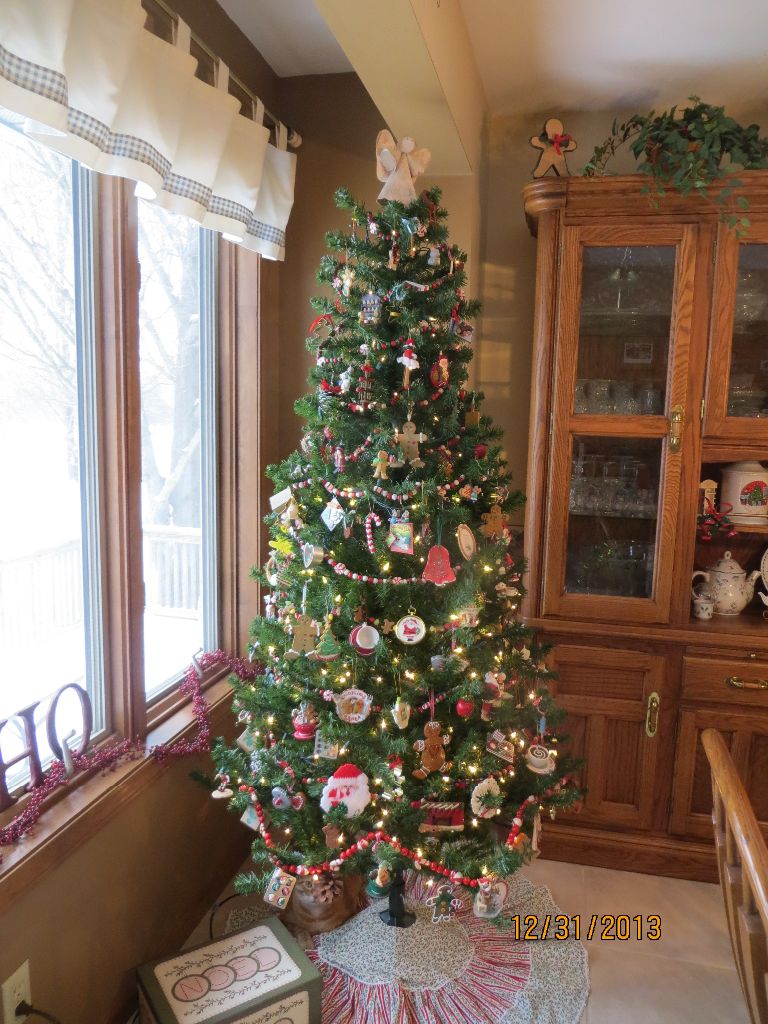
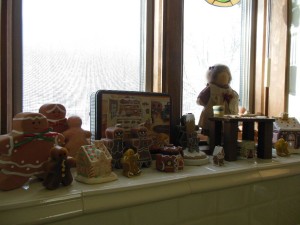
Swanson Christmas Kitchen TreeSwanson Christmas GingerbreadA collection of gingerbread men keep Mom company by the kitchen sink.
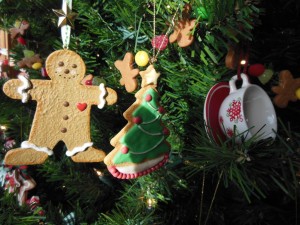
Swanson Christmas Kitchen Tree Closeup

Ornaments on the kitchen’s Christmas tree are things like cookies, candy, and tea!

Then downstairs, we find a winter wonderland!
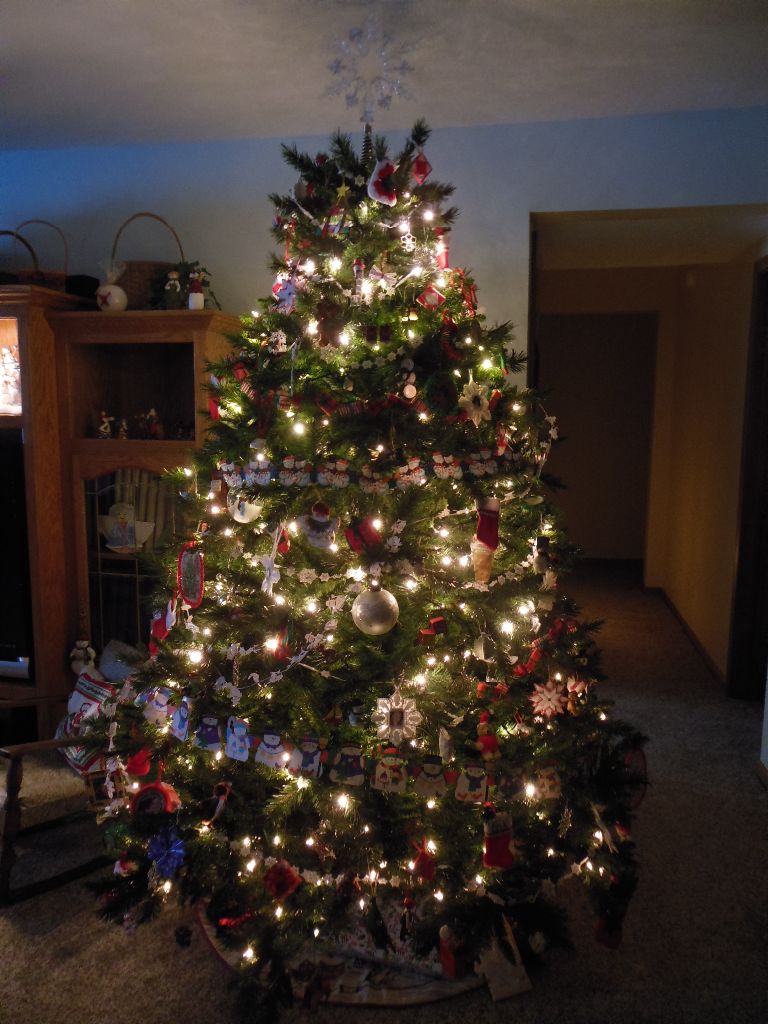
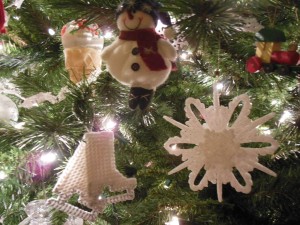
Swanson Christmas Snow Tree Swanson Christmas Snow Tree CloseupThe tree is full of snowflakes, snowmen and other winter items!
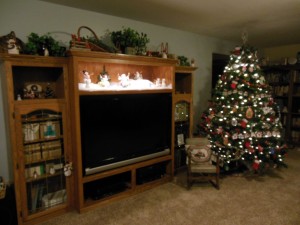
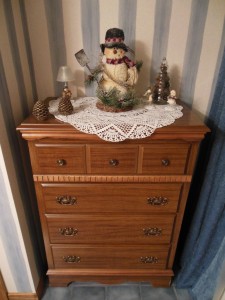
Swanson Christmas Snow RoomAbove the TV is a display of snowmen!

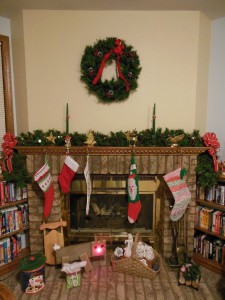
Swanson Christmas FireplaceThe fireplace is decorated too – there’s even a Rudolf ready to guide the way through all the snow!

Even the bathroom in the basement is decorated with snowmen!
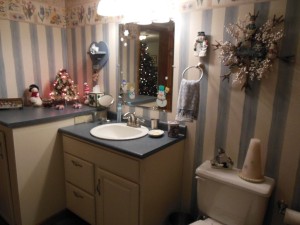
Swanson Christmas Bathroom 2Swanson Christmas Snowman Bathroom 1Thanks to my mom for making Christmas so beautiful and magical. Even though my brothers and I are all grown up, we can still go to Mom & Dad’s and experience the wonder of Christmas like kids again.


Wine Cork & Bottle Cap Christmas Ornaments

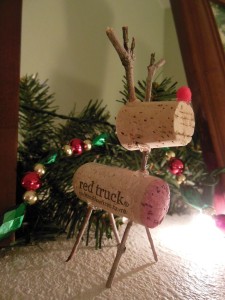
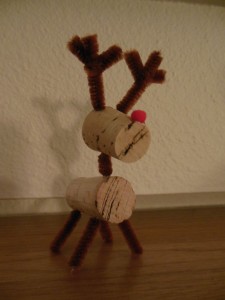
I tend to save things that might have a crafty purpose in the future, and when I come across the perfect use for my saved “crafty things” I get excited! This Christmas I was really inspired with wine corks and bottle caps! All ideas were from pinterest! Here are my versions:

Wine Cork Rudolph 1

Wine Cork Reindeer 1Inspiration: http://www.dumpaday.com/genius-ideas-2/55-crafty-reasons-to-be-a-high-class-alcoholic/

Wine Cork Reindeer 2

Wine cork reindeer 2

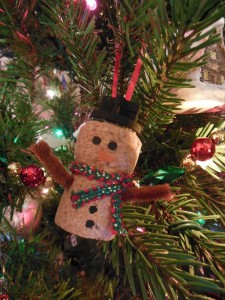
Champagne Cork Snowman

Champagne cork snowmanInspiration: http://www.pinterest.com/pin/208643395210476281/ I decided to use champagne corks instead of wine corks because I thought they had more of a snowman shape.

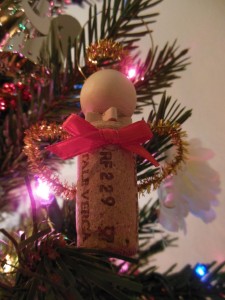
Wine Cork Angels

Wine cork angel

Inspiration: http://www.pinterest.com/pin/208643395210292589/.

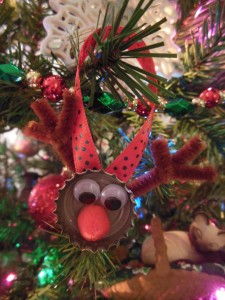
Bottle Cap Rudolph Ornaments

Bottle cap RudolphInspiration: http://www.thecountrychiccottage.net/2012/12/bottle-cap-reindeer-kids-craft.html?m=1

Believe it or not, there is at least one other wine cork Christmas decoration I would like to make, but at the moment, my wine cork collection isn’t large enough for me to make it… guess I’ll have to drink more wine and try again next year! ;-)

Lessons in Using Glitter

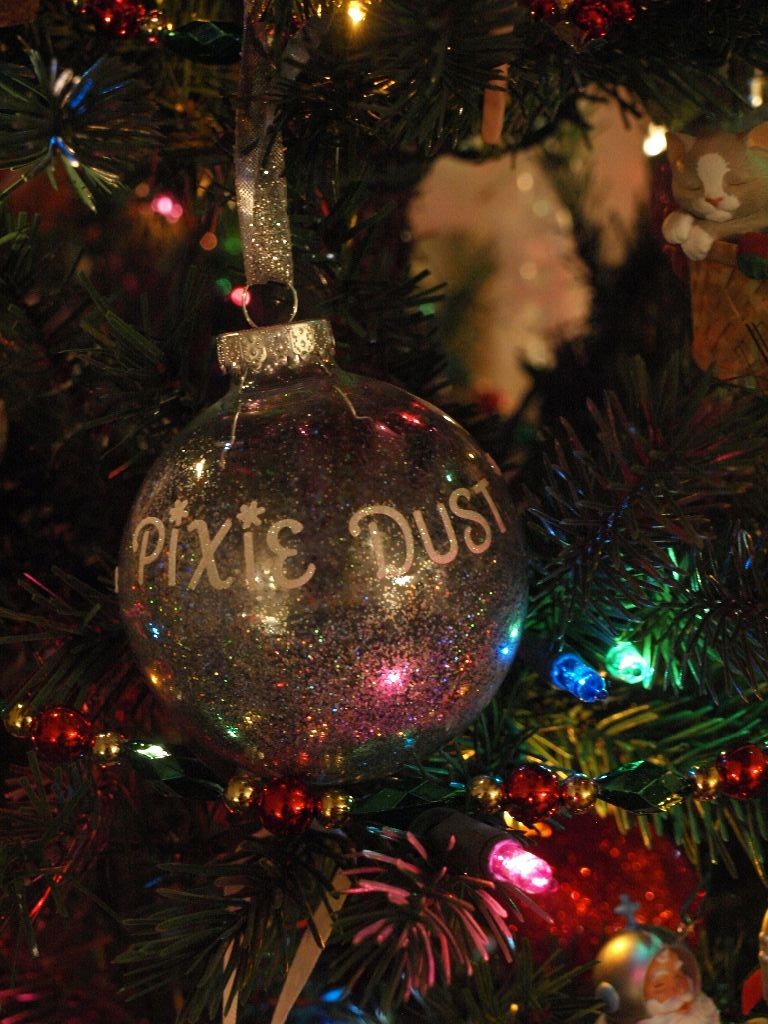
So… I made this adorable ornament for my niece for Christmas:

Pixie Dust OrnamentI got the idea from my mom, who saw a pin on pinterest from the Undercover Tourist blog. My niece loves TInker Bell, so it was the perfect ornament for her this Christmas! (Apparently I think TInker Bell is a fun little fairy to do crafts about; earlier this year I made my niece a Tinker Bell canvas!) Anyway, making the ornament was a bit trickier than it should have been, especially since it was meant for kids and I’m obviously not a child, so maybe someone else can learn from my mistakes!

  1. Glitter is called “the herpes of craft supplies” for a reason. You can’t get rid of it once it’s contaminated something, and it seems to spread. Everywhere. I am still finding glitter in various places around my kitchen that I didn’t even realize the ornament had touched, and let’s not forget the glitter on my hands and clothes and probably all over my face too… Especially since I recently did a craft with glitter (my Easter eggs!), you’d think I would have remembered how annoying it is. Also, the ribbon I used on the ornament is glitter-ized. Simply holding the ornament now sheds sparkles in every direction. Sorry in advance to my brother and niece who will be contaminated with glitter every year when they hold the ornament! ;-)
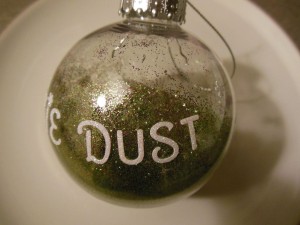
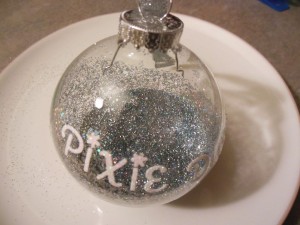
  2. Pixie Dust ornament failBe careful mixing different colors of glitter. On my first attempt (right), I thought it would be cute to use green (since Tink wears green) and some purple and pink… WRONG. It turned into a very sparkly combination of nasty. I thought I could fix it by adding more green glitter, but that didn’t help. So I tried again and was more careful. Silver + blue = pretty pixie dust.
  3. Pixie Dust ornament 2Glitter doesn’t like plastic. At least not plastic ornaments. On my first attempt I had used a plastic ornament and the glitter stuck to the plastic (because of the static). My husband guessed that after a trip to Michigan, the entire inside of the ornament would be coated with the (nasty) glitter and it wouldn’t be at all pretty. boo. I had actually meant to buy a glass ornament, and didn’t realize it was plastic until I was already putting my stickers on it. So, when I tried again, I used a glass ornament. The glitter still sticks a bit to the glass, but it does better than the plastic.


Signs for Christmas!

I made some Christmas signs!

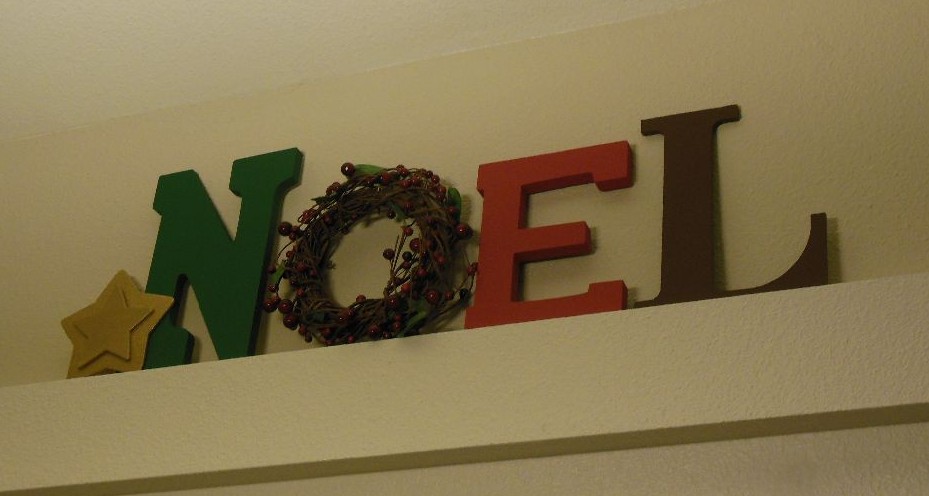
NOEL

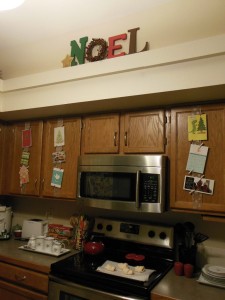
I made “NOEL” out of wooden letters and a little wreath! I painted the letters (one of them used to be a zebra print pattern…) and wrapped little berry garland around the wreath. I also painted two stars and glued them together. I placed this “sign” above a little ledge in my kitchen.

NOEL signNOEL sign in kitchen I got the idea for my NOEL sign from a pin on pinterest. Unfortunately, it looks like the post that linked to this pin has been deleted… Anyway, I really like how the in the pin’s photo the letters overlap each other, but I couldn’t do that on my little ledge because it wasn’t deep enough.

(Also note that I tie ribbons around my cabinet doors and use cute little clothes-pins to display my Christmas cards! This was another idea from pinterest from the blog Greener Grass.)

Wishing You Peace, Joy, and Love

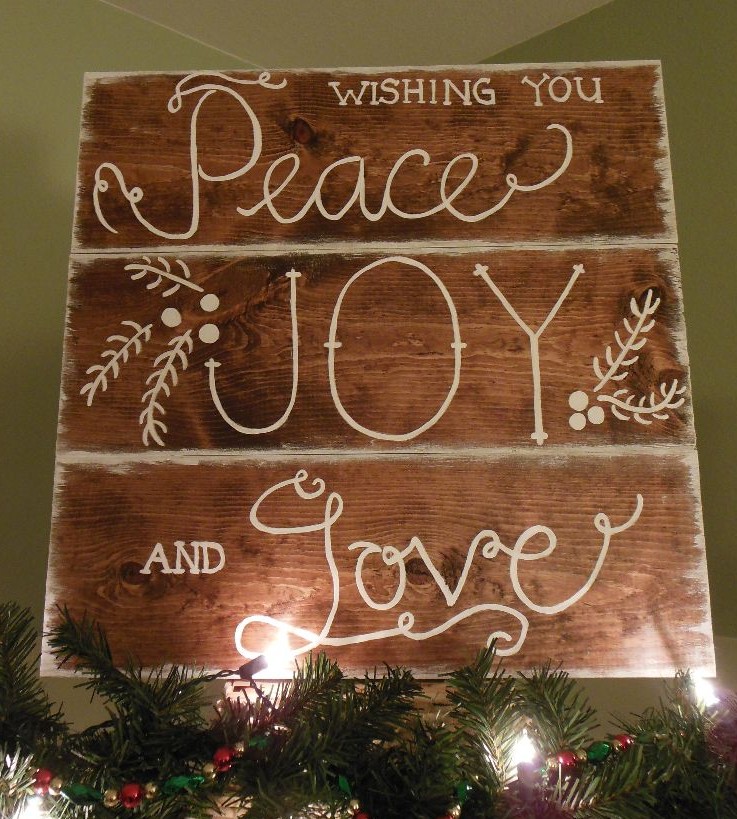
Next I made “Wishing You Peace, Joy, and Love”! This sign is my favorite. Matt bought me a 1×6 board and cut 18 inch pieces. Then he stained them and glued them together. Then I painted on the words and around the edges!

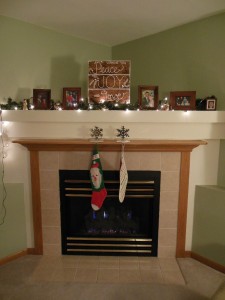
"Wishing You Peace, Joy, and Love" signChristmas sign on mantel

My mantel is so pretty with my new Christmas sign! (Also, aren’t our stockings adorable? And they still get used – we take our stockings with us every year to Michigan for Christmas and Santa still finds us and leaves us gifts!)

Merry Christmas

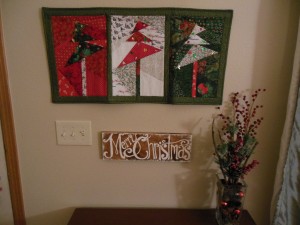
There was extra wood from my Love, Joy and Peace sign (above), so Matt stained it too and I turned it into my “Merry Christmas” sign! I hung this one by my front door with my beautiful wall hanging that my mother in law made me!

"Merry Christmas" signMerry Christmas sign by front doorThis was also a sign idea from pinterest! I hadn’t planned on making this one, but when I realized there was extra wood Matt had prepared, I had to go find another idea… and it didn’t take long! Gotta love Pinterest! This sign is Matt’s favorite. :-)

Banana & Applesauce Oatmeal Cookies

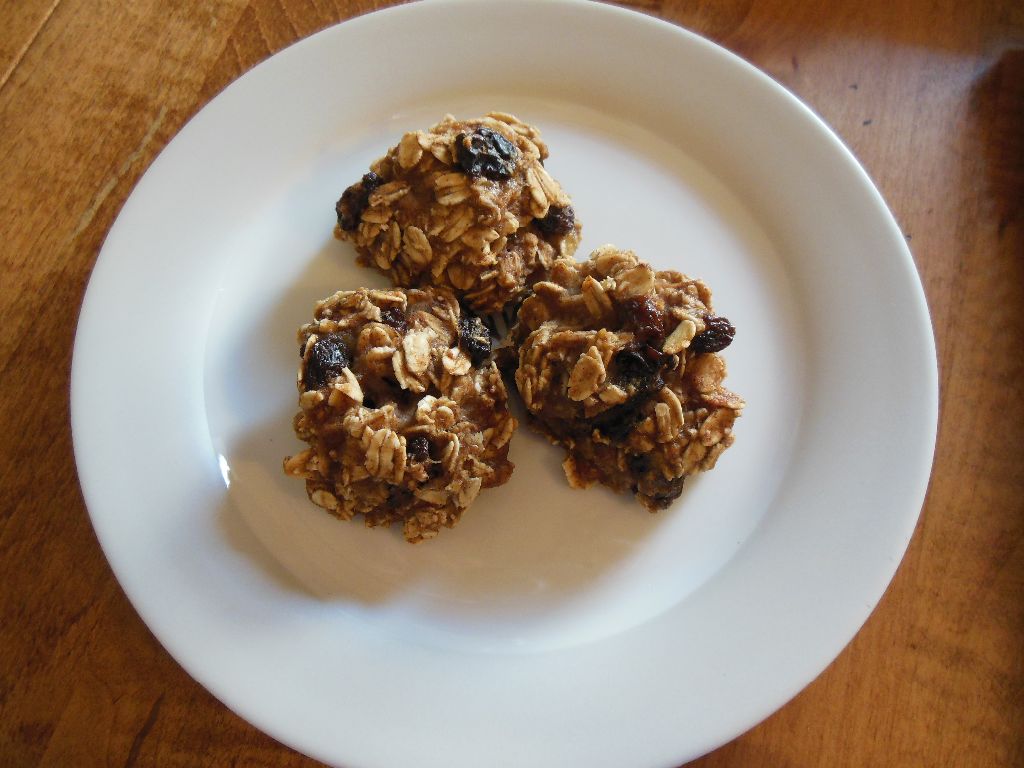
I was looking for a dessert with no added sugar or other sweetener, and came across these delightful little cookies! They are packed with fruit and oatmeal, and are healthy — as far as cookies go, anway! And they taste good!

Fruit cookiesI found the recipe here: http://www.myfitnesspal.com/topics/show/982027-delicious-cookies-with-no-sugar-or-artificial-sweetener

Recipe:

3 mashed bananas
1/3 cup applesauce (with no added sugar)
2 cups of oats
1/4 cup almond milk
1/2 cup of raisins
1 tsp of vanilla
1 tsp cinnamon

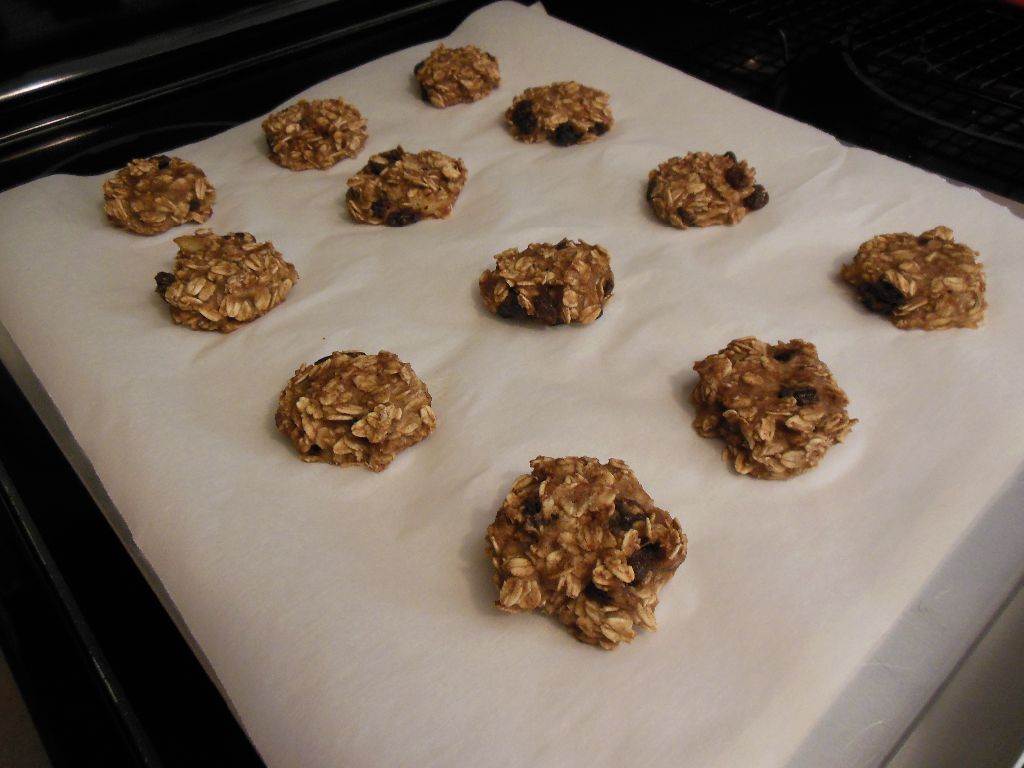
Mix the ingredients. Bake at 350 for 15-20 minutes. Cool.

Fruit cookies 2
Next time I make them I plan to add some pecans! Yum!


Signs of Fall

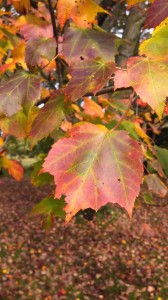
2013 Leaves 1Fall is here! I love fall! It has nice weather, scarves and boots, pretty colors, my birthday, Halloween, Thanksgiving, and the excitement that Christmas is right around the corner!

I was able to spend a little bit of fall this year in Michigan! Michigan has really pretty fall colors. I guess the colors peaked after I left, but I was able to see some pretty colors during my visit.

Back in Colorado things are pretty too! Our trees and mums are looking quite nice! Most of the colors around here are yellow, but occasionally you get lucky and spot a red or orange tree (we have a red tree at our house!).

2013 Leaves 3 2013 Leaves 4

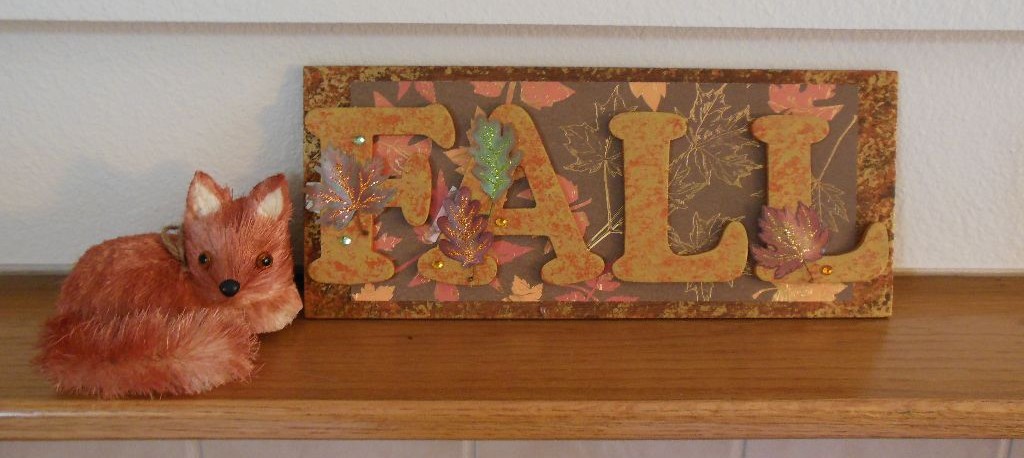
The inside of my house is also looking nice! I have fall decorations out around the house – garland that Theo keeps chewing on, cute leaf and pumpkin bowls, candles, pillows, and a new fall sign! I was so pleased with my spring sign, that I made a fall one too.

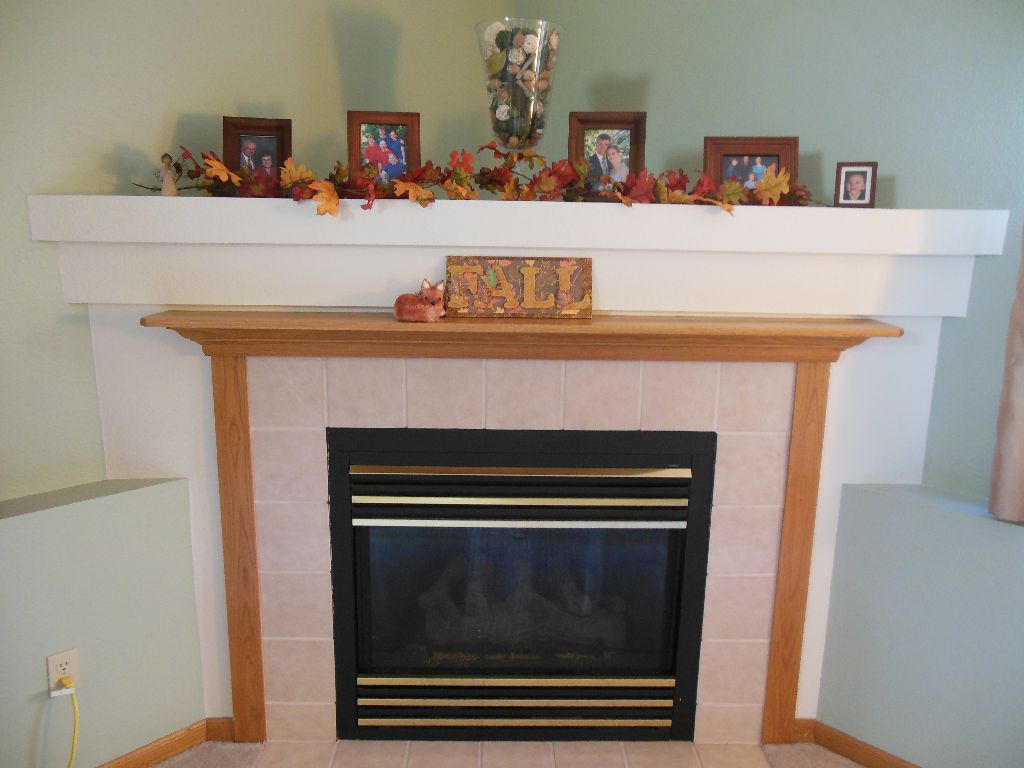
Here is the fall sign on my mantel with my adorable fox from Pier 1!

Fall sign on mantel

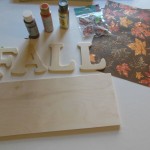
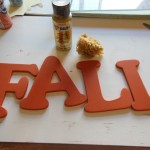
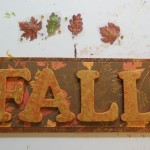
Quick photo “instructions” (for better instructions, see my post on Signs of Spring):

Fall sign 1 Fall sign 2 Fall sign 4 Fall sign

Edit: a close up of the fox and the sign for my mom!

Fall sign with fox

Butterfly Canvas

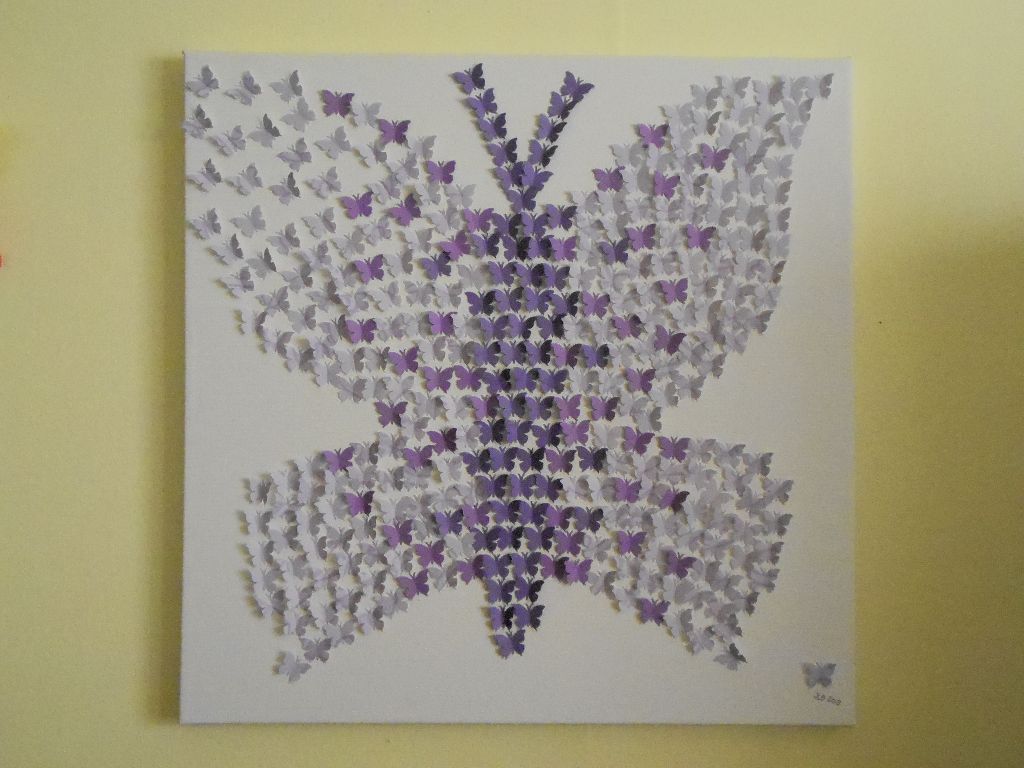
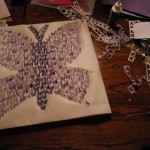
I made a butterfly canvas for my niece!

Buttefly Canvas

I was inspired by this heart made of butterflies that I found on pinterest, but I thought my niece might like hers to be a butterfly!

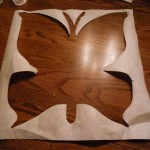
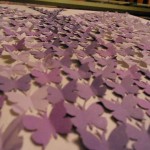
I started with a blank white canvas and cut out a large butterfly from some paper to be my pattern. Then I punched out a bunch of paper butterflies with a butterfly punch. I used four different kinds of purple paper. I folded the butterflies so that they would be flying, and then glued them onto the canvas inside my pattern. It took quite a while to put it together, but it turned out so cute!

Butterfly canvas - butterfly cutoutButterfly canvas 1Butterfly canvas - closeup


Colorful Afghan

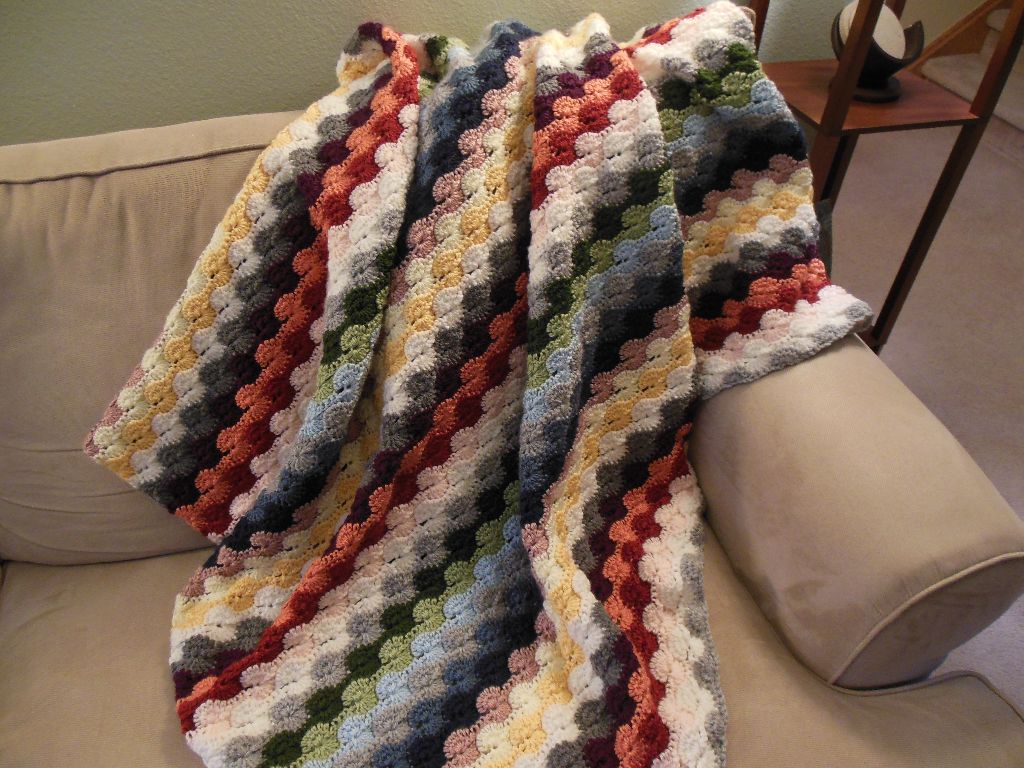
Colorful striped afghan

I finished a new afghan yesterday!

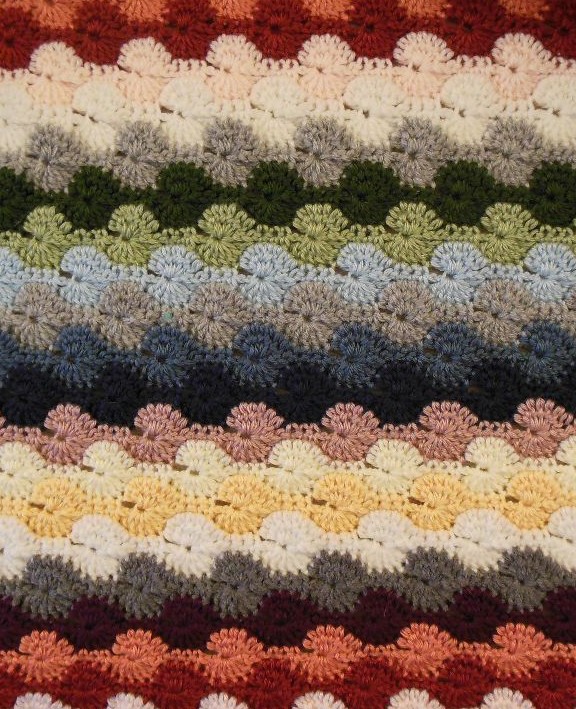
I found the pattern and color inspiration on pinterest, from Lindsi on the blog People Webs. When I found it, I just knew I needed to make one like it! It is a really easy pattern, and I loved watching the blanket come together!

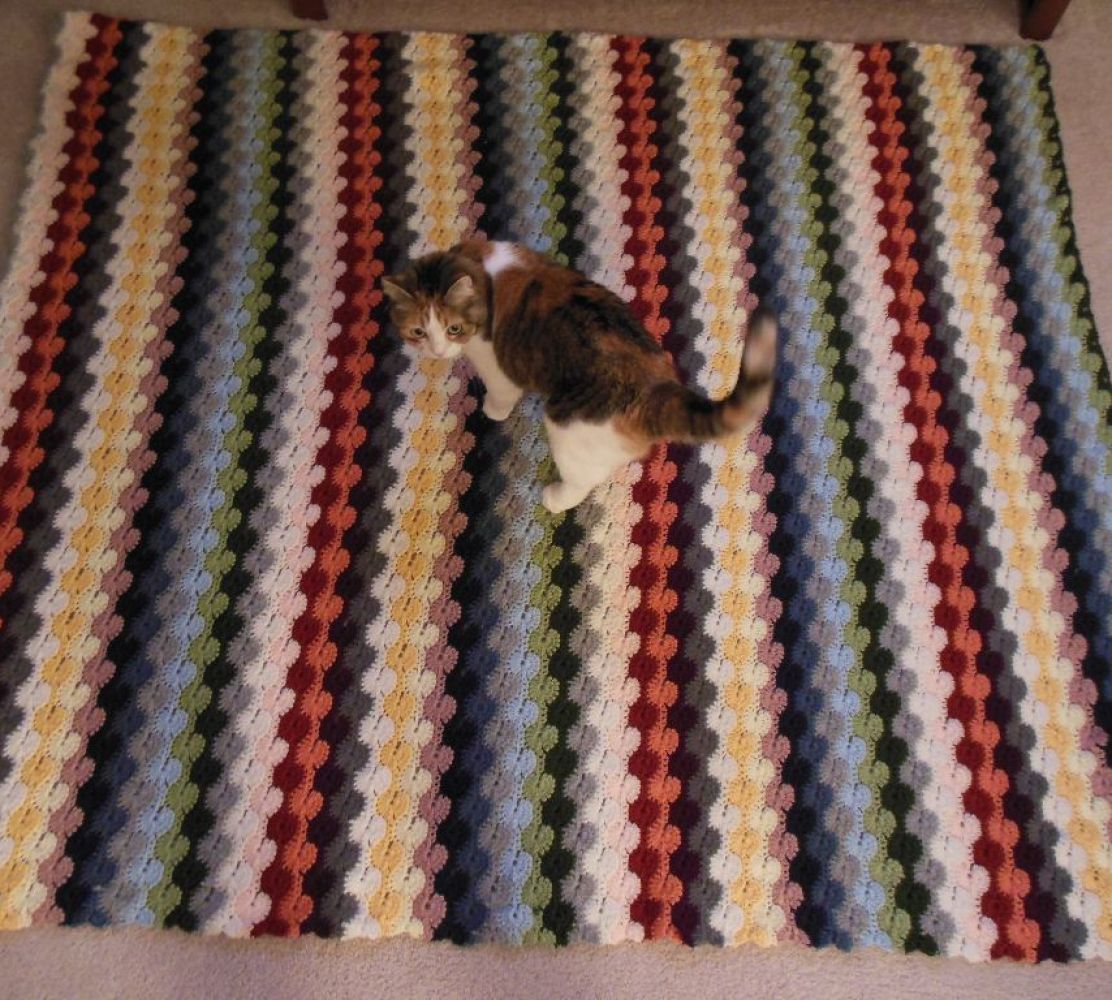
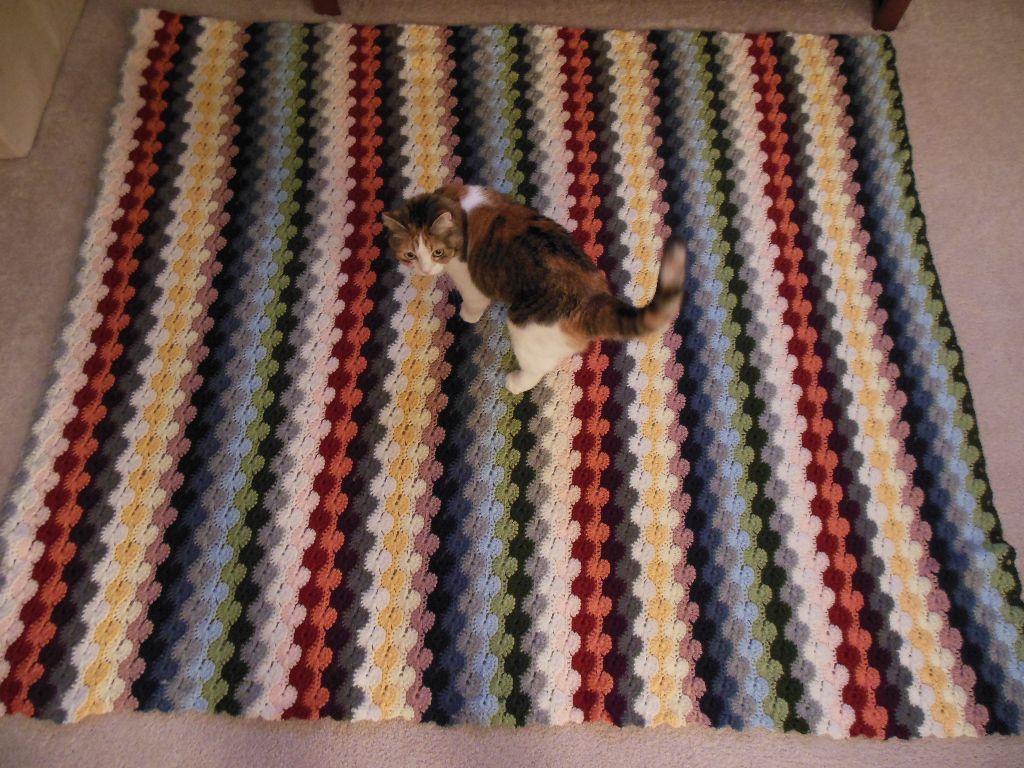
I made my afghan about the same size as a blanket I already had. Here’s a picture of the afghan with my cat, Kiki, for some idea of the size!

Colorful striped afghan - with Kiki

I used a variety of yarn brands. I had kind of a hard time picking my colors and putting them in the “right” order… After I bought my yarn I put laid them out in the order I wanted them, but after I started crocheting and was a few rows in, I decided that I wasn’t happy with how the colors looked. Then I tore everything out and started over. A few times. Then I decided to make a tiny square of the colors crocheted together. I should have started with that – I would have saved hours. I’ll know for next time! Anyway, once I figured out my color order on the small scale, I was ready to get back to the afghan!

Here are the yarns I used (in order):

Suncatchers

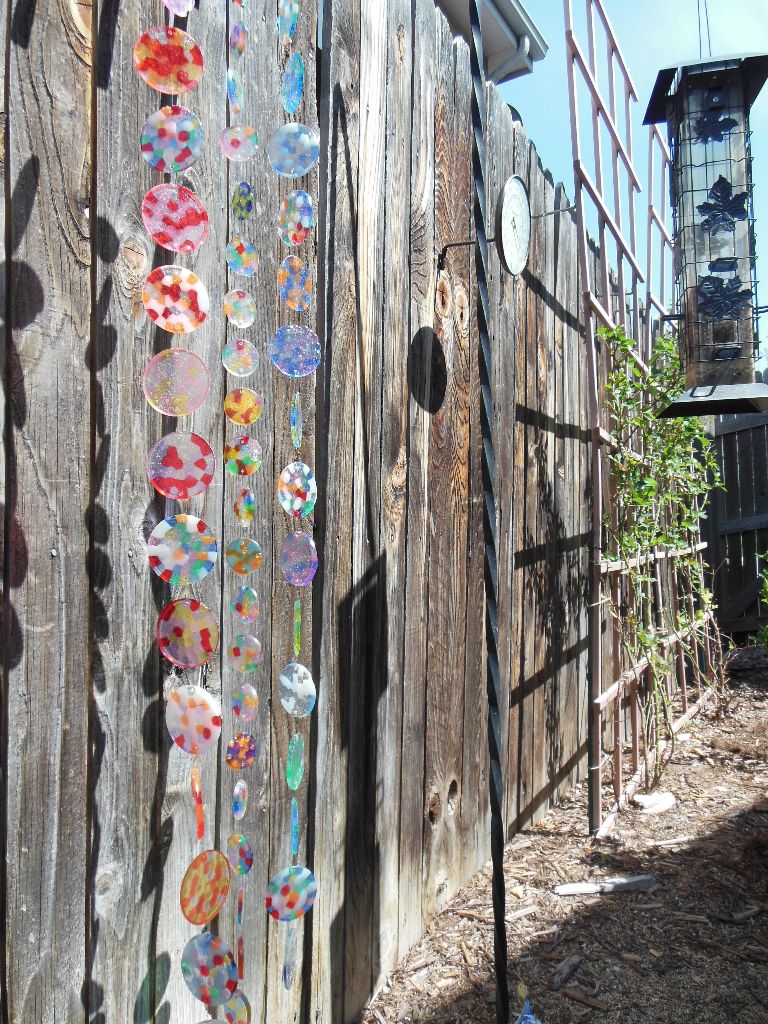
Matt and I made some suncatchers!

Suncatchers

I was inspired from a craft on pinterest that used cake pans and melted beads.  But I had an idea to make mine a little differently…

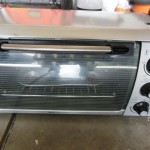
Craft ovenBefore I started on this craft, I talked with Matt because I was freaked out about melting plastic in our oven. He had the brilliant idea to get a used toaster over and melt the beads in the garage. I found one at Goodwill for $8.99! Sweet. Now we have a craft oven for all of our crafty needs. Matt says he’ll even use it too with his electronics…

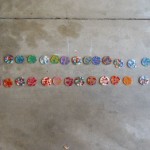
Suncatchers - 1Supplies:

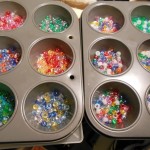
  • Cheap plastic beads – I found that pony beads worked best. I tried some others, but they didn’t melt as well as the pony beads.
  • Muffin pan (I also used a mini muffin pan!) – I bought these at Goodwill because I didn’t want to hurt my good ones.
  • Fishing line (or other string)
  • Drill (and I also needed my handy husband to operate the drill because it’s unsafe for me to use power tools…)

Suncatchers  - before meltInstructions:

  1. Arrange your beads in your pan. All it takes is a single layer, but don’t skimp – I had a few that I didn’t fill quite enough. They turned out ok, but they aren’t quite as round as the others.
  2. Melt them for about 20 minutes at 400 degrees F. Make sure they are good and melted before you take them out. Suncatchers - Matt drills holesI took one tray out a little early and those discs are a little lumpy.  They will probably smell funny while they bake. We melted them in the garage in the craft oven for a few reasons…
  3. Let them cool. They cooled pretty fast for me.
  4. Pop them out of the muffin tins. It also works to just turn the tin upside down – they all fall out.
  5. Drill two small holes in each disc for the string.
  6. String them together! I laid them out on the floor before we strung them so I could decide how I wanted them organized. Matt tied them together for me. He’s better with knots than I am! I tied a few, but then let Matt take over again.
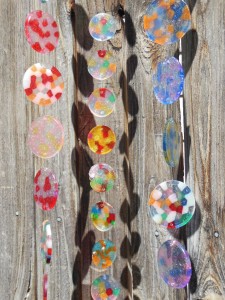
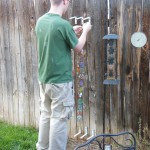
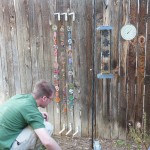
  7. Hang them up! We hung ours on the fence by my roses… maybe not the best place to catch the sun, but they do ok and they are really pretty! Matt made the little bracket things to hang them, and then I painted them black.
Suncatchers - ready to stringSuncatchers - Matt ties them upSuncatchers - Matt ties them up 2


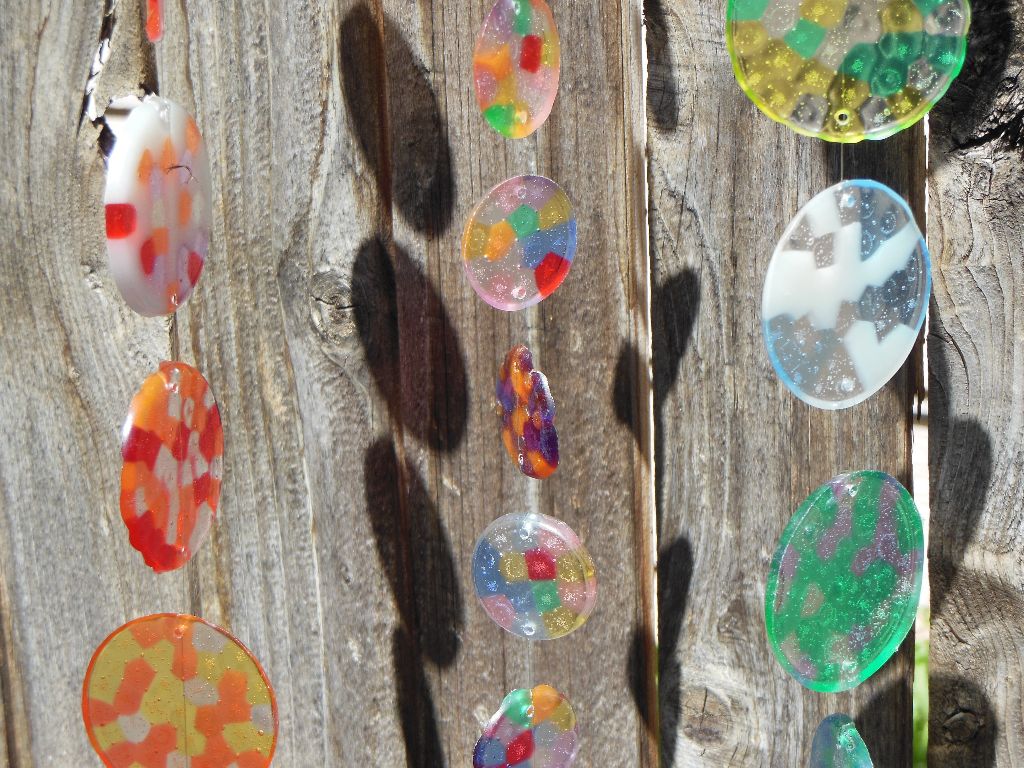
Suncatchers - 3

Note: The white spots are from glow in the dark beads – I thought they might be cool at night… turns out they don’t glow that well or for very long. But it was worth a try!

Summer Table Setting

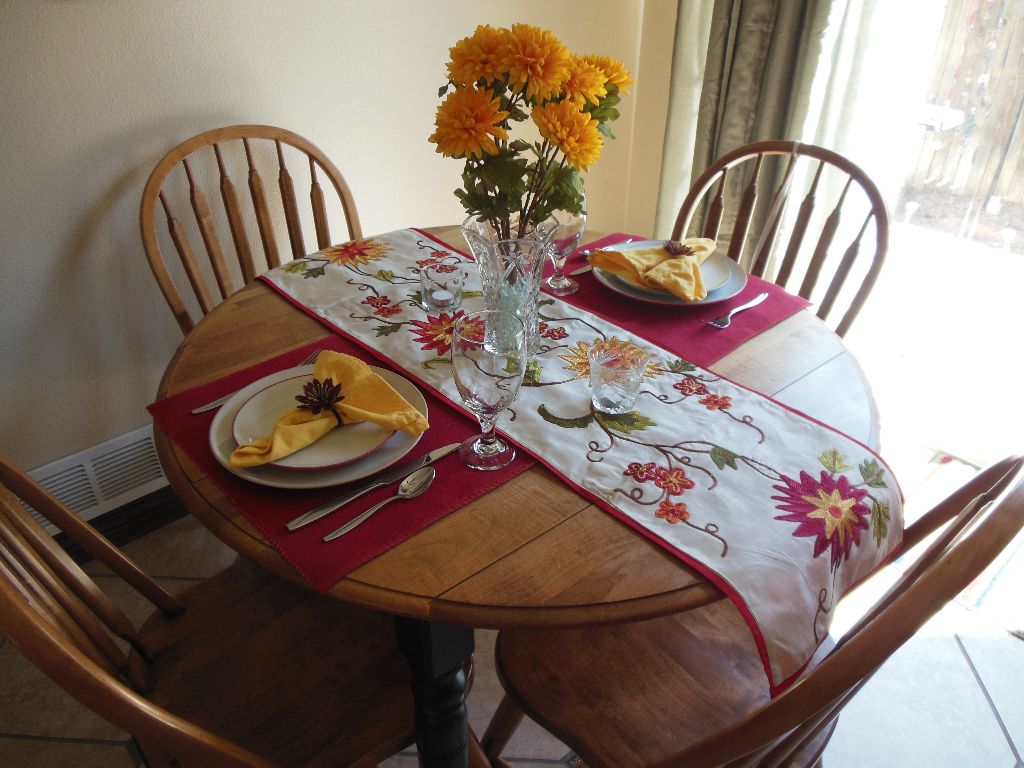
Summer table 2013I bought a new table runner last week and was having a hard time deciding what to put with it… and then it came to me: the table runner is sort of retro looking, and I remembered I had someSummer table - flowers pressed glass from the 60s that belonged to my grandmother! I pulled out a vase and a votive holder from the set. Then I pulled out some yellow silk flowers that had also been grandma’s. I put them all together with some red placemats and my colorwave dishes – it was almost done! To finish it off, I picked up some yellow napkins and some red flower napkin rings. And it’s perfect! I’m looking forward to a summer of eating at this beautiful table!

Summer table - napkin ring