So… I made this adorable ornament for my niece for Christmas:
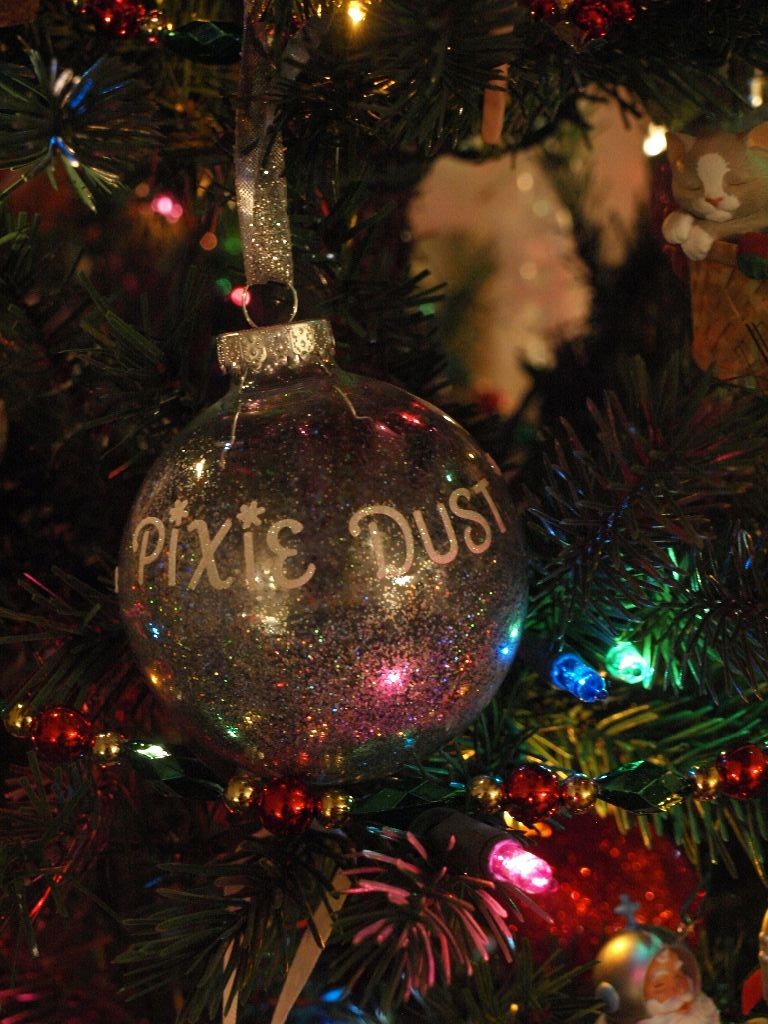 I got the idea from my mom, who saw a pin on pinterest from the Undercover Tourist blog. My niece loves TInker Bell, so it was the perfect ornament for her this Christmas! (Apparently I think TInker Bell is a fun little fairy to do crafts about; earlier this year I made my niece a Tinker Bell canvas!) Anyway, making the ornament was a bit trickier than it should have been, especially since it was meant for kids and I’m obviously not a child, so maybe someone else can learn from my mistakes!
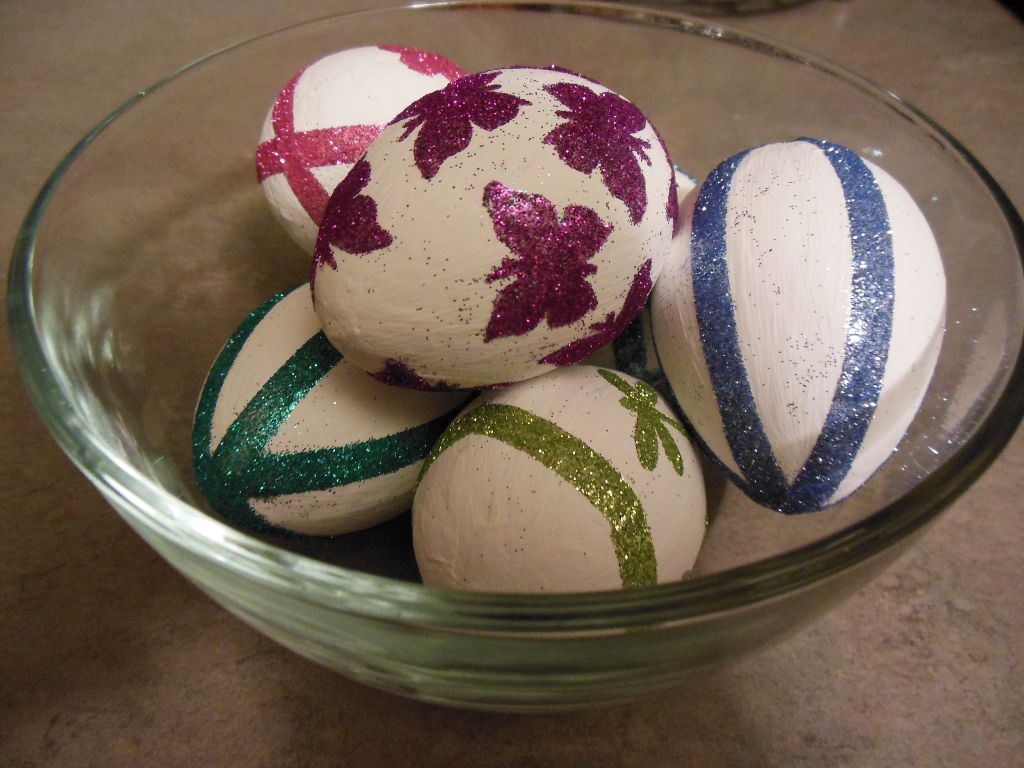
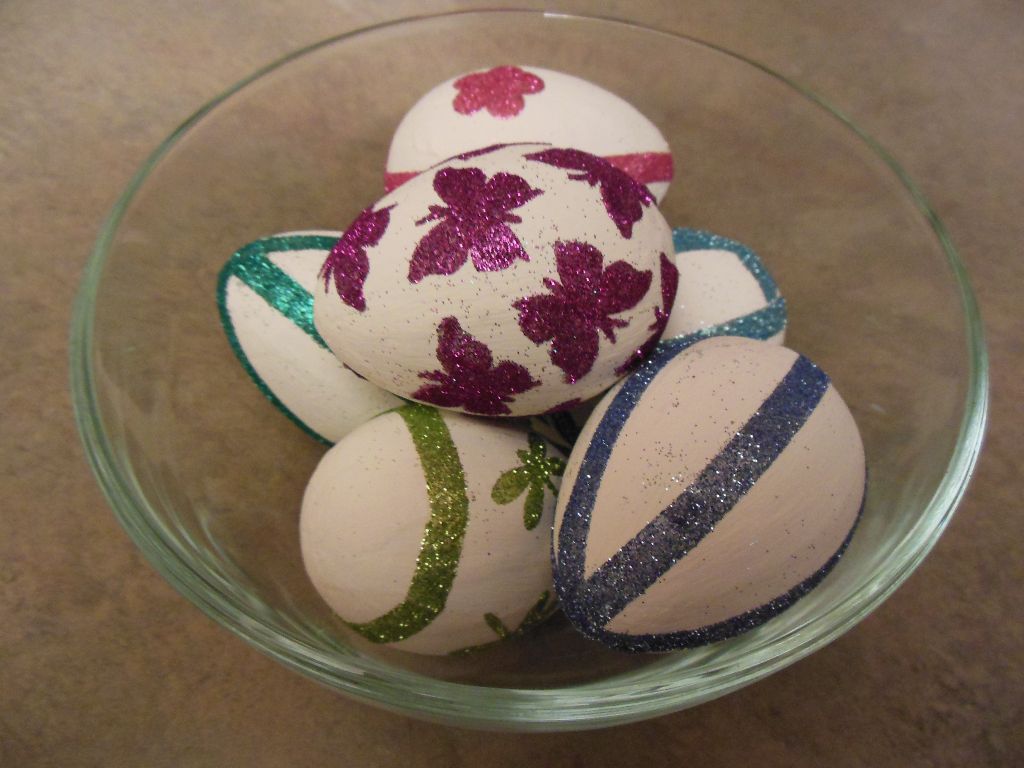
- Glitter is called “the herpes of craft supplies” for a reason. You can’t get rid of it once it’s contaminated something, and it seems to spread. Everywhere. I am still finding glitter in various places around my kitchen that I didn’t even realize the ornament had touched, and let’s not forget the glitter on my hands and clothes and probably all over my face too… Especially since I recently did a craft with glitter (my Easter eggs!), you’d think I would have remembered how annoying it is. Also, the ribbon I used on the ornament is glitter-ized. Simply holding the ornament now sheds sparkles in every direction. Sorry in advance to my brother and niece who will be contaminated with glitter every year when they hold the ornament! ;-)
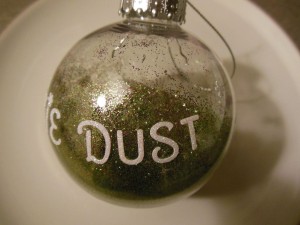 Be careful mixing different colors of glitter. On my first attempt (right), I thought it would be cute to use green (since Tink wears green) and some purple and pink… WRONG. It turned into a very sparkly combination of nasty. I thought I could fix it by adding more green glitter, but that didn’t help. So I tried again and was more careful. Silver + blue = pretty pixie dust.
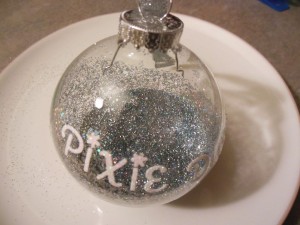 Glitter doesn’t like plastic. At least not plastic ornaments. On my first attempt I had used a plastic ornament and the glitter stuck to the plastic (because of the static). My husband guessed that after a trip to Michigan, the entire inside of the ornament would be coated with the (nasty) glitter and it wouldn’t be at all pretty. boo. I had actually meant to buy a glass ornament, and didn’t realize it was plastic until I was already putting my stickers on it. So, when I tried again, I used a glass ornament. The glitter still sticks a bit to the glass, but it does better than the plastic.
