Alphabet Magnets

2014_fridge

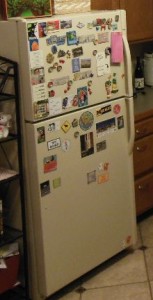
Fridge at my previous house — lots of magnets!

Anyone who has been to my house knows that I love refrigerator magnets! My magnet collection is quite extensive — I have magnets from various countries we’ve visited, theme parks (mostly Disney ones!), broadway shows (e.g., Les Miserables, Wicked), National Parks, favorite restaurants, quotes, bottle caps, and so on. I also have a set of magnetic poetry and two sets of alphabet and number magnets.

At my old house my fridge (right) was pretty much covered in magnets. This was entertaining for me, but let’s be honest – it was pretty cluttered…

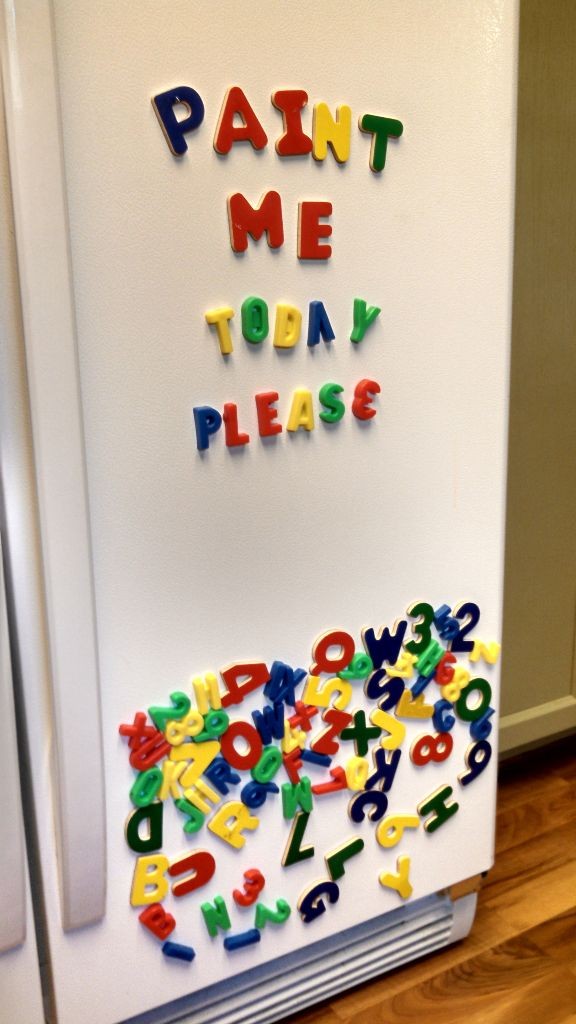
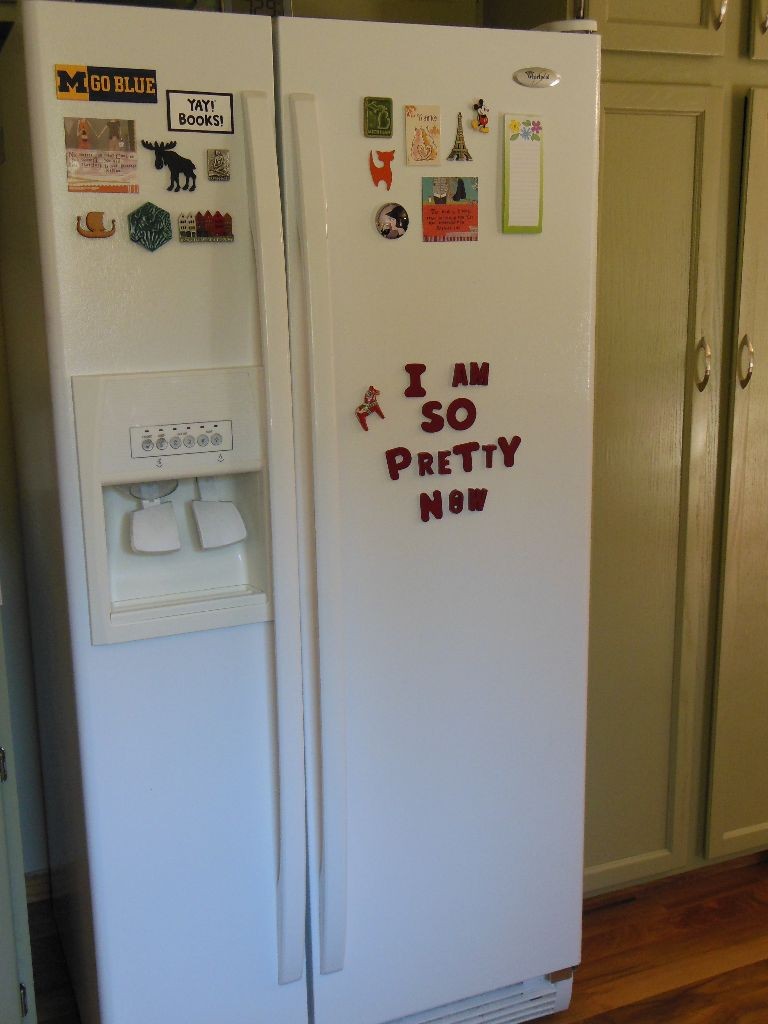
At my new house I have tried to keep my fridge a little more refined by only displaying some magnets at a time and rotating through my collection. Due to this attempt to be a little more grown up, since we moved in I have hardly used my alphabet magnets because they seem so wild on the fridge with all of their different colors. But having the alphabet around is so fun! So when I saw a pin on pinterest about painting alphabet magnets, I knew it was something I needed to do!

AlphabetMagentsBefore

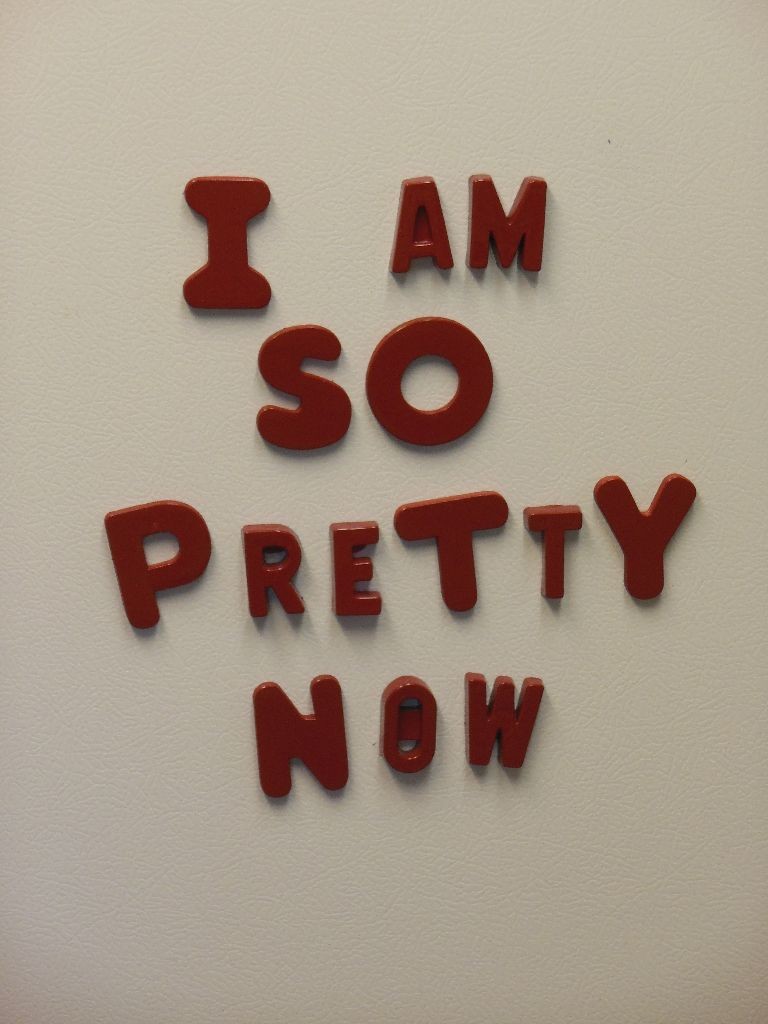
I decided to paint my two sets of alphabet magnets red! I use red as a fun accent color in my green and beige kitchen, so I thought it was the perfect choice. Matt had also requested a “fun” color! I picked up a can of plastic friendly, red, glossy spray paint and I got to work.

I was concerned about if the magnets would stick to whatever surface I painted them on, so I put them on a sheet of wax paper to paint them. This worked very well. The paint did get all over the wax paper, but the magnets just lifted right off the wax paper! I did a couple coats of paint… it was hard to get in a few of the small corners, so I moved around a lot when painting to try to get at those spots from different angles. I’m sure my paint job isn’t perfect, but they look good enough for me!
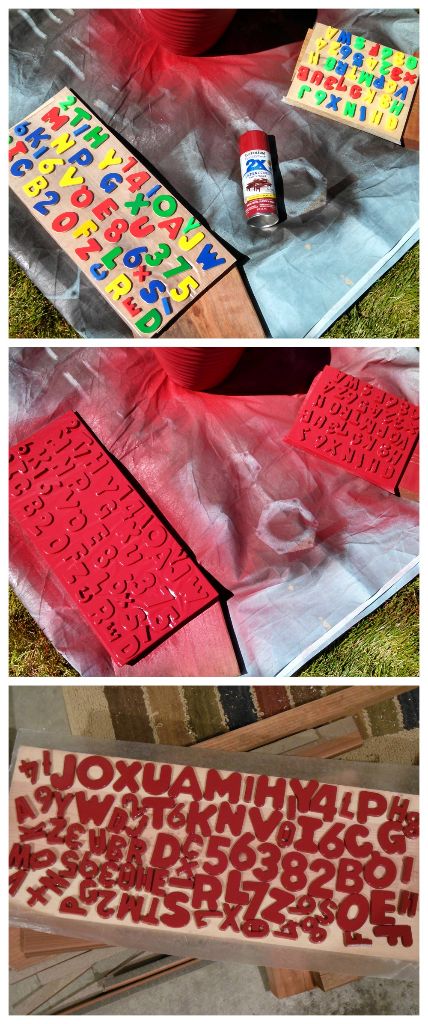
PaintingMagnetsPainting them only took a few minutes and was pretty easy. Probably the hardest thing was laying them out before painting them! Also, I had been painting some other things too, so by the time I got around to the magnets, my right arm was actually shaking a little bit from all of the (oh-so-very) hard work of spray painting..! But aside from that, this really was a very simple project!

Now the magnets are finished and they are so happy to be back in my kitchen ready to be used!

PaintedAlphabetMagnets

PaintedMagnets

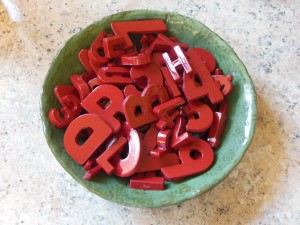
I also decided that when not in use, extra letters and numbers should live in a bowl somewhere in the kitchen instead of the front of the fridge itself. My mom does this and I think it helps to contain the cluttered look quite a bit! Thanks for the inspiration, Mom!

DSCN7648

Now, what fun messages should I spell out on the fridge today?!
Cool Things in My Kitchen

My new kitchen is full of awesome things and features. It’s a combination of things given to me and/or made by my family, and extra fun touches I added!

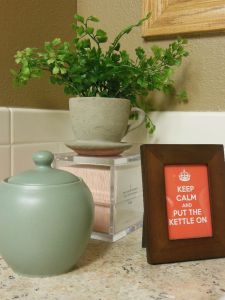
cute tea thingsWorking our way around the kitchen, the first awesome spot in the kitchen is my sink area. On the counter we have a little tea area, complete with a cute sign from a box of tea that my sister-in-law sent me from England! The sink itself is nothing too special, but the faucet is new and I just love it — the faucet pulls out and turns into the sprayer! It is so handy.

 In front of the sink we turned the cabinet fronts into tilt down trays. We used a Rev-A-Shelf kit to install the trays. These have added a great place to store sponges, scissors and a pen!

Kitchen sink

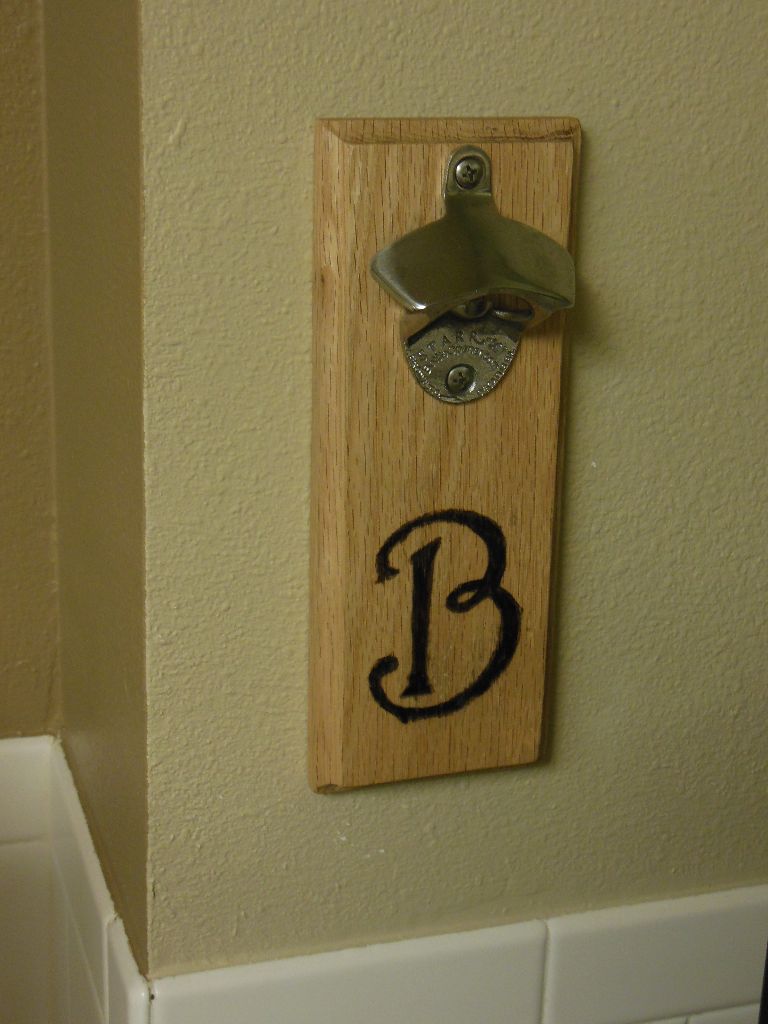
Next we have a bottle opener that my brother, Nickolas, made Matt. It has a really strong magnet inside it that catches the cap as it falls! So cool.

Bottle Opener

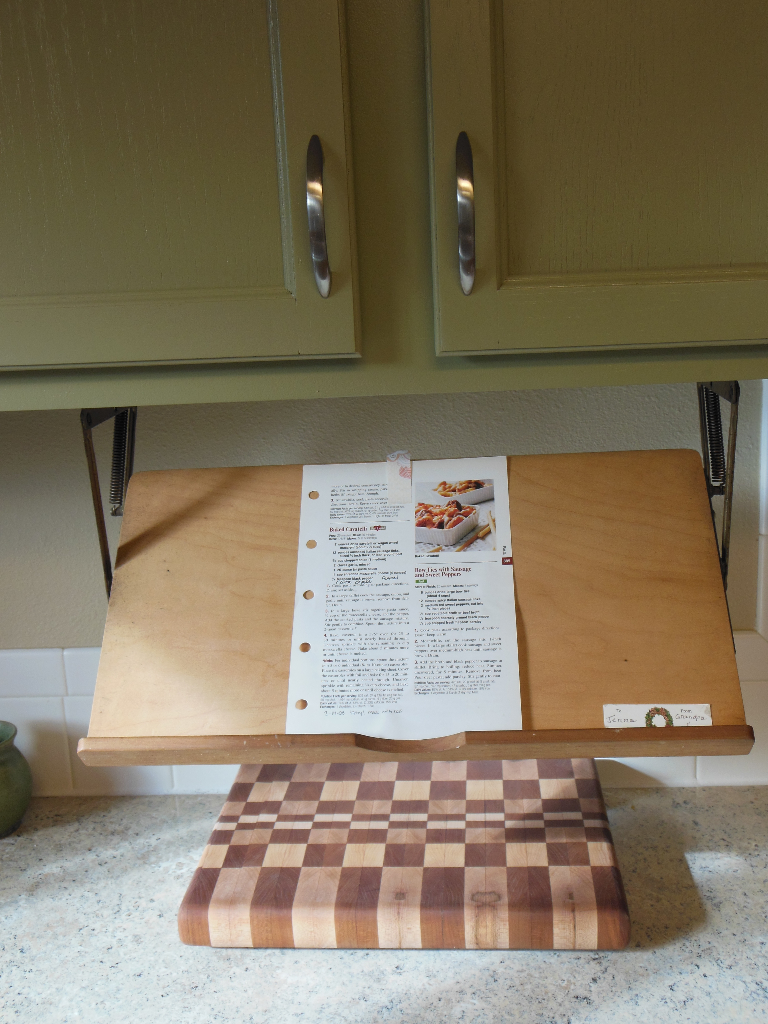
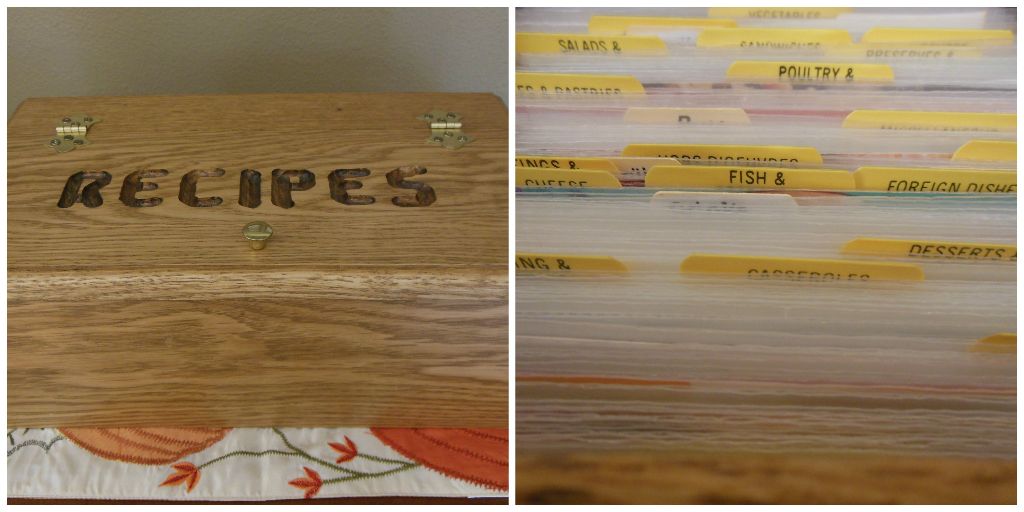
My favorite thing in the kitchen is my pull down recipe holder that used to be my grandmother’s! Also in this picture you can see the beautiful cutting board that Nickolas made us for Christmas last year!

Recipe Rack

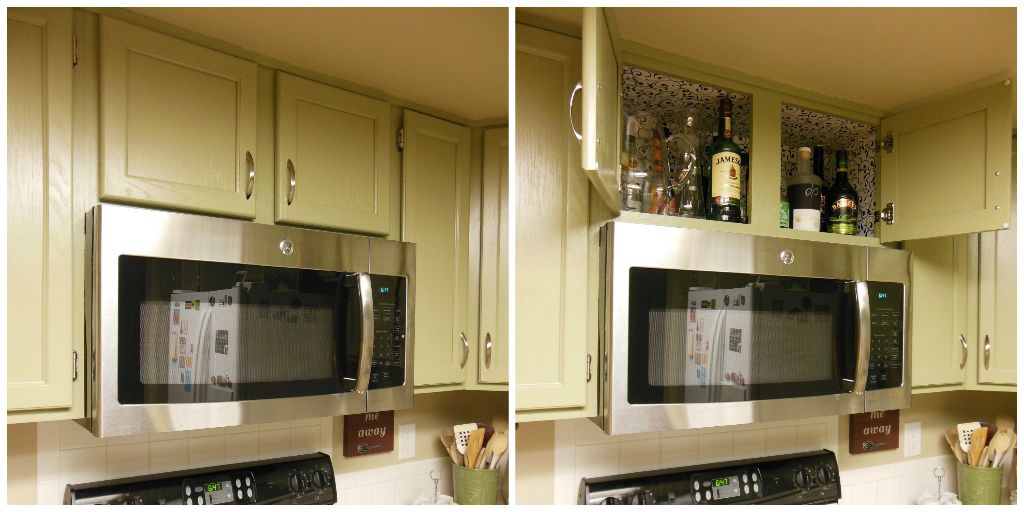
Above the microwave is our liquor cabinet and I wanted to give it some personality… I lined it with a wild contact paper (so it will be easy to change later!) and it’s super fun!

Fun Liquor Cabinetwhisk me awayIn the picture above, the cute sign you see sticking out from under the cabinets says “whisk me away”. It makes me smile!

Next is my wonderful recipe holder that my grandpa made me. It’s full of recipe cards from my family, and recipes I’ve found in magazines and online. If a recipe is good enough to make again, it gets put onto a card and filed in my grandpa’s box. :-) I have the recipes sorted by category, and every recipe is inside a protective sleeve. This system works well for me because I can quickly find all of my favorite recipes, and the protective sleeves are easy to wipe off and clean!

recipe_holderKitchen wall arrangementI also have a really cute wall arrangement in the kitchen! Two of the pieces are by Curly Girl, who just has the cutest things. The other print is from Target, and the tea set is from South Korea!

Those are some of the cool things in my kitchen. What awesome things do you have in your kitchen?

Resurfacing Our Countertops

Countertops_before&afterAfter we painted our cabinets, it was time to update our grey, laminate countertops. In the future we want to completely replace them, but we aren’t ready to spend that much money (so many other projects to do at the house!), so in the meantime we decided to try a DIY countertop resurfacing kit. Matt and I both agreed that these had the potential to go horribly wrong… but we did some research and shopped around, and decided to give one a go! We settled on a kit by Giani Granite: the price was right, they had it in stock at Ace Hardware, and we could get it done in a weekend. The kit we used is also available on Amazon.

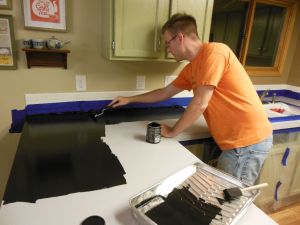
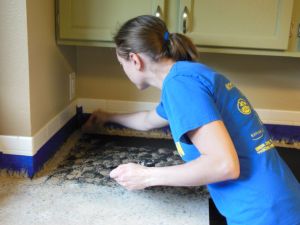
countertop - primerThe kit came with pretty much everything we needed: paint, roller, foam brush, etc., and even included a little DVD about how to do it right. This was helpful to watch! Before we started painting the countertop we had to clean it really well. We used those SOS steel wool pads that have the weird blue soap in them. Once that was all cleaned up we started painting! Our base coat/primer was black. After that had dried overnight we sponged on the three colors countertop - sponge paintingfrom our kit, two shades of brown and a white. When that was done drying, we gave it two coats of the clear coat. It was very quick and we spent the most time waiting for the paint to dry in between coats!

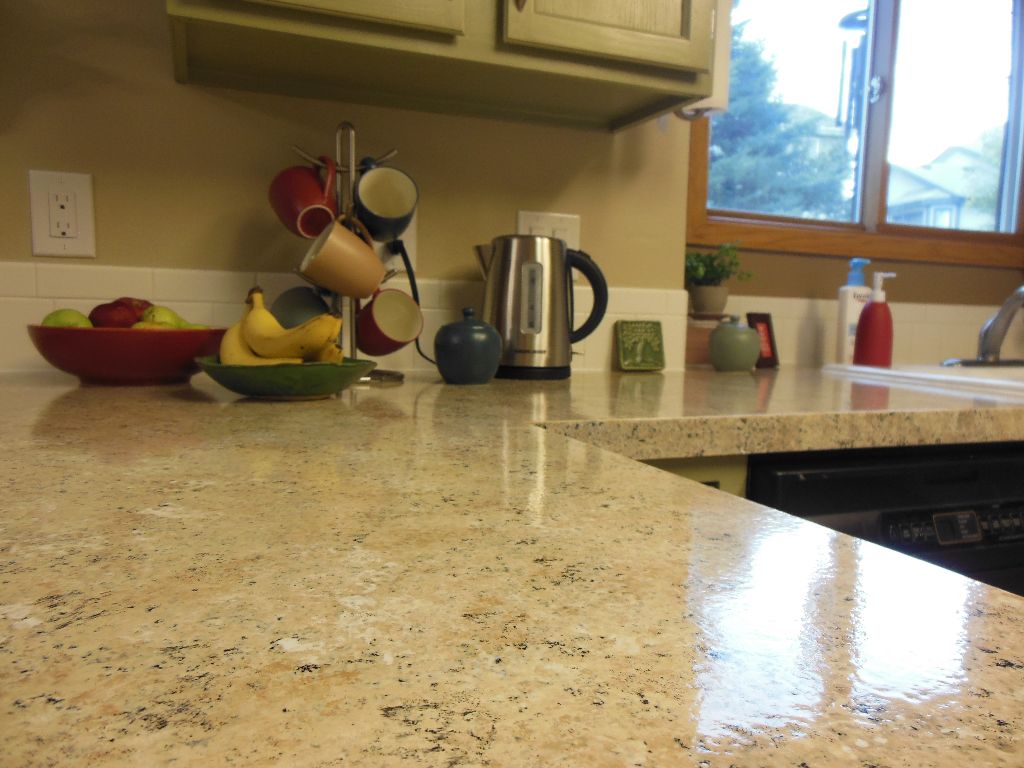
We are really happy with how they turned out! We love how they look (the color is such an improvement!) and we’ll just have to see how they hold up… in the end we want to replace them anyway, so even if they just last for a year or two, then it was worth it! The new surface is so much nicer to look at than the old grey!

Countertops - close

Painting Our Kitchen Cabinets

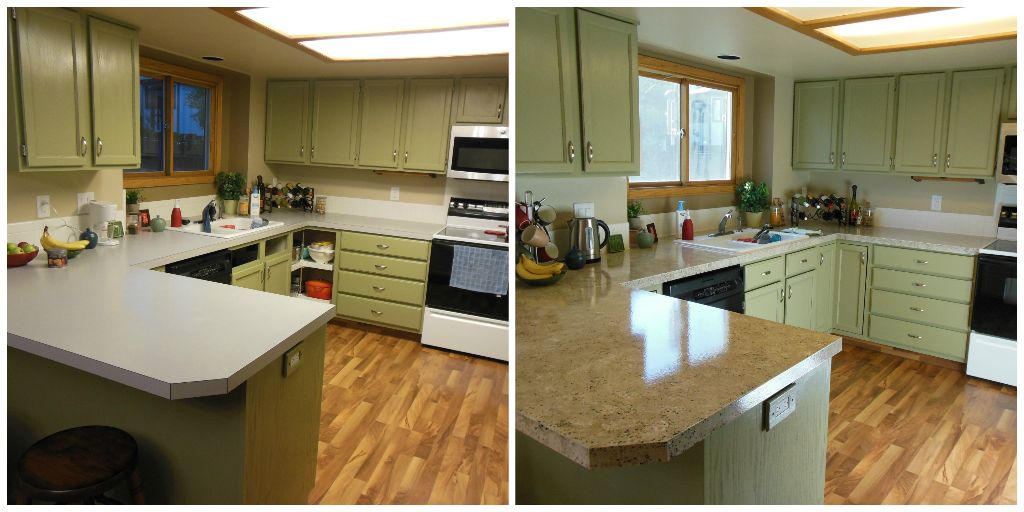
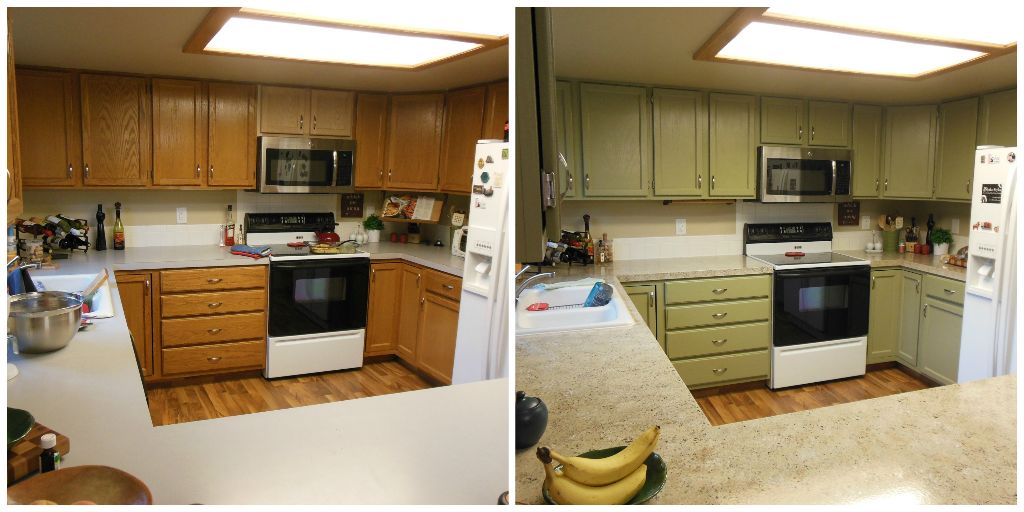
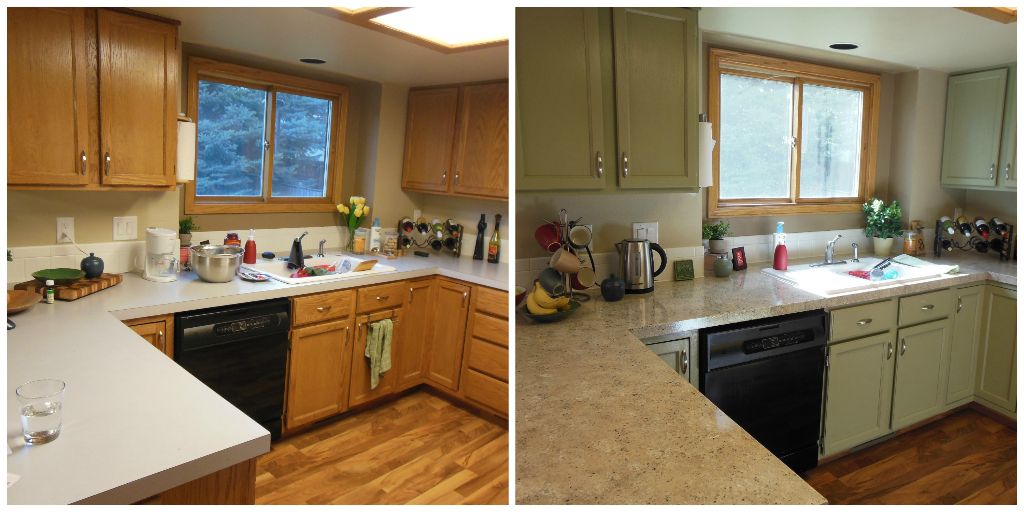
We painted our kitchen cabinets! “Gee, that a lot of work,” you’re thinking. And you’re absolutely right. It was a lot of work. But definitely worth it! See how awesome it looks?

Kitchen_before&after2 (Our countertops have also been resurfaced… more on that soon!)

Our cabinets were just your regular oak cabinets, the same in probably every house in our neighborhood. And our old neighborhood. And probably many neighborhoods across the city. And they weren’t in great shape, so we didn’t feel bad painting them!

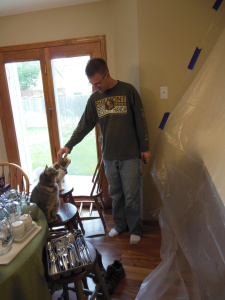
We taped off the kitchen to contain the mess and keep the kitties out. The cats were NOT happy about being excluded from the action.

We taped off the kitchen to contain the mess and keep the kitties out. The cats were NOT happy about being excluded from the action.

We followed the steps on how to paint kitchen cabinets from Better Homes and Gardens. They have some good instructions there and a materials check list that was pretty helpful. It definitely got us started. We also talked to some paint people at our paint store to get their opinions on paint and tools that we would need.

In case you are thinking of painting your cabinets, here are a few of our thoughts and lessons learned:

  1. The TSP was pretty impressive. Our house is 23 years old, so our cabinetry had some seriously sticky/gross spots from the previous owners that hadn’t come off for me with dawn or wood cleaner. The TSP took care of most of those bad spots! We definitely recommend using TSP.
  2. We used Matt’s power sander where possible, but we realized too late that not all of the doors had been sanded equally. Definitely don’t skimp on your sanding or your sand paper. We realized after the first coat of paint/primer that some of the doors hadn’t been sanded very well and they ended up being harder to cover well. The paint didn’t want to go into the areas with deep wood grain. As a result, we brushed a coat on the front of the doors, when we’d hoped to only have to spray.  Speaking of spraying…
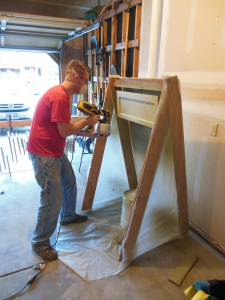
  3. cabinets - sprayingOn the doors and drawers, we used our awesome paint sprayer and it was amazing. It left such a nice even coat, with no brush or roller marks, and it was really fast.  The exception of course is the coat we brushed by hand because of the sanding/wood grain problem. But we still sprayed a coat of paint over the brushed coat because it looked so much better.
  4. On the cabinets bases left in the kitchen we brushed and used a small 3 inch roller. After the primer coat we learned that the brush left marks, and on the second coat we rolled where ever possible and brushed in just corners and tight edges.cabinets - hanging system
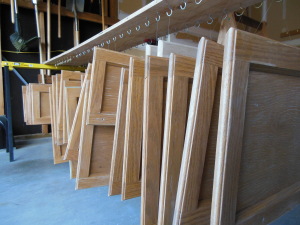
  5. Matt built an awesome hanging system that allowed us to paint all sides of the doors at one time. He left two screws in each door from the holes for the hinges and tied a piece of fishing line to the screws. Then he used mug hooks screwed into a big piece of plywood to hang all doors. Because we could move the doors around by the fishing line and hang them to dry by the fishing line, we were able to paint the entire door at one time, then hang it up to dry. He built a painting tent where we hung one door at a time, painted it, flipped it over, and painted the other side. Then we moved the wet door to the hanging system and retrieved the next one in line for painting. We didn’t have to wait for side one to dry before flipping over and painting side two. With over 20 doors in the kitchen it still took us a lot of time, but being able to paint the front and back together made it go faster!

Kitchen_before&after1Once we were done painting the cabinets we had to do something about the counter tops because now they looked seriously bad. For our next project, we resurfaced our counter tops!