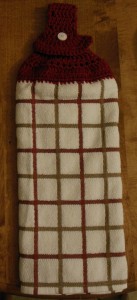
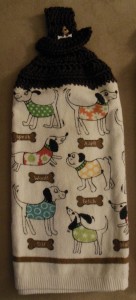
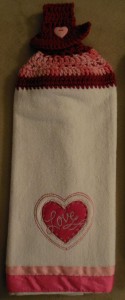
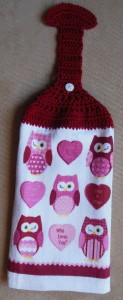
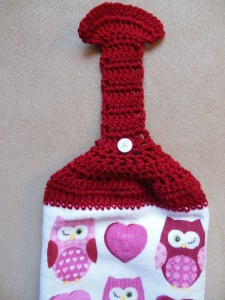
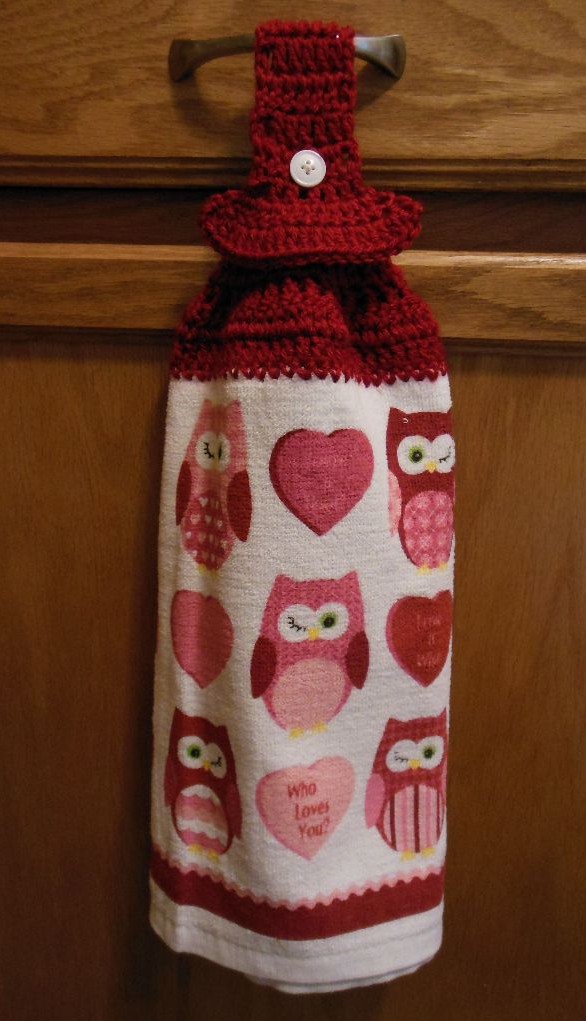
One of my most requested crocheting projects is the hanging hand towel. They are cute and handy… They are also pretty easy to make, and are great gifts! Below are instructions on how to make these great hanging towels. Here are a few of the towels I have made recently:
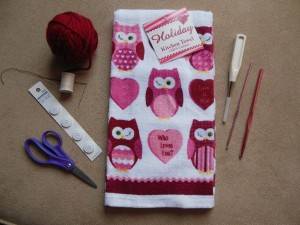
- Towel
- Yarn to match your towel
- crochet hooks (I used two sizes: E and H)
- awl (a spike thing to punch holes in the towel)
- 2 buttons
- scissors
- needle and thread
Instructions:
Begin by folding your towel in half!
First Row:
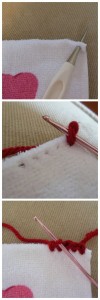 Use the awl to punch holes through the towel, all the way across, and then single crochet in each hole.
As I said, you’ll want holes all the way across the towel, but I prefer to punch a few holes and crochet in those holes, then punch a few more and so on… I think it’s just a little easier than punching all the holes and then crocheting all at once – otherwise I feel like some of my holes get “lost”.
I prefer to use a smaller crochet hook, for example, size E, for this very first row. The smaller hooks are much easier to get through the holes in the towel. After the first row, I switch to a larger hook for the rest.
Second row:
At the end of the first row, turn, and chain 3. Then double crochet in each stitch all the way across the row.
At the beginning of all following rows, turn and chain 3.
For the next few rows:
Now you can sort of play around — sometimes I do another whole row of double crochet in every stitch on the 3rd row, and sometimes I begin the decrease. It doesn’t matter which one you do, it just looks a little different.
On this towel, for the third row I did a double crochet in each stitch all the way across.
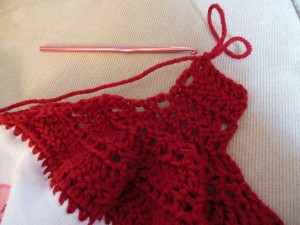
For the decreases, I do a double crochet in every other stitch across the row. I usually “reinforce” the edges by not skipping at either end, and instead having 2 or 3 double crochets in a row. This is just a personal preference. You can skip all the way across if you want to!
Sometimes on the row after skipping stitches the first time, I do a double crochet in each stitch. On this towel, that would be row 4. Sometimes I feel like doing this and sometimes I don’t. It’s all about how quickly you want the towel brought in, how much crocheting you want to do, and how much crocheting you want to have on the towel. The more rows you have, the farther down the towel will hang.
Usually I decrease each row (by doing a double crochet in every other stitch) until I am left in the center with around 7 stitches (sometimes more, sometimes less – just whatever I feel like is right). This, for me, is not an exact science in any way.
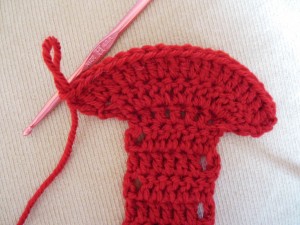
For the neck of the hanging towel, I do a double crochet in each stitch in the row, and usually make about 10 rows. It’s all about how long you want the neck to be — How far down do you want the towel to hang? How long does the neck need to be to wrap around whatever the towel will hang from? I just find that 10 rows works for me!
For the flared end
To finish the hanging towel, I like to make a little flared edge. To do this, start a new row, and do two double crochets in each stitch across the row. Then begin the last row, and do two double crochets in the first stitch, one double crochet in the second stitch, and repeat that pattern across the row. Then you’re finished crocheting! Tie it off!
I use buttons that are small enough to fit between two double crochets, but large enough that they need a bit of work to get through. You want it to be secure – but not too hard to button!
I put buttons on both sides of my towels. Most towels I use for this crocheting project don’t have a front or back once they are folded, so I put buttons on both sides so that the towel can be hung either way.
I sew the buttons on with a needle and thread. I usually place the buttons in the center of the very first row of the neck (for me, my first row of seven stitches). I like to place the buttons at the top or bottom of the stitch, for a little extra reinforcement.
Once the buttons are sewed on, the hanging towel is complete!
