Archive for the ‘How To’ Category

Custom Hugin PTO shortcut

Want to be able to select multiple photos in a panorama, then quickly kick off the Hugin auto-analysis for that grouping

> cat ~/bin/my_pto_gen
#!/usr/bin/env ruby

output = IO.popen(["pto_gen", *ARGV])
output.readlines.each do |line|
  if(line =~ /Written output to (.*)/)
    system("PTBatcherGUI", "-a", $1, "-b")
  end
end

> cat ~/bin/my_pto_gen.desktop
[Desktop Entry]
Version=1.0
Name=Custom Hugin PTO generator
Comment=Initialise a Hugin panorama project from multiple photos & run the assistant
Exec=my_pto_gen %F
NoDisplay=true
Icon=hugin
Terminal=false
Type=Application
Categories=Graphics;
MimeType=image/tiff;image/jpeg;
GenericName=Panorama project generator & assistant

desktop-file-install --dir=/home/matt/.local/share/applications/ /home/matt/bin/my_pto_gen.desktop
update-desktop-database /home/matt/.local/share/applications/
Packet sniffing for fun and profit

wireshark-capture

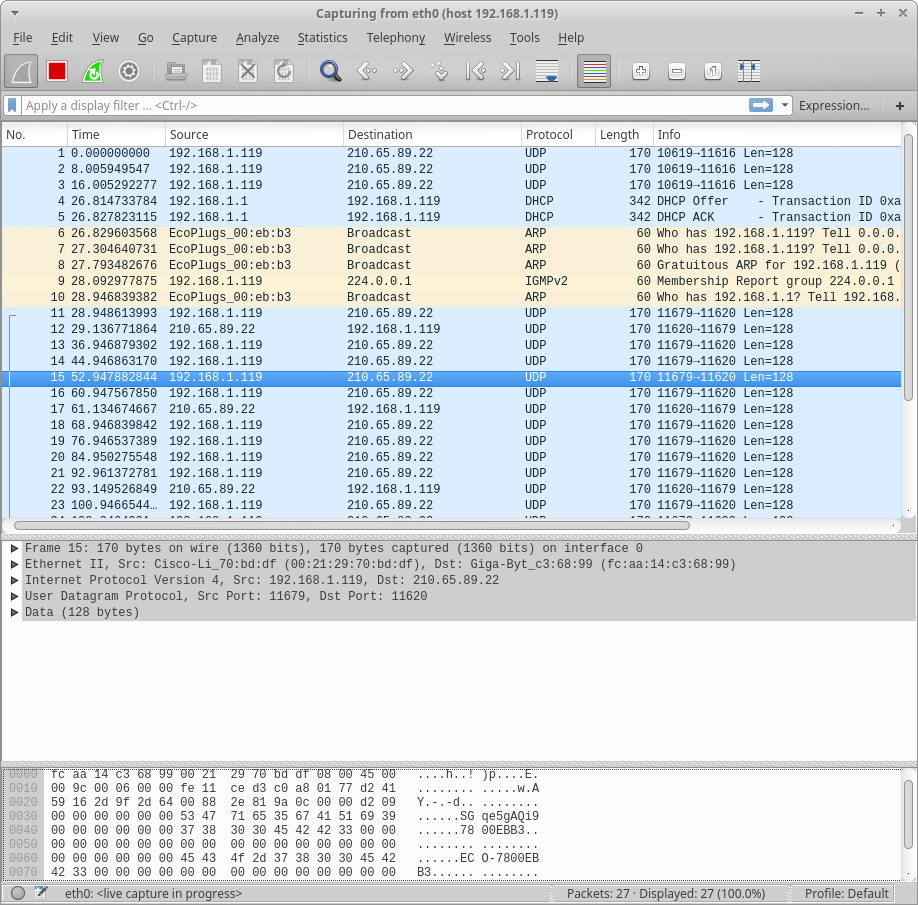
I have a commercial IOT product that I want more control over. Sure, I can control it with the free Android app, but I want my home server to be able to control it, too. This means trying to understand how the app controls it over the network, and attempting to replicate that communication.

This means I have to do some packet sniffing.

(more…)

Getting started with MQTT

At this point, I have a few IOT things on my home network. The first were a couple of EcoPlugs Wifi outlets that I use to control my gutter heaters in the winter, and the next was a custom garage door controller. For the former, I’m basically controlling them by using a replay attack (I hope to make a post about this soon)…re-sending packets that I observed the EcoPlugs app sending. For the latter, I’m using a custom http interface. Since both of these contain an ESP8266, I’d like re-program them and unify them both to use the MQTT protocol.

While browsing Hackaday, I came across their Minimal MQTT series. In this post, I’ll begin by walking through that series, noting my thoughts, then conclude by getting things set up the way I want.
(more…)

DIY Large Seven Segment Display

IMG_20160610_231046638I had an idea for a cool project, but for it to work well, I needed some large 7-segment displays…like 3-4 inches tall.  Unfortunately, the only ones I could find for sale on-line were absurdly expensive.  I remembered seeing several folks make their own 7-segment displays, so that inspired me to try my hand at making my own.

(more…)

MAX7219 Seven-segment driver

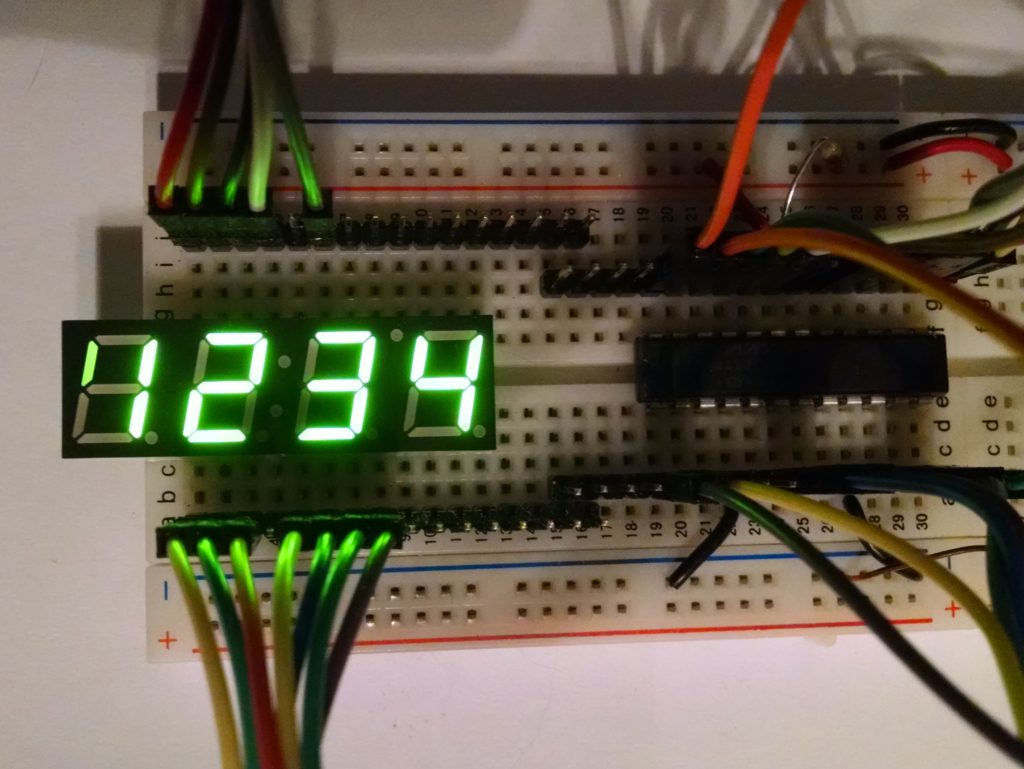
img_20160914_200614010

I have a couple projects in mind where I want to use a seven-segment display (one of them where I want large digits), but I don’t want to dedicate too many pins to driving the display. Also, writing custom code to multiplex the digits seemed tedious.

I read about the MAX7219 chip, which lets you drive up to 8 digits over SPI, and it seemed to be just what I was looking for.

(more…)

Better sslh

For those that don’t know, sslh is a TCP port multiplexer. This basically means that you can serve both https and ssh traffic from the same port. It’s most useful for circumventing corporate firewalls that block TCP port 22 (i.e. ssh), but allow TCP port 443 (i.e. https) by serving both on TCP port 443.

In the default configuration, however, all connections that go through sslh look to ssh or apache as if they came from localhost. This isn’t ideal if you want to run something like denyhosts or fail2ban to block malicious ssh login attempts.

sslh does have an option to do “transparent” proxying so ssh and apache think that the connections have come from the right place. In this post, I’ll describe how I set this up on my machine.

(more…)

I’m on Hack a Day!

I submitted a tip to Hack a Day about the template I put together for the STM32F3 Discovery board, and they posted it!


Halloween 2010

My vision for an electronically-enhanced Halloween was something like this:

It is a dark and stormy night. The air is filled with the sounds of children…screaming in terror at the evils of the night, and oohing in delight at the candies received.Little Timmy approaches the next house…it looks plain enough, with just a couple of styrofoam tombstones in a corner. Unfazed, he continues approaching the door. As soon as he steps up on the front porch, lightning flashes almost blind him, and thunder claps almost deafen him. Startled, Timmy makes another step. A soon as the thunder dies down, a ghost rises from behind some gravestones, and a horrible screaming begins. Timmy, with tears streaming down his face, can’t tell if the screaming is coming from the ghost or from himself…

So yeah, that’s what I was going for. Instead, I only had time to get the ghost to rise up from the grave, and I had to trigger that manually. I did manage to make a couple kids cry, though. It was a qualified success.

The Trigger

(more…)

Modifying a camera flash – part 1

WARNING

A camera flash uses high voltage, and a large capacitor. Even if the camera has been sitting around for a “long time”, the capacitor can still hold enough juice to give a good shock. In order to avoid this, be sure to fully discharge the capacitor by shorting the 2 terminals with a screwdriver or something. (But not your nice screwdriver…the arc can actually pit the metal)

Procurement

I was about to buy a disposable camera just to dismantle it, but it seemed a waste of $10 (or whatever it cost). I remembered a couple people mentioning that sometimes you could get them for free from photo labs, so I figured I’d give that a shot first.

So I went to my local grocery store’s photo department, and asking if they had any “spent” disposable cameras. I felt a little foolish asking for what was essentially trash, so I described how I wanted the circuitry from them. I don’t really think it mattered, though. The guy behind the counter just brought the bin out for me and told me to have at it. Awesome!

I ended up with 2 Kodaks and 1 Fuji.

(more…)

Motor Controller

Design Goals

  • Variable speed using PWM
  • “Safe” circuit with no chance of a short circuit
  • minimal pin count

Notes

I don’t think I mention it below, but I chose the particular model of NFET because it was the same one that was used in the original drill that I pulled the motor from.  The NFET there also had a decent sized heatsink attached to it, so that could have been another source of problems.

I also considered using a TVS diode to suppress the motor surge.  Again, I have not tried this to see if it would have made any difference.

I found out much later that most of my problems with the solid-state solution were probably because of the way that I was driving the NFET gates.  A proper gate driver will be able to provide the necessary voltage to the high-side gates, will provide the necessary current to ensure fast switching, and will add a delay to eliminate any shoot-through current (where both NFETs on one side are active at the same time, creating a short circuit).

Version 1.0

(more…)